> ## Documentation Index
> Fetch the complete documentation index at: https://buttercms.com/docs/llms.txt
> Use this file to discover all available pages before exploring further.
# Translating content
> ButterCMS supports full localization — create translated content for each language or region you want to support from a single dashboard.
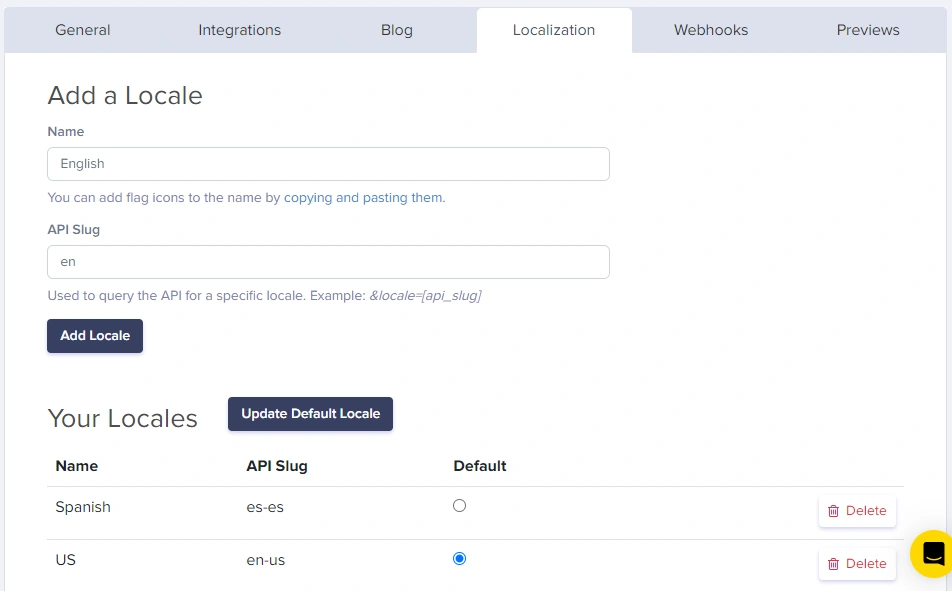
## Translation methods
ButterCMS offers multiple ways to translate your content:
| Method | Best For | Effort Level |
| ------------------------ | ------------------------------------------- | ----------------- |
| Manual Translation | Small content volumes, high accuracy needs | High |
| Copy & Translate | Starting translations from existing content | Medium |
| Write API Automation | Large volumes, automated workflows | Low (after setup) |
| Third-Party Integrations | Professional translation services | Low |
## Switching between locale versions
Once you have localization enabled with your default language set, creating localized versions is straightforward. Simply select the locale from the list of available options:
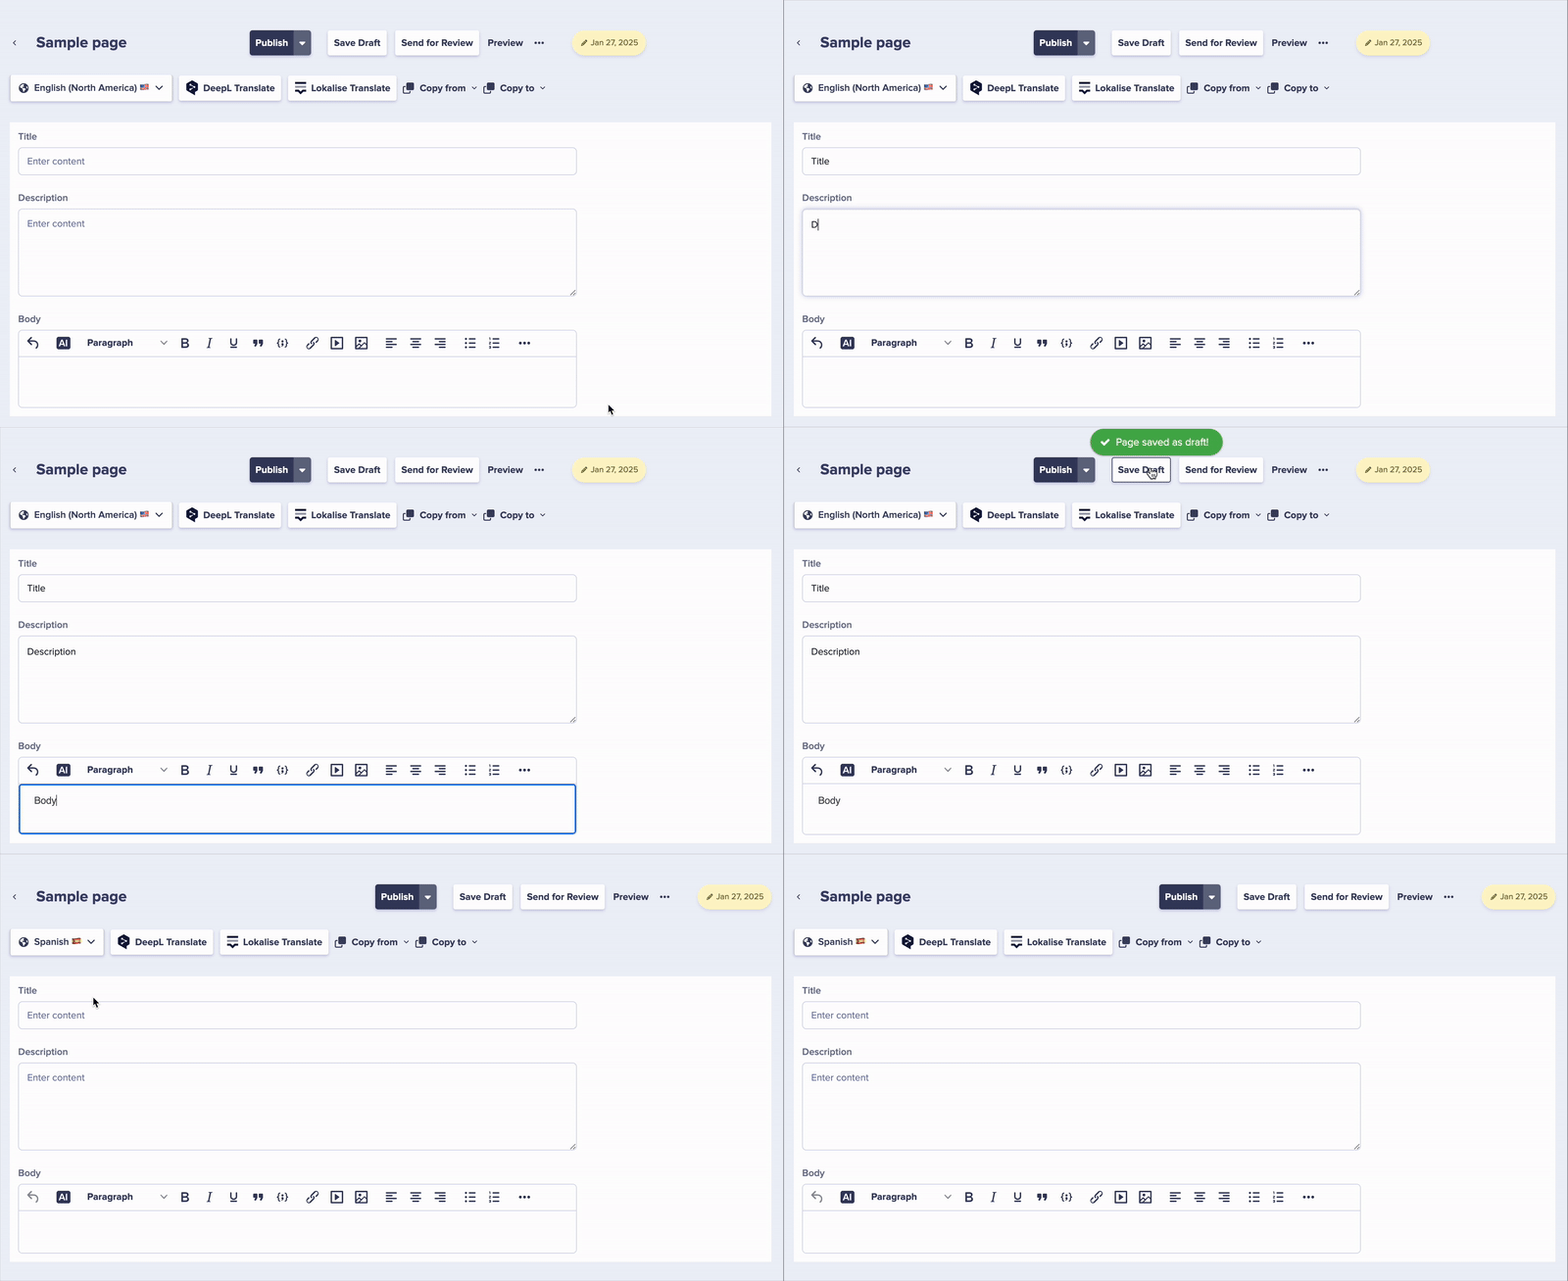
After entering content in your default language, content created in other languages will remain empty until you enter the translated content or copy content from another locale.
{/* SOURCE: file_path="knowledge-base/how-to/enabling-localization-and-creating-localized-content.md" section="Localization of Collections" */}
## Using the "Copy from" feature
To speed up your translation workflow, you can copy content from one locale to another using the **"Copy from"** dropdown. This is useful when you want to start with existing content and then translate it:
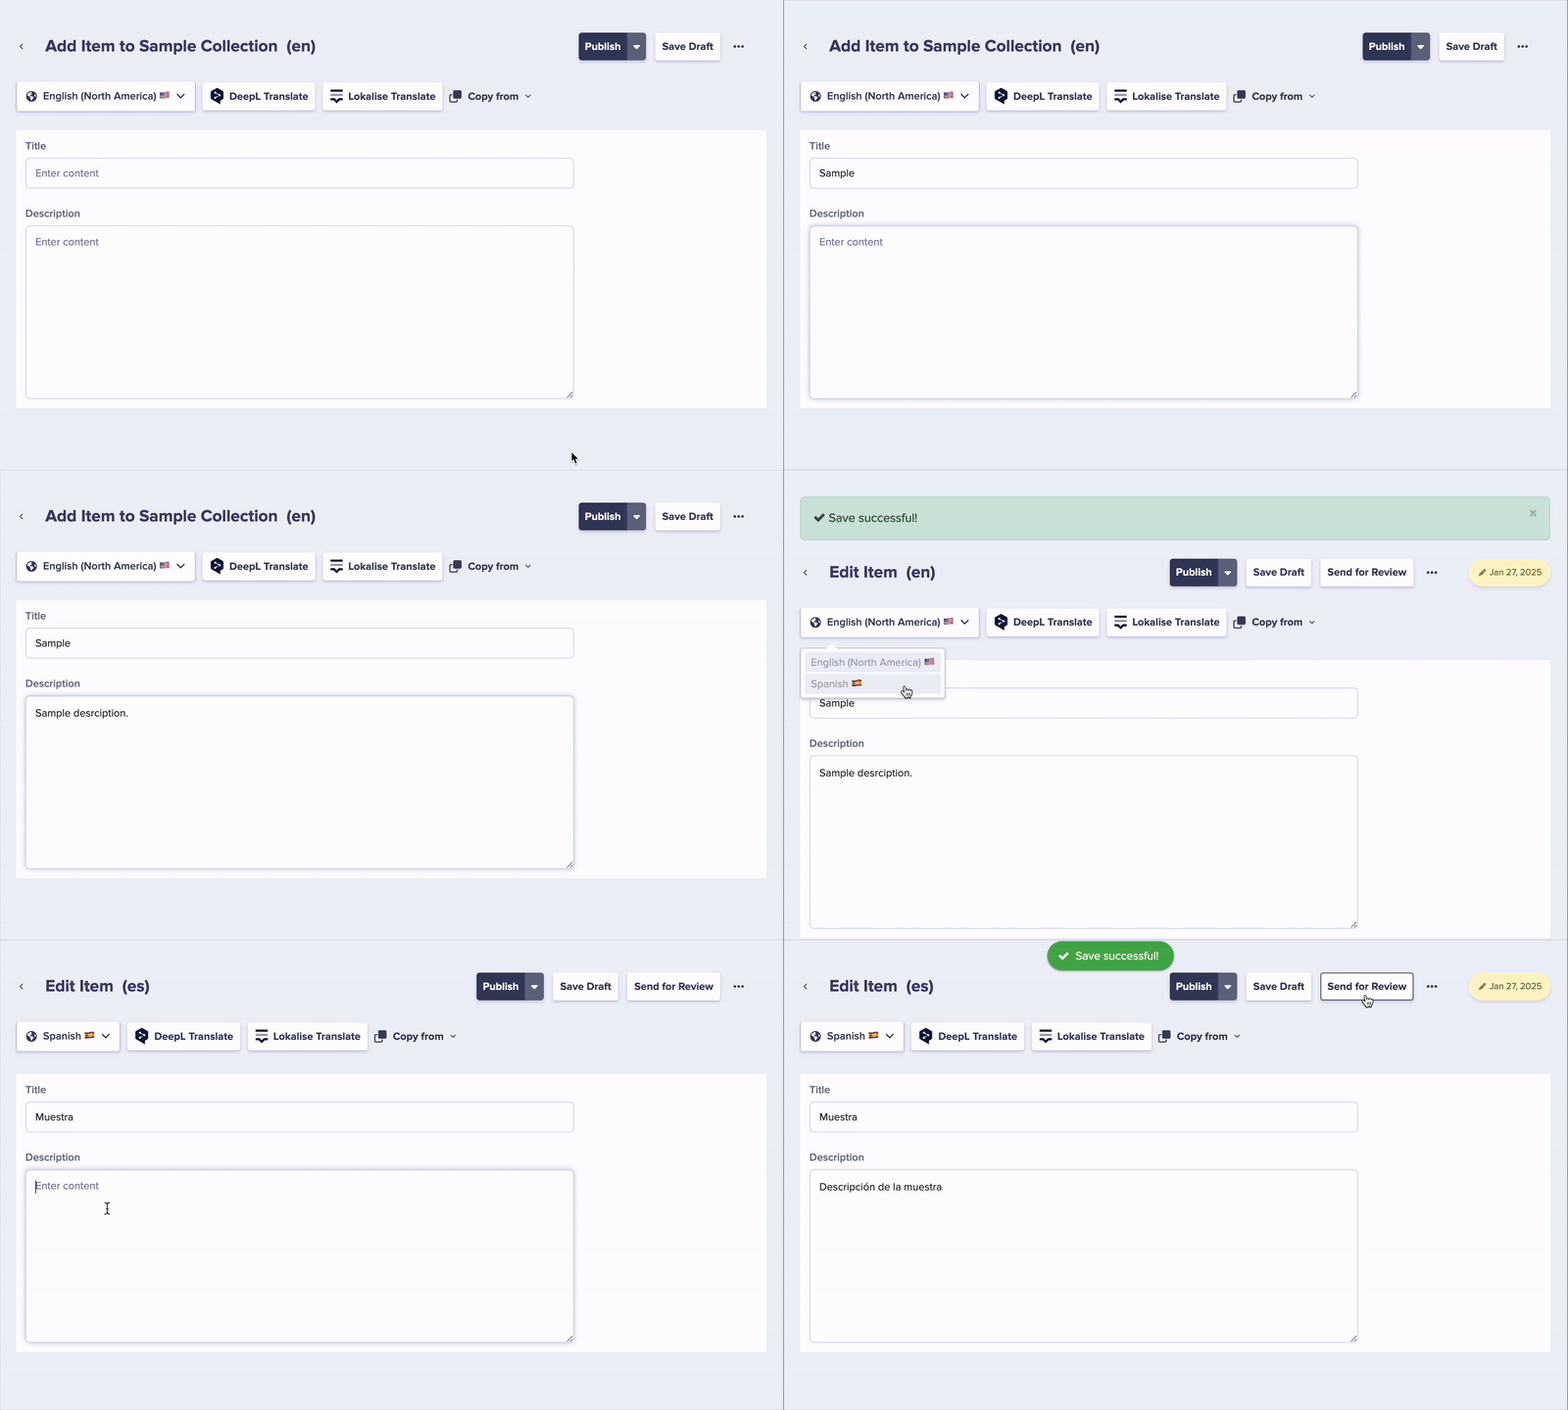
Navigate to the page or collection item in the locale you want to translate into.
Click on the **"Copy from"** dropdown at the top of the editor.
Choose the locale you want to copy content from (e.g., your default locale).
Edit the copied content and translate it to the target language.
Save the translated content.
## Using the "Copy to" feature
In addition to copying content from another locale, you can also copy content **to** other locales. This is useful when you've updated content in one locale and want to push those changes as a starting point for other translations:
Navigate to the page or collection item in the locale that has the content you want to copy.
Click on the **"Copy to"** dropdown at the top of the editor.
Choose one or more locales you want to copy the content to.
Click **Copy** to send the content to the selected locales.
Copying content to a locale will overwrite any existing draft content in that locale. Published content will not be affected until you publish the updated draft.
The **Copy To** feature is available for Pages. For Collections, use **Copy from** in each target locale instead.
## Automated translation and third-party integrations
For automated translation workflows using the Write API, or to set up DeepL, Lokalise, or Crowdin integrations, see [Translation Integrations](../../build-your-app/localization/translation-integrations).