When you're setting up ButterCMS, especially if you're adding a blog to your website or creating content that is really meant to drive SEO and plan to share it on various social networks, here are a couple of ways you can ensure you get the most out of your content.
Add a social sharing widget to your blog
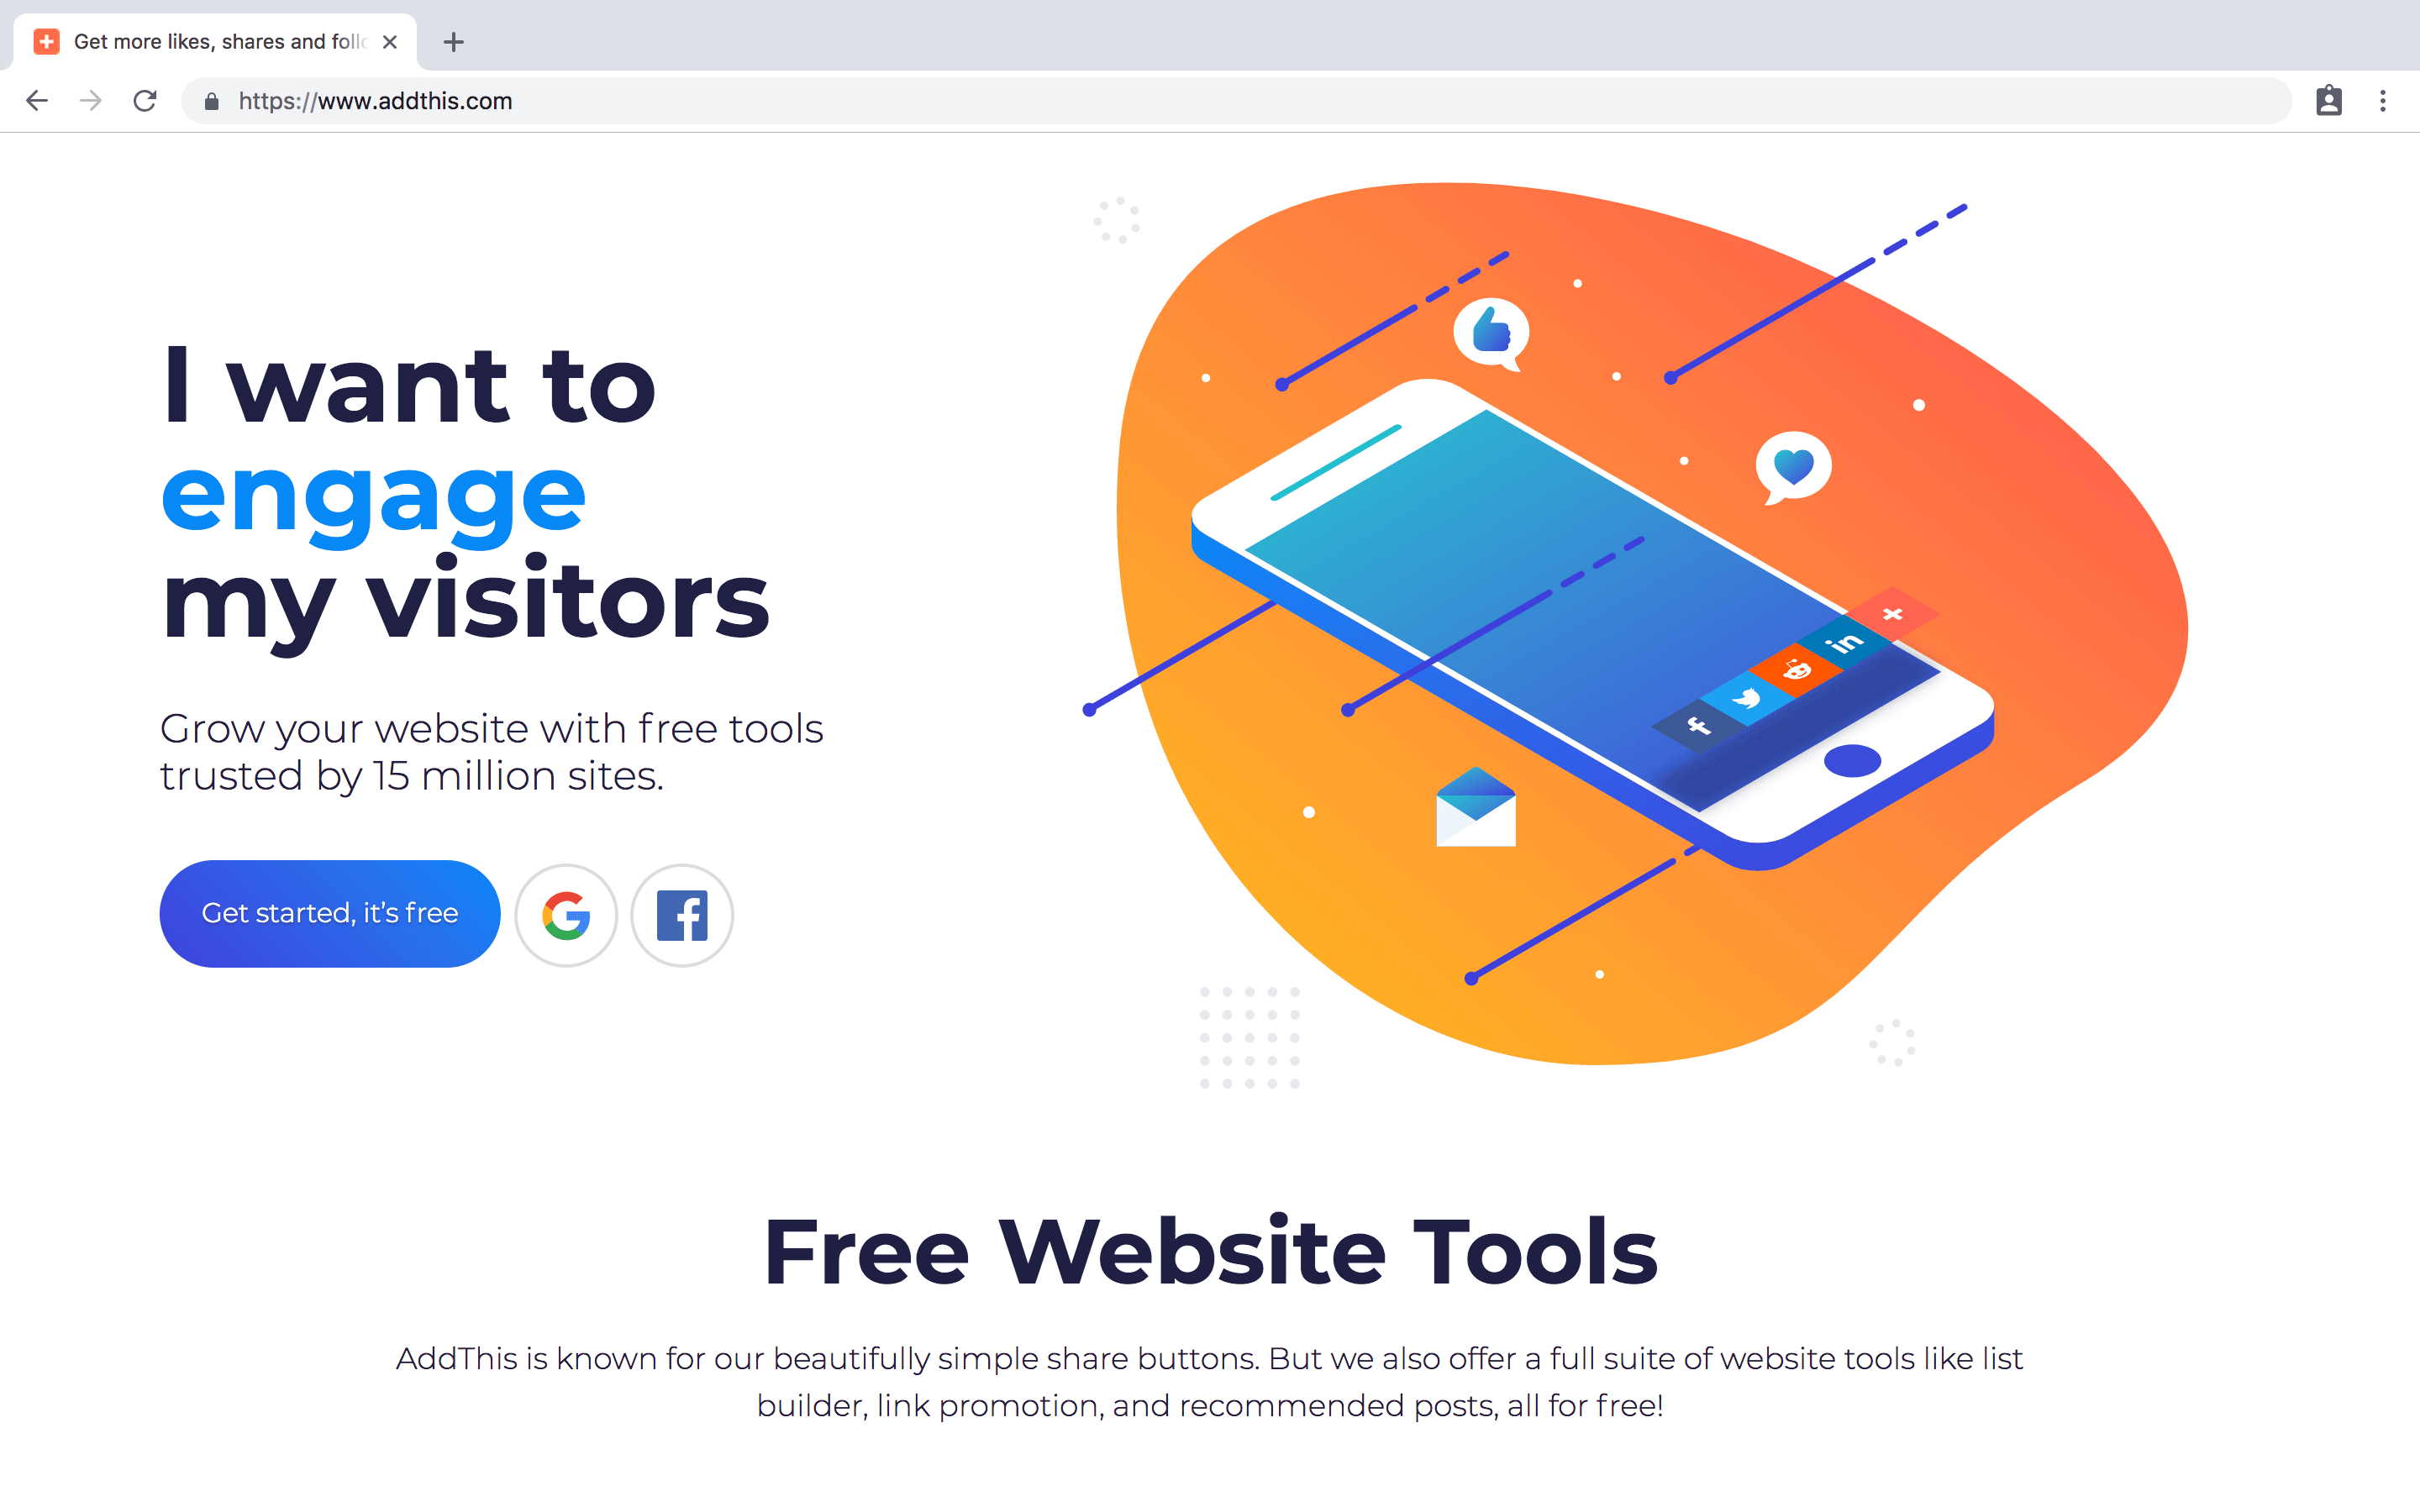
The first thing you should do is add a social sharing widget to your blog, just like you've probably seen on various other websites. The one we recommend using and is very popular is AddThis. It's a simple javascript snippet that you add that allows you to very easily add social share buttons to your site. They also offer a variety of other free tools for your website.
For example, if you check out our Microservices for Startups eBook, at the very bottom of each of the chapters you'll see a set of social sharing buttons that are all powered by AddThis. So if you're wanting to share your posts on social media or through email, we recommend adding a social sharing widget like AddThis. Of course there are many other options out there for you to choose from as well. We recommend AddThis because of how simple it is, all you need to do is copy and paste the javascript snippet into your website template and you're good to go with your social media outreach!
Optimize your social media images for greater visibility
When you share your ButterCMS blog posts on social media channels, how do ensure your preview thumbnail and feature images correspond with your blog post in the best way? The way you do this is by using open graph tags. Both Facebook and Twitter have their own open graph tags, which are basically meta tags that you embed right into your blog template. Be sure to note that the blog template is your own website code and not code that is controlled by Butter.
We'll show you how we implement these tags for our own blog but for official documentation and how to implement these tags, we recommend you go the official source for Facebook and Twitter.
This is an example of a blog post HTML template that powers our blog post page. By default the Butter blog engine gives you full control over all of these tags and gives you enough capability to customize these tags. Here's example tags you can repurpose in your own template.
<meta property="og:type" content="article" /><meta property="og:url" content="{{ post.url }}" /><meta property="og:title" content="{{ post.title }}" /><meta property="og:image" content="{{ post.featured_image }}" /><meta property="og:description" content="{{ post.meta_description }}" /><meta name="twitter:card" content="summary_large_image"><meta name="twitter:site" content="@ButterCMS"><meta name="twitter:creator" content="@ButterCMS"><meta name="twitter:title" content="{{ post.title }}" /><meta name="twitter:description" content="{{ post.summary }}" /><meta name="twitter:image" content="{{ post.featured_image }}" />
Please note that "og" stands for the open graph tag (which we recommend you learn about from the official Facebook documentation) and for example og:type is currently hard coded to be an article and because it's always going to be an article in our blog post, that doesn't really need to change. Below that is og:url which is a dynamic thing that changes with each blog post so we have that set to post.url and that's much pretty on down the line for featured image and title as well.
And similarly, for Twitter card, we hardcoded it to summary_large_image that's a special Twitter format in terms of how the tweet shows up. The site and the creator is always going to be ButterCMS for us.
You can expect to see the same thing when you login to Butter. You'll have a template with code just like this that calls out all the API and ensures all your content looks great when you share it socially.

