How To's
How to Customize AI Prompts in TinyMCE with ButterCMS
Tailor AI prompt shortcuts in TinyMCE for faster, on-brand content creation with ButterCMS.
With TinyMCE's AI integration, creating content that sounds like you and stays on brand is easier than ever. Say goodbye to creative slowdowns, allowing you to move faster from idea to published content. Whether you're writing blog posts, building pages, or updating collections, your custom prompts are always right there, organized and ready to use on every WYSIWYG field in your Butter account.
Key Benefits for Marketers
-
Stay on-brand every time
-
No more second-guessing. Generate content with your brand’s style and tone with ease and speed.
-
-
Reduced Creative Roadblocks
-
No more blockers for you! Fresh ideas and inspiration without the hassle.
-
-
Streamlined Collaboration
-
Customized AI prompts shared automatically with everyone on your team in Butter.
-
-
Faster Time-to-Market
-
Reduce content bottlenecks and friction, allowing faster development workflows and enabling teams to work higher-level tasks
-
Note: You will need the AI Assistant integration enabled. If you would like to enable it, please reach out to our team. For additional information, you can also refer back to this article.
Getting started
Step 1 — Navigate to your integrations
Once you’re logged into your Butter account, navigate to your setting page and click on the Integrations tab. (You can also click on this link if you’re logged in already.)
Step 2 — Getting started
There are a couple of options here. You can either create single, individual prompts or a group of prompts.
You may want to add a group so you can organize your prompts by specific use cases. For instance, if you’re marketing to executives you may need a different tone than when you’re marketing to developers or customer success teams.
If you would like to use and edit the default prompts that we provide, click on Use default. This will add the default prompts and groups. Feel free to edit them if you would like.
Adding groups
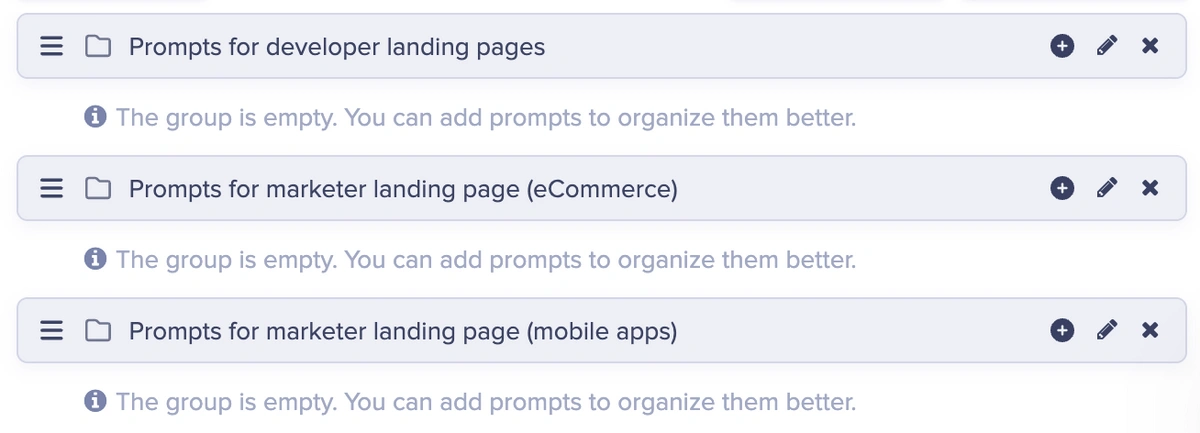
In the example below, we created a few different groups to create our prompts.
Adding prompts
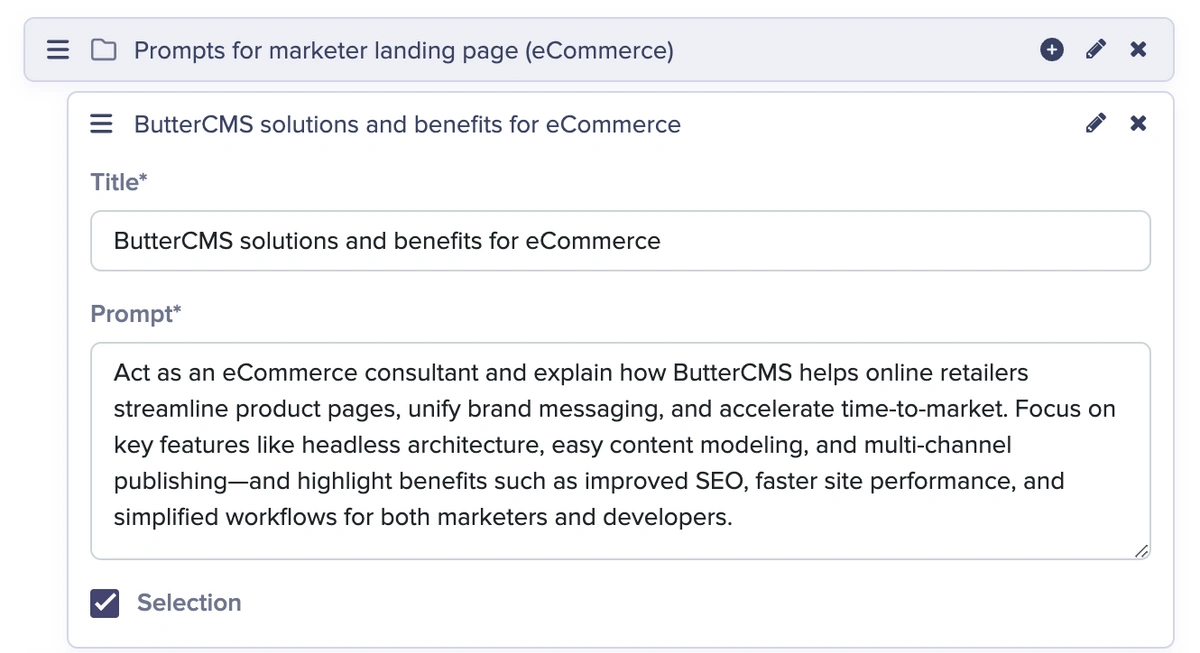
To add prompts to a specific group, click on the + button.
(If you want to add a prompt to a group and instead individually, you can click on the Add Prompt button.)
All you need to do is add in a title and prompt in the respective form fields. Then, click on the Save changes button.
Step 3 — Using your prompts
Once you have created your prompts, you can now use them in any WYSIWYG fields that you’re using on Butter — blog posts, collections, components, and page fields!
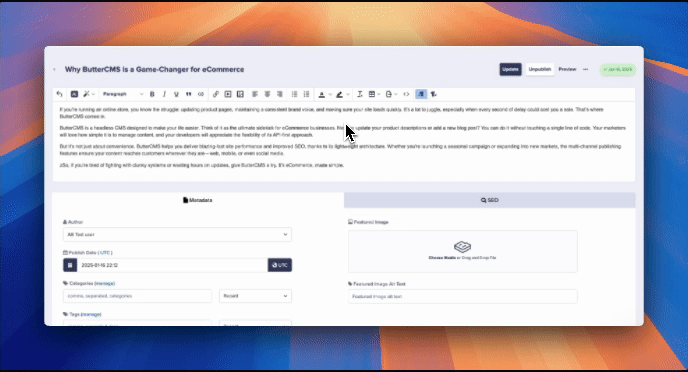
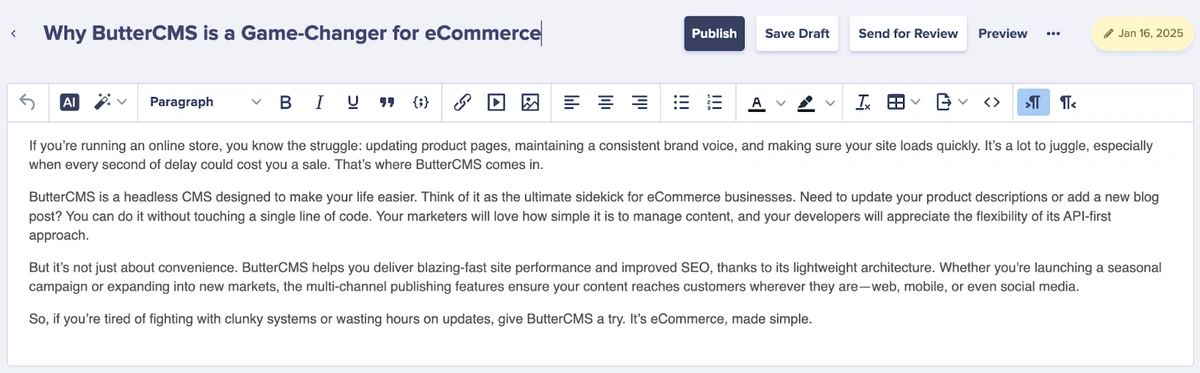
In the screenshot below, we have a sample blog post that is relatively short.
If you haven’t used our AI Assistant tool before, that’s okay! (To learn more, you can read through this article or follow along below.)
Previously, our AI Assistant had some default and general prompts. Now that we’re adding our own custom prompts, these new prompts will be tailored to you and your brand’s voice.
First, select the text in your WYSIWYG field.
Click on the AI shortcuts widget on the WYSIWYG field’s toolbar.
Next, a dropdown of our prompts and prompt groups will appear. (Please note, groups without prompts within them will be greyed out.)

Then, hover over one of your groups, if you created one, and/or click on the prompt that appears.
Finally, the AI Assistant modal will appear in the middle of your screen and provide some content that you can insert into the field. You also have options to tell it to regenerate the content or you can chat with it and craft the content in more detail.
And that’s it! Quick, easy, and simple — the ButterCMS way.