Table of contents
Discover the basic concepts of Redux and learn about actions, reducers, and a store in Redux. In addition, we’ll also build our own version of Redux using vanilla JavaScript and use it in an application. Our version of Redux will neither be production-ready nor have all the features and optimizations of Redux. However, it’ll help us understand how Redux works under the hood.
What is Redux and why should you care about it?
Redux is one of the most popular Javascript State Management Libraries and mostly used with React, though it can be used with any other library or framework. In an application, a state is like a global object which keeps a snapshot of the application’s data at that instance. If you want to trigger updates on separate components based on some action that the user performs, Redux makes it very easy with a function called a store. It’s a JavaScript object which keeps track of the whole application’s data.
What is a store?
- A store is an object which keeps track of the state of the whole application. In a Redux application, you can have only one store. The state of the store can be updated by dispatching an action (more on that later). The latest state of the store can be accessed by using the getState() function. If you want to segregate the store of one part of the application from another, you can split your different reducers. Your application can subscribe to the store in order to stay updated.
What are actions/action creators?
An action is the only way through which the store is updated. Generally, a payload is sent along with a type property while dispatching an action. Type is the only mandatory property that you'll have to send while dispatching an action. You can also send other properties as required to update your store. Actions don't have any logic regarding how to update the store.
What are reducers?
Reducers specify how the state of the store changes based on the actions dispatched by our application. Reducers contain the logic regarding how to update the store. The data is provided by the actions dispatched.
How does data flow in a Redux application?
Redux follows a strict unidirectional data flow. This ensures a single copy of your application's state ensuring that all parts of your application are in sync with the state of the store. The data flow in a Redux application starts when an action is dispatched using store.dispatch(). Redux then tries to match the type property of the action with its reducers. Since a reducer is a pure function, it computes the next predictable state. Based on how you've structured your reducers, the root reducer may combine the output of multiple reducers into a single state tree. The final step of the data flow is updating the store with state tree returned by the root reducer. This is the next state of your application.
Writing our own Redux library
In this part, you will be learning about how you can build your own Redux library using vanilla JavaScript. The source code is available on Github.
You need to create only one function called createStore. CreateStore will take two arguments:
- reducer - This is just a function that will be responsible for updating the store.
- initialState - This is the state object with which your store will be initialized. If you want to initialize your store with a set of default values, you can pass here.
First, you need to define an empty store object which will have a state key. The state key will contain the value of the initialState object.
const store = {};
store.state = initialState;
Next, you can initialize the listeners for your store:
store.listeners = [];
Next, you need to define the subscribe function which will be responsible for adding listeners for your store:
store.subscribe = listener => store.listeners.push(listener);
Next, you need to dispatch the action and call the reducer function. The reducer function will update the store which will provide updates to all the listeners.
store.dispatch = action => {
  validateAction(action);


  store.state = reducer(store.state, action);
  store.listeners.forEach(listener => listener(action));
};
You can also define a getState function to get the latest value of your store:
store.getState = () => store.state;
The createStore function should look like the following:
const createStore = (reducer, initialState) => {
  const store = {};

  store.state = initialState;
  store.listeners = [];
  store.subscribe = listener => store.listeners.push(listener);
  store.dispatch = action => {
    validateAction(action);

    store.state = reducer(store.state, action);
    store.listeners.forEach(listener => listener(action));
  };
  store.getState = () => store.state;

  return store;
};
The validateAction function just checks if the action is a valid Redux action by checking if it has a type property in it or not.
If you’re interested in understanding more about createStore, you can refer to the test cases.
Implement a small application using our Redux
In this part, we would write a small counter application using our own Redux module. Let’s create a new app using create-react-app using the command below:
npx create-react-app reduxThis will install a new React application inside the redux directory. To start the application, you need to go inside the redux directory and start the application. You can do that using the command below:
cd redux && yarn start
Your new React application will be up and running at http://localhost:3000/.
Let’s add our own Redux package inside this application. You can do so using the following command:
yarn add my-redux
Please note that the package we wrote earlier is published at https://www.npmjs.com/package/my-redux.
First, you need to import the createStore module from our Redux package inside src/App.js:
import createStore from "my-redux";
You need to define the initialState inside your constructor. Initially, the count will be 0 and it’ll be updated whenever we click on a button.
const initialState = { count: 0 };
You need to define a reducer for handling the increment using the code below:
const reducer = (state = initialState, action) =>
    action.type === "INCREMENT"
      ? { count: state.count + action.payload.count }
      : state;
You can now define your store:
this.store = createStore(reducer, initialState);
Your whole constructor method should look something like the following:
constructor() {
    super();

    const initialState = {
      count: 0
    };

    const reducer = (state = initialState, action) =>
      action.type === "INCREMENT"
        ? { count: state.count + action.payload.count }
        : state;

    this.store = createStore(reducer, initialState);
  }
You can now define a new counter state in your app:
state = { count: 0 };
You need to define one function for handling the click events. This function will be responsible for updating our store:
handleClick = () => {
this.store.dispatch({
  type: "INCREMENT",
  payload: {
    count: 1
  }
});

this.setState({ count: this.store.getState().count });
};
To see the result, you can update your render method to something like the following:
<div className="App">
<button className="App-button" onClick={this.handleClick}>
Click
</button>
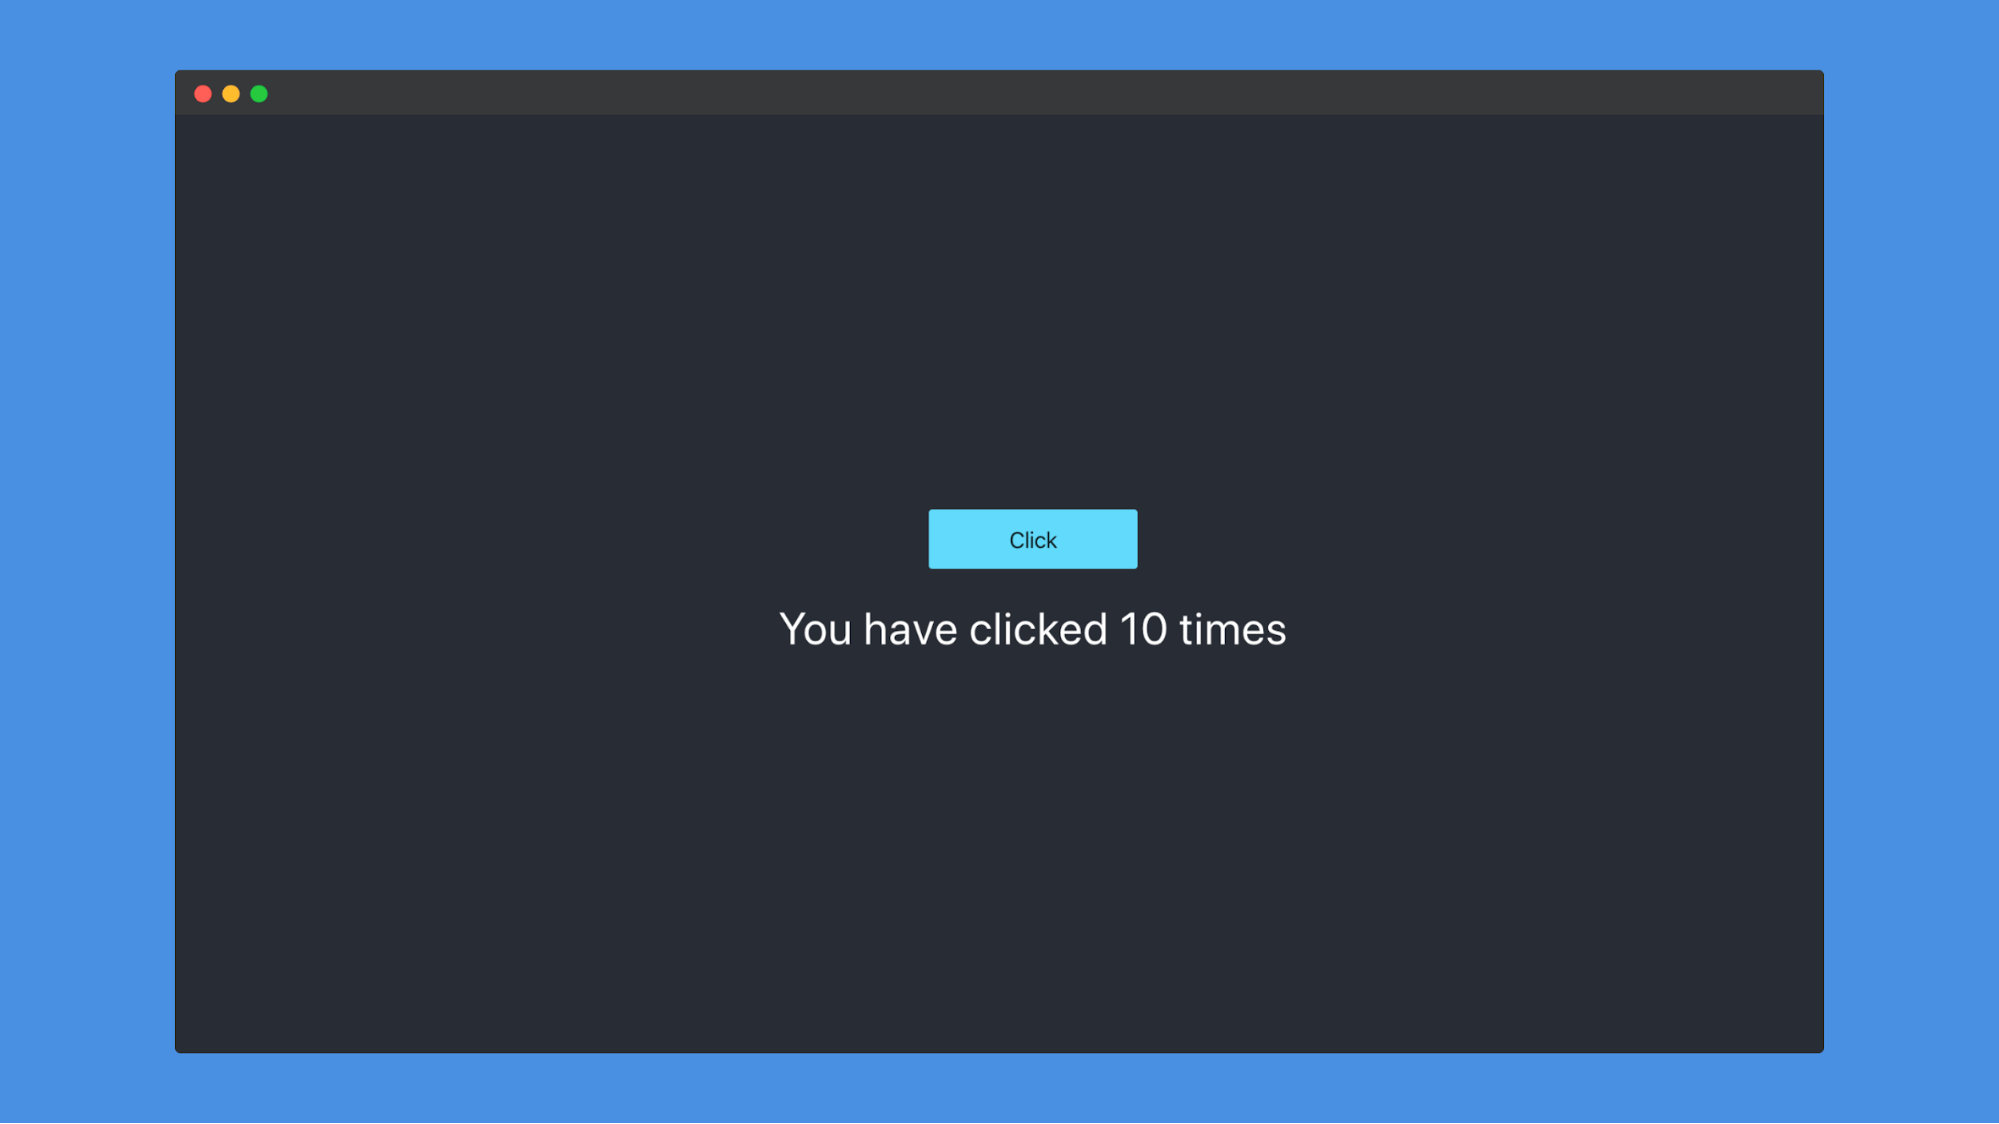
You have clicked {this.store.getState().count} times
</div>
Now, if you visit http://localhost:3000/ and click on the button on the screen, you’ll be able to see the state updated:
Conclusion
We have now implemented our own Redux using Vanilla Javascript. This implementation can also be used to add an option to integrate middlewares through which you’ll be able to push your changes to ButterCMS API. Please note that this version of Redux is not production-ready nor has all the features and optimizations of Redux. However, we hope this tutorial helps you understand Redux in future projects. Please feel free to share your feedback in the comments section below.
I hope this tutorial helps you in your future projects. Please feel free to share your feedback in the comments section below.