
Originally written by Nefe Emadamerho
Updated April 2024 by Taminoturoko Briggs
Updated February 2025 by Maab Saleem
Security is a fundamental part of app development—protecting user data and preventing unauthorized access is non-negotiable. One key way to do this? Authentication—verifying user identities before granting access. In this guide, you'll learn how to handle authentication in Next.js using NextAuth.js v4.
What is Next.js? It's a React framework that simplifies web development. It offers valuable features like file-based routing, server-side rendering, image optimization, prefetching, dynamic components, static exports, and built-in support for CSS and Sass.
Two things to note before diving in:
- NextAuth.js v5 is available but still in beta. It introduces breaking changes, so keep this in mind for future updates.
- NextAuth.js is rebranding to Auth.js to expand its applicability beyond Next.js. You can check out their official documentation for more details on this transition.
Now, let's get started.
Table of contents
What is Next.js authentication?
Authentication in Next.js is the process of verifying a user's identity. This requires users to provide their credentials, typically a username and password or any other valid credentials that can be used to prove their identity. A third-party service like Google can also do authentication.
While authentication strategies are similar across JavaScript frameworks, Next.js is unique in how it handles protected routes using different authentication patterns. We’ll explore this later in this article.
To understand what authentication means for Next.js, you must first understand how Next.js renders things.
With Next.js, there are three types of rendering: client-side rendering, server-side rendering, and static site generation.
In client-side rendering (CSR), a minimal HTML file and the entire bundled JavaScript code are sent to the browser. The JavaScript is then executed in the browser to render the page.
In server-side rendering (SSR), the complete HTML for the page content is rendered on the server upon a user’s request and then sent to the browser.
In static site generations (SSG), the HTML for each page is generated at build time and sent to the browsers at the user’s request.
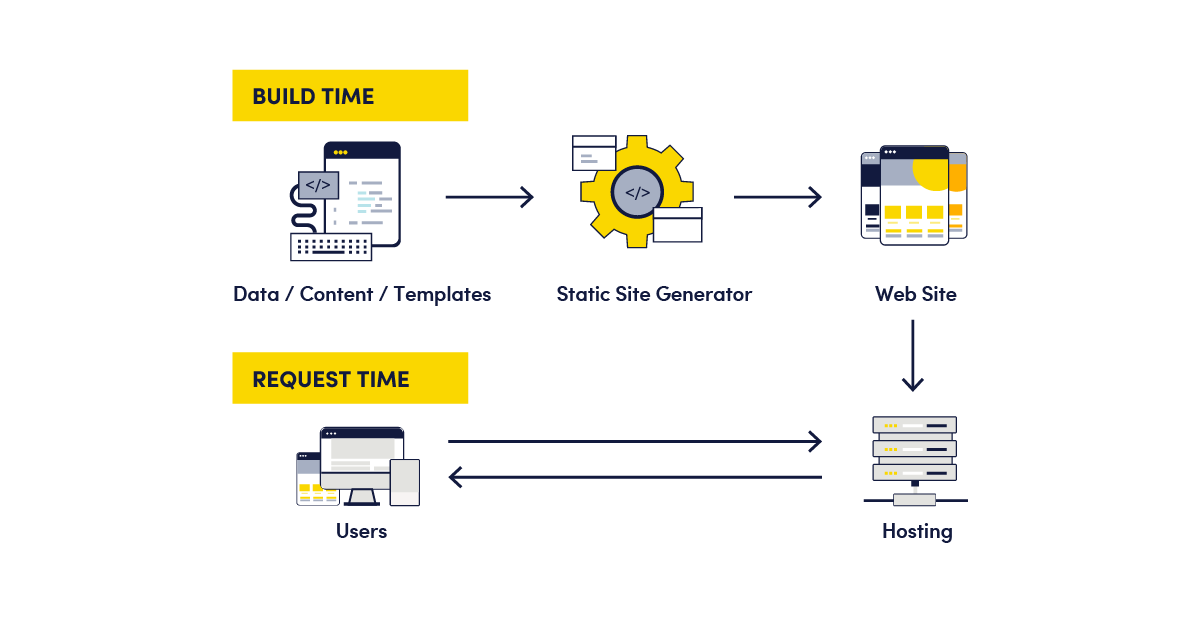
Source: Netlify
Authentication in Next.js involves verifying users while leveraging these rendering methods to control access to protected pages.
What is the difference between authentication and authorization?
As discussed above, authentication checks a user’s credentials to validate their identity at login time. It ensures that the person trying to access an application is who they claim to be. For example, think of logging into your email. You enter your username (your identity) and password (proof you own that identity). The system verifies these credentials; if they are correct, it authenticates you.
Authorization, on the other hand, determines what an authenticated user is allowed to do. It happens after authentication. For example, after you log into your email, authorization controls whether you can read, send, or delete emails.
Authentication and authorization work together to secure and manage access in a web application.
Common Next.js authentication patterns
Authentication patterns, such as static generation and server-side authentication, are common strategies for preventing unauthenticated users from accessing protected routes. Choosing the patterns that best suit your use case and application requirements is important.
Static generation pattern
This pattern in Next.js uses the framework's static HTML pre-rendering. When a page without blocking functions like getStaticProps or getInitialProps is requested, Next.js initially serves a pre-rendered, static HTML version of the page, often showing a loading state.
Simultaneously, the client-side JavaScript attempts to fetch the user's data. If authentication is successful, the intended page content is displayed. However, if authentication fails, the user is redirected to the login page, where they may also see error messages explaining the failure.
This pattern has the disadvantage of displaying secure content to an unauthenticated user.
Here’s some sample code of how this Next.js authentication pattern works:
export default function UserProfile() {
  // Fetch the user on the client-side
  const { user } = useUser({ redirectTo: "/login" });

  // Server-render loading skeleton
  if (!user) {
    return <LoadingSkeleton />;
  }
  // Once the user request finishes, show the user's name
  return <p>{user.name}</p>;
}
Server-side pattern
In this pattern, when the browser requests a server-side rendered page, a request is sent to the backend API for a user session. If successful, the server pre-renders the requested page on the server and sends it to the browser; otherwise, it redirects the user to the login page.
Unlike the static generation pattern, with this pattern, there will be no flash of unauthenticated content (FOUC) or a need to use a loading indicator.
One disadvantage is that the rendering will be blocked until the backend API responds. That is because getServerSideProps is blocking until the request is resolved.
Here’s some sample code of how the server-side authentication pattern works:
export default function UserProfile({ user }) {
  return <p>{user.name}</p>;
}

export async function getServerSideProps({ req, res }) {
  const session = await getUserSession(req);
  if (!session) {
    //If no user, redirect to login page
    res.writeHead(307, { Location: "/login" });
    res.end();
    return { props: {} };
  }

  //If there is a session, return the current session
  return {
    props: { session },
  };
}
What is NextAuth and what does it do?
Authentication in Next.js is a complex process that requires careful planning. You must decide on a method—OTP, magic link, email-password, or social sign-in. Then, you must manage a user database and choose a strong-enough encryption algorithm for password security. If you're implementing a protocol like OIDC, you'll first need to research the specifications and configure the necessary components thoroughly.
A more efficient approach is to use a purpose-built library like NextAuth, which abstracts away this complexity. It handles user sign-in, session management, and security best practices out of the box. It supports over 50 authentication providers and several databases, such as MySQL, MongoDB, PostgreSQL, and MariaDB.
You can even use it without a database. In such a configuration, user session data is typically stored in encrypted cookies. This database-less approach is suitable for more straightforward applications where user data is minimal and doesn't require persistent storage.
Additional technologies used for Next.js authentication
Here are additional authentication libraries and solutions that are compatible with Next.js.
-
Auth0: A full-featured identity platform for authentication and authorization. It supports complex workflows, with a free tier for basic needs and paid plans for advanced features like custom databases.
-
Lucia: A lightweight, open-source TypeScript library for session management. You’ll need to provide your own database for storing users and sessions.
-
Kinde: A modern authentication platform with multiple sign-in methods and SDKs for 20+ frameworks, making integration seamless.
Tutorial: Authenticating a Next.js app with NextAuth
In this tutorial, you'll learn how to authenticate a Next.js app using the Page Router and NextAuth, with GitHub’s social sign-in as the OAuth provider. You can find the complete code in this repo.
Prerequisites
The following are required to follow along with this tutorial:
- Knowledge of JavaScript, React, and Next.js
- ClientID and Client Secret credentials from your GitHub account. You can acquire ClientID by registering a new OAuth application in Developer Settings. Then, you can generate your Client Secret credentials.
Getting started
Create a Next.js starter project by running the command below in our terminal.
npx create-next-app butter-next-auth
Next, navigate into the project directory.
cd butter-next-authThen, run the command below to start the application.
npm run dev
You will use NextAuth later in the article, so install that too.
npm i next-authInitializing NextAuth
NextAuth can be initialized using the NextAuth method import from next-auth like the following:
import NextAuth from "next-auth"

export default NextAuth({
  ...
})
The NextAuth method receives an object as an argument containing the options used to configure NextAuth for your application needs. These options include:
-
Providers: An array of authentication providers to be used for signing in users on platforms such as Google, GitHub, Facebook, etc.
-
Pages: To override the built-in authentication pages and modify the page to which new users who sign in for the first time are redirected.
-
Callbacks: To add custom logic or data when specific actions are performed.
-
Session: An object with properties to specify the session strategy (JWT or database sessions), its expiry and extension time, etc.
To initialize NextAuth with GitHub, sign in and create a file called [...nextauth].js in the pages/api/auth directory, and paste the following code:
import NextAuth from "next-auth"
import GithubProvider from "next-auth/providers/github"

export const authOptions = {
  providers: [
    GithubProvider({
      clientId: process.env.GITHUB_ID,
      clientSecret: process.env.GITHUB_SECRET,
    }),
  ],
}

export default NextAuth(authOptions)
Here, we did the following:
-
Added the dynamic route required by NextAuth. Adding this route will automatically handle all requests to
/api/auth/signIn,/api/auth/signOut,/api/auth/callback, etc. by NextAuth. -
Configured GitHub as our OAuth provider using the GithubProvider by passing in our GitHub clientId and clientSecret. NextAuth supports several other built-in providers, but we used GitHub for this article’s demo.
Integrating NextAuth into the application
To integrate NextAuth into the application, navigate to the pages/_app.js file and update it with the code below:
import { SessionProvider } from "next-auth/react"

export default function App({
  Component,
  pageProps: { session, ...pageProps },
}) {
  return (
    <SessionProvider session={session}>
      <Component {...pageProps} />
    </SessionProvider>
  )
}
Here, you imported SessionProvider from the next-auth client module and used it to wrap the root of our application. This way, you can use NextAuth throughout the application. NextAuth uses React’s Context API to share the logged-in user session across all components. This improves performance, reduces network calls, and avoids page flickers when rendering.
Creating the signup page
Navigate to the pages/index.js file and update it with the code below.
import Head from "next/head";
import { signIn, signOut, useSession } from "next-auth/react";
export default function Home() {
const {data: session} = useSession();
return (
<div>
<Head>
<title>NextAuth Example</title>
<link rel="icon" href="/favicon.ico" />
</Head>
<main>
{!session && (
<>
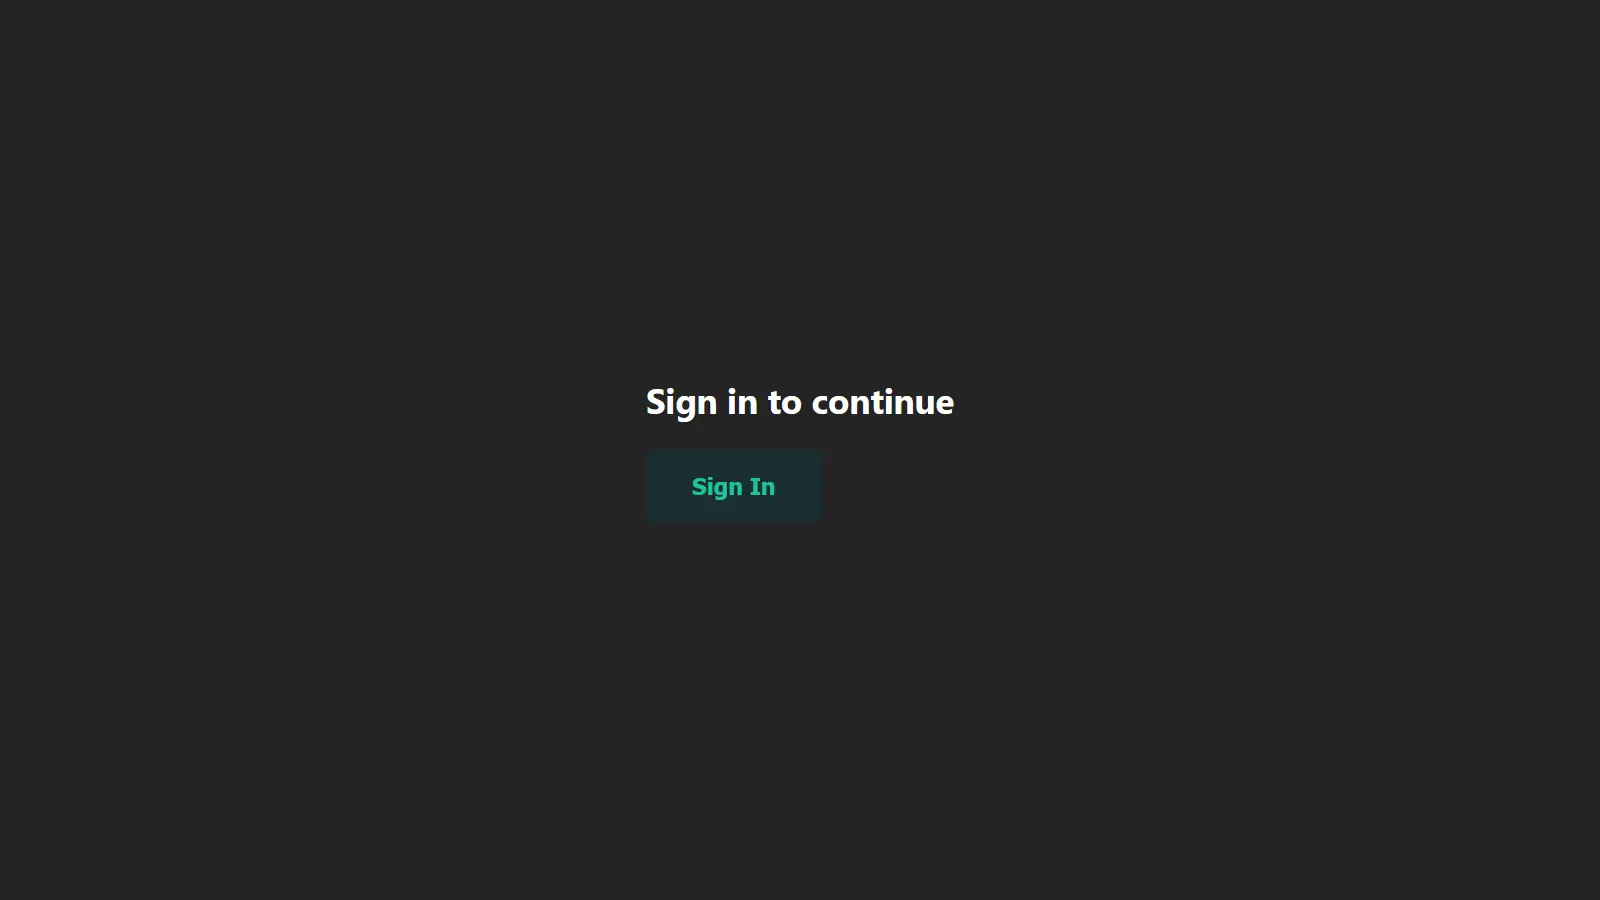
<h1> Sign in to continue</h1>
<button onClick={signIn}>Sign In</button>
</>
)}
{session && (
<>
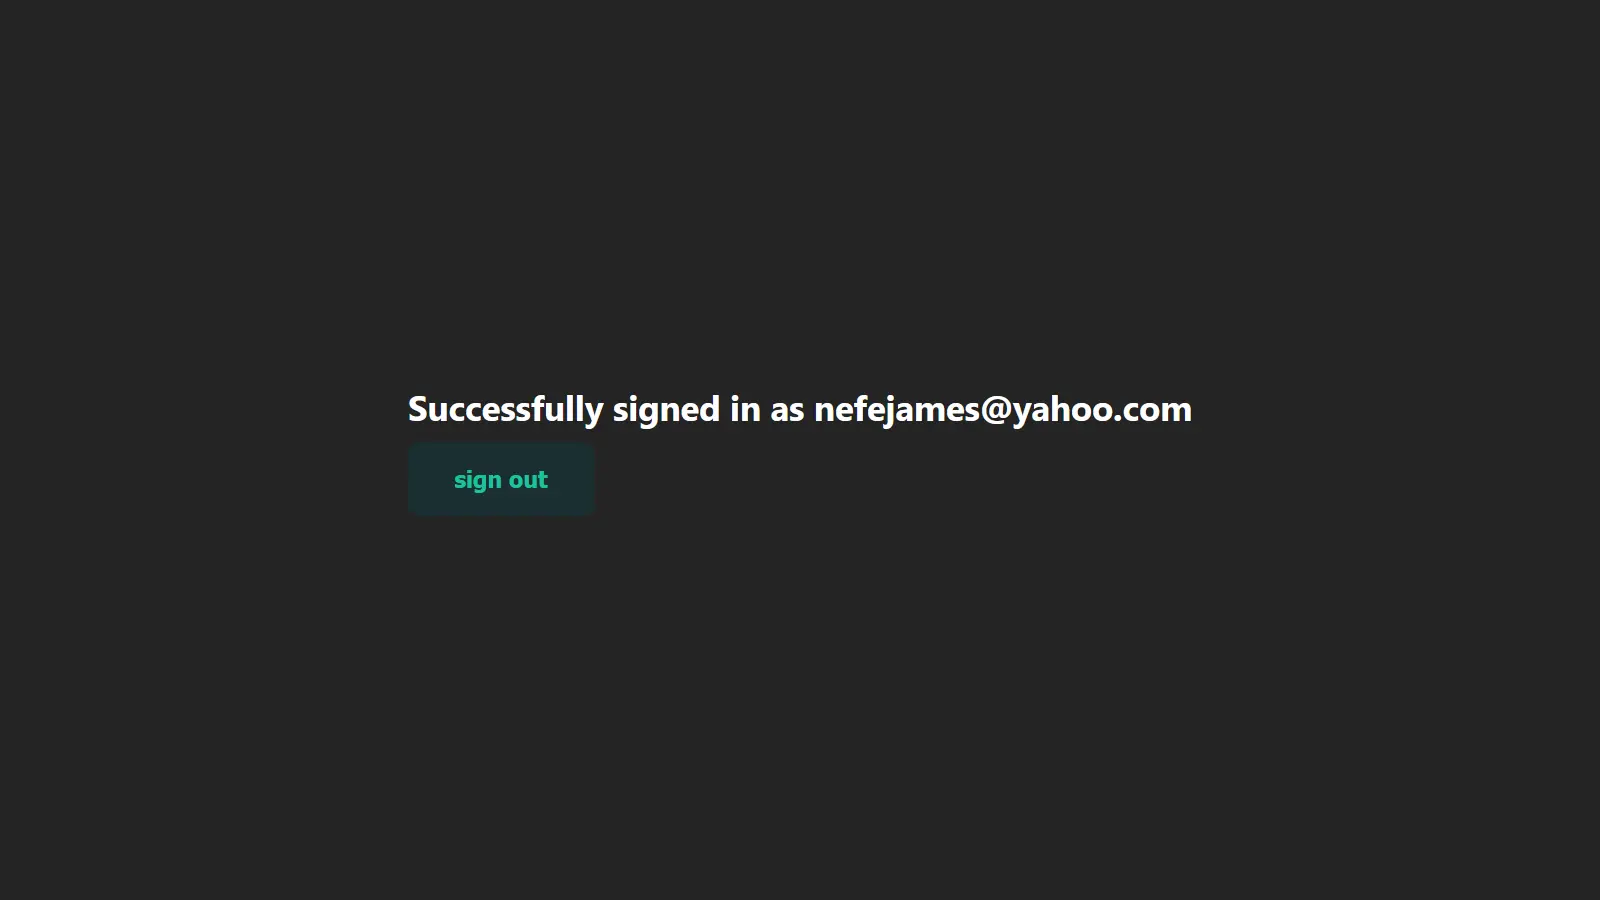
<h1>Successfully signed in as {session.user.email}</h1>
<button onClick={signOut}>sign out</button>
</>
)}
</main>
</div>
);
}
Here, you did the following:
-
Imported
signIn,signOut, anduseSessionfrom the next-auth client module. The signIn method is used to sign a user into the application, and thesignOutmethod signs them out. By default, when the signIn method is called with no argument, you will be redirected to the NextAuth sign-in page. To redirect to the provider page directly, you have to specify the provider’s ID. For GitHub. This function will be modified tosignIn('github'). -
The
useSessionhook is the easiest way to check if someone is signed in. It provides adataproperty, which is an object containing the data of the signed-in user or undefined/null. -
In the HTML
<main>tag, you performed two conditional renderings. First, if there is no session (i.e., no signed-in user), render a CTA and a button for the user to sign in. Secondly, if there is a session (i.e., a signed-in user exists), access the user email from the session object and provide a button so they can sign out.
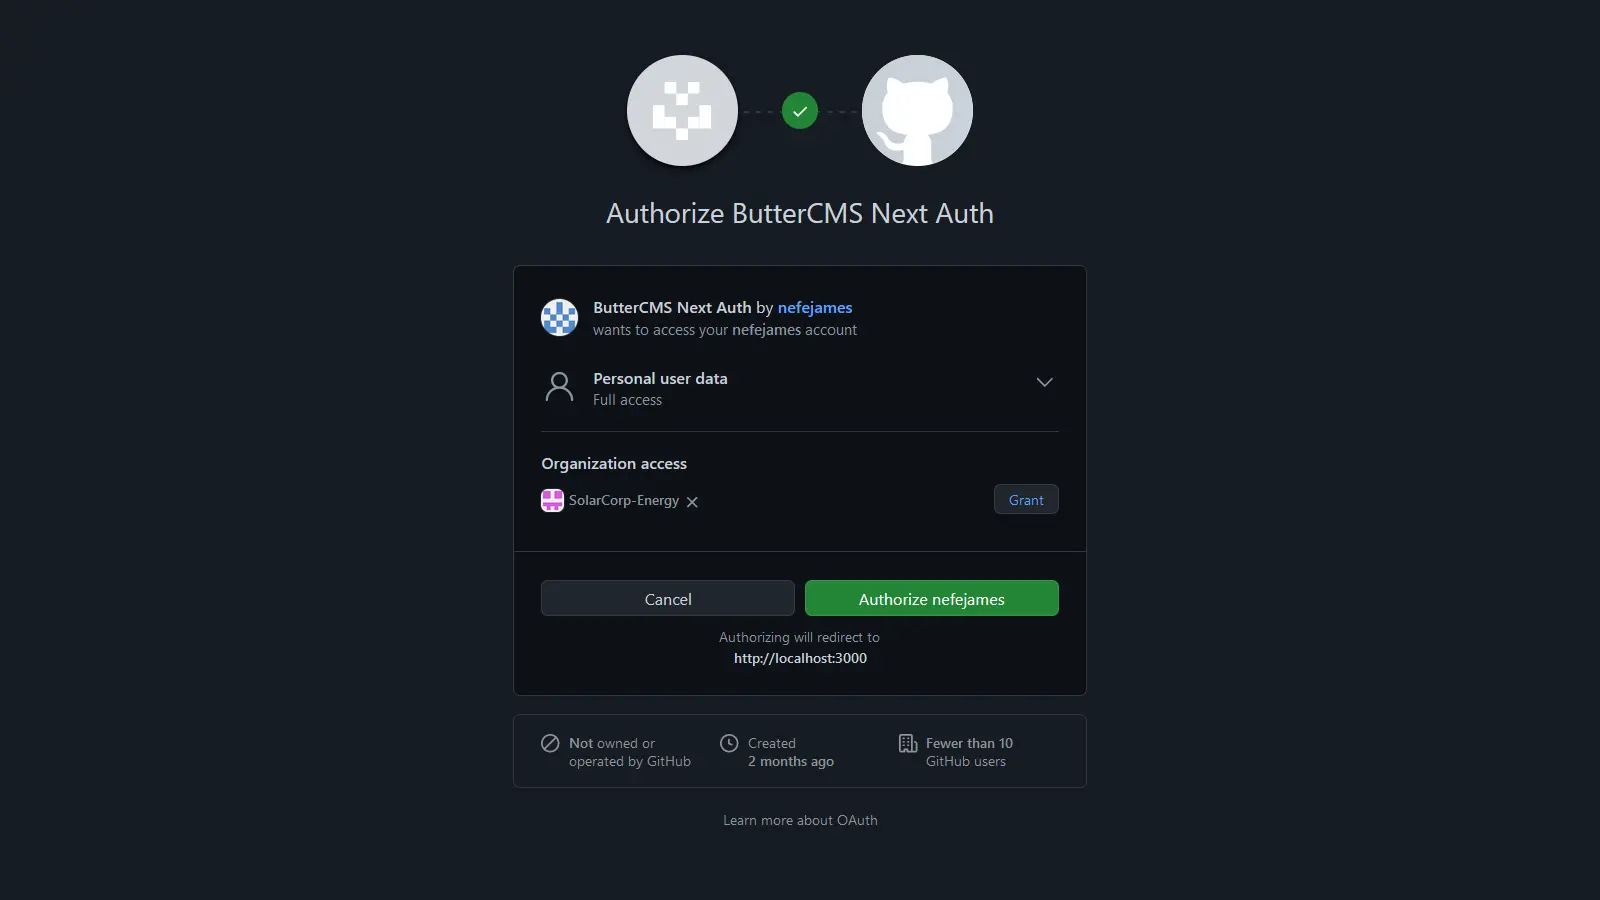
With that, you have successfully authenticated a Next.js application with NextAuth and GitHub, and the images below show the Next.js authentication flow.

Creating a Protected Route
You can take your Next.js authentication setup one step further by creating a protected route or page that can only be accessed by a logged-in user. Create a file called pages/protected-route.js and update it with the code below.
import { authOptions } from '../pages/api/auth/[...nextauth]'
import { getServerSession } from "next-auth/next"

export default function ProtectedRoute({user}) {

  return (
    <div>
      <h1>Welcome to the protected route {user?.name}</h1>
    </div>
  );
}

export async function getServerSideProps(context) {
  const session = await getServerSession(context.req, context.res, authOptions)

  if (!session) {
    return {
      redirect: {
        destination: '/',
        permanent: false,
      },
    }
  }
  const {user} = session
  return {
    props: {
      user,
    },
  }
}
Here, you did the following:
-
Imported
getServerSessionandauthOptions, which are the NextAuth configurations. -
In the
getServerSideProps, you used thegetServerSessionmethod to check if a session exists (i.e. if there is a logged-in user). If there is no session, the user will be redirected to the login page. However, you return the user’s data if there is a session.
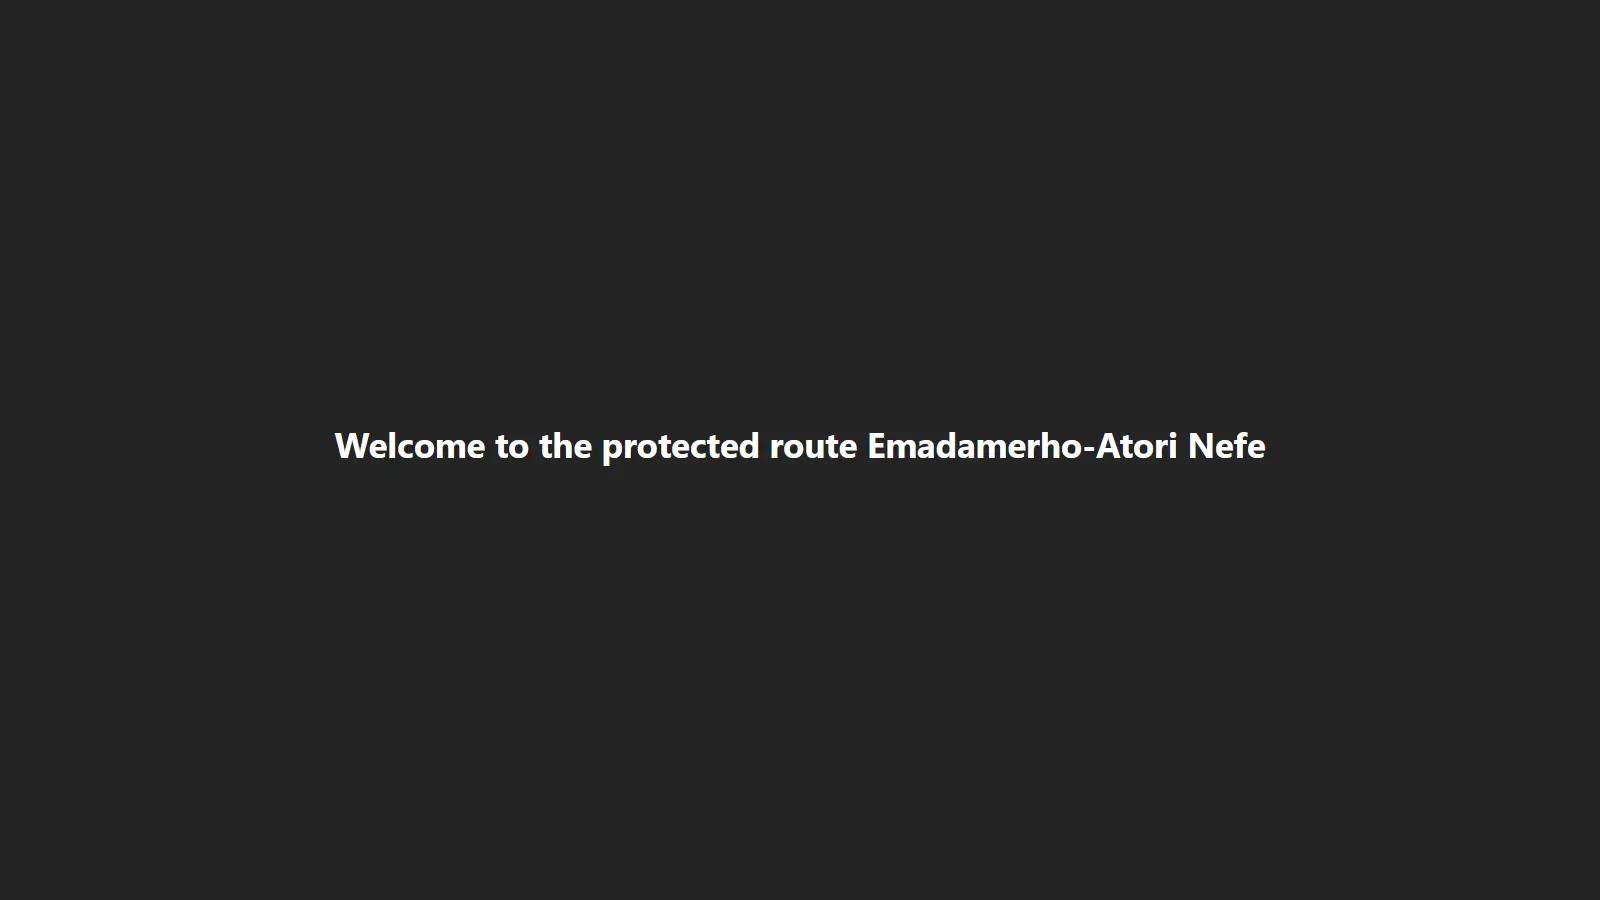
With that, you have set up a protected route that only logged-in users can access.
If non-authenticated users navigate to that route, they are redirected to the login page. However, if an authenticated user navigates to that route, they will see the image below.
Protecting routes with Middleware
Middleware lets you write code that will be executed before a request is complete. It is a great choice for protecting routes as it can significantly improve your application's performance and user experience. For protecting routes with Middleware, NextAuth provides a withAuth function that can be imported from next-auth/middleware either as a default or a named import.
Create a middleware.js file in the root directory of your project and add the following line of code:
export { default } from "next-auth/middleware"This protects the entire site, allowing only authenticated users to access it. To protect a specific page, you can use Matchers, which allows you to indicate the specific paths the Middleware should run.
For example, to protect the pages/protected-route.js file created above without using getServerSideProps, you will do the following:
export { default } from "next-auth/middleware"

export const config = { matcher: ["/protected-route"] }
For a more granular control, which will be helpful if we are also matching routes that don’t require authentication, we can make use of the authorized callback like the following:
import { withAuth } from "next-auth/middleware"

export default withAuth(
{
callbacks: {
authorized: ({ req, token }) => {
if (!token && req.nextUrl.pathname.startsWith('/protected-route')) {
return false
}
return true
},
},
}
)

export const config = {
matcher: [
'/((?!api|_next/static|_next/image|favicon.ico).*)',
],
}
Protecting API routes
Authenticating Next.js API routes with NextAuth is straightforward. Create a pages/api/secure-api.js file and paste the code below.
import { authOptions } from './auth/[...nextauth]'
import { getServerSession } from "next-auth/next"

export default async (req, res) => {
  const session = await getServerSession(req, res, authOptions)

  if (session) {
    res.status(200).json({
     	name: "John Doe",
	message: "Welcome authenticated user",
    });
  } else {
    res.status(403).json({
      error: "You must sign-in to view the content on this page.",
    });
  }
};
Here, you did the following:
-
Imported
getServerSessionandauthOptions. -
Assigned the returned value of the
getServerSession()session variable. -
Checked whether a session exists. If it exists, you returned a dummy JSON response containing a success message and a name. However, in real-world applications, you would provide meaningful data. If a session doesn’t exist, you return an error.
Creating a custom NextAuth sign-in page
By default, NextAuth.js comes baked with a generic and minimal user interface that shows sign-in options based on the authentication providers we supplied during configuration.
However, there are circumstances where you would prefer to create a custom login page that matches the identity and representation of your brand, and NextAuth allows you to do that.
To create a custom page, you need to make some updates to the [...nextauth].js file in the pages/api/auth directory.
import NextAuth from "next-auth"
import GithubProvider from "next-auth/providers/github"

export const authOptions = {
  providers: [
    GithubProvider({
      clientId: process.env.GITHUB_ID,
      clientSecret: process.env.GITHUB_SECRET,
    }),
  ],
  pages: {
   signIn: "/sign-in"
  }
}

export default NextAuth(authOptions)
The page you defined, signIn: "/sign-in" means that you must have a sign-in page in the app, so let’s set that up.
Create a pages/sign-in.js file and paste the code below.
import { signIn } from "next-auth/react";

export default function CustomSignInPage() {
  return (
    <div>
      <h1>Welcome to your custom sign-in page</h1>
      <button onClick={() => signIn('github', {callbackUrl: 'http://localhost:3000'})}>Cool Custom GitHub Button</button>
    </div>
  );
}
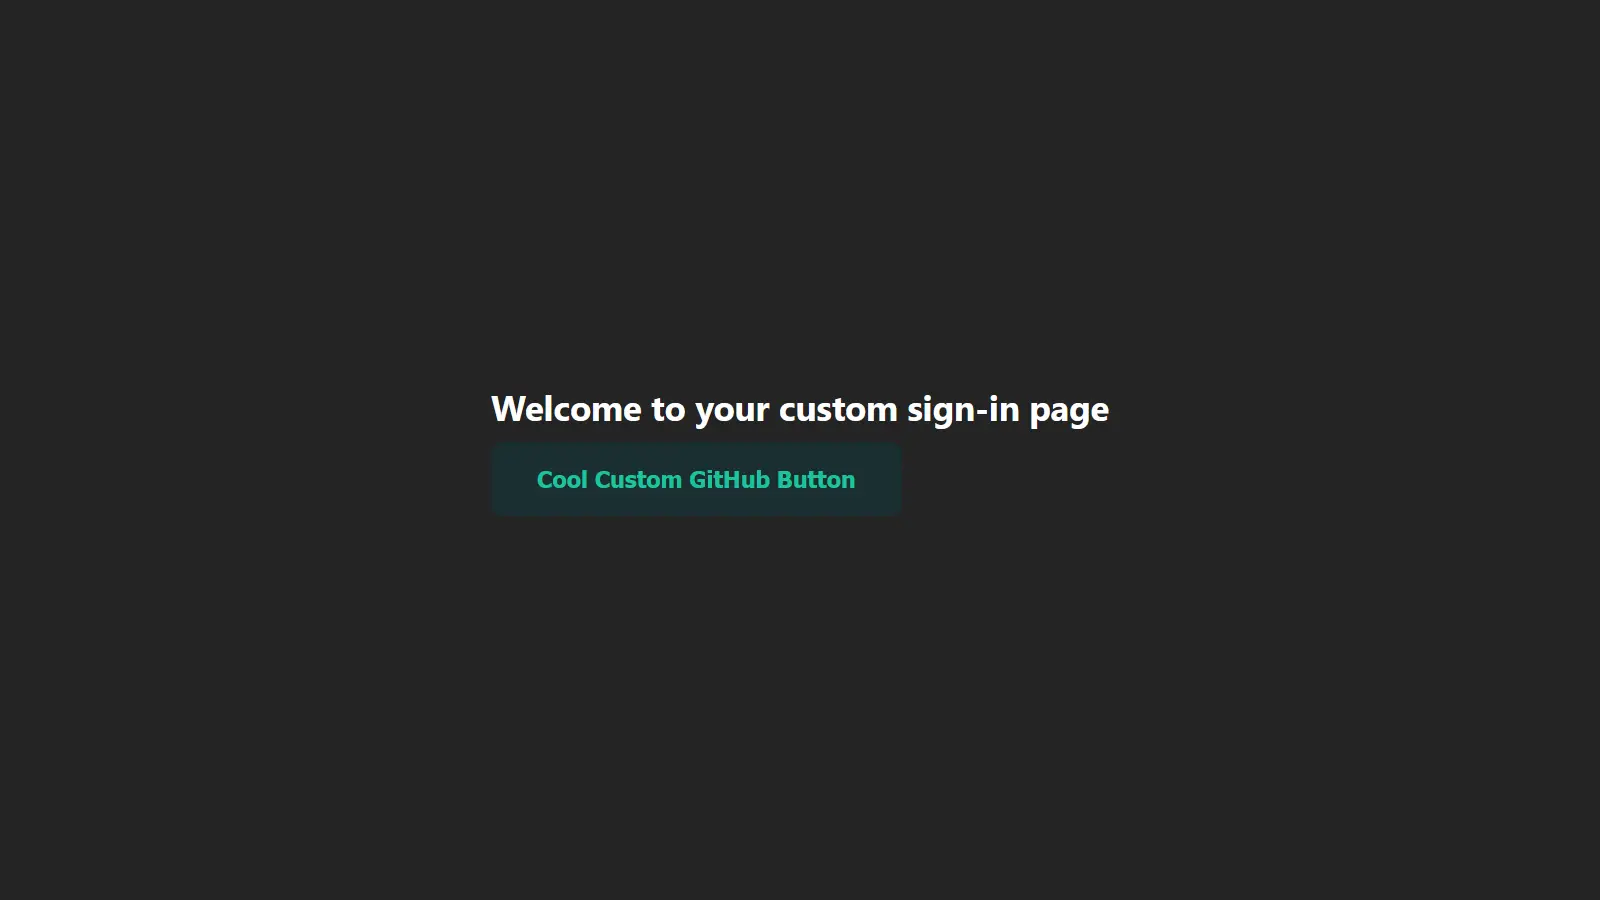
Here, you imported the signIn method from NextAuth and called it in the button’s onClick event handler, passing the GitHub provider ID and the URL to be redirected to after signing in its options object.
With that, you get a cool branded sign-in page instead of the generic one. Beyond creating custom sign-in pages, you can also create pages for signing out, displaying errors, verifying users, and new user authentications.
Storing signed-in user data
Even though NextAuth is a great authentication library for Next.js applications, there’s one thing it lacks: an out-of-the-box user data storage solution. If you are building an app for internal use, you may not require persistent user data, but customer-facing applications often do (e.g., for billing, customer support, etc.).
Therefore, you'll typically need to set up your own database to store this information. Fortunately, NextAuth works well with many popular databases, including MySQL, PostgreSQL, MongoDB, and SQLite. It also comes with an Adapter API that can be used to connect your authentication setup with virtually any database.
Session management
Session management is the process of preserving a user’s authentication state so that their access to protected resources is maintained across multiple requests or visits. NextAuth is packed with session management features. It offers convenient methods and hooks for easy interaction with session data.
For example, you can customize the session object in NexAuth configuration by modifying the following parameters:
session: {
  //Let us choose how the user session will be saved.
  // This can either be "jwt" or "database".
  // The default is "jwt" where an encrypted JWT is stored in the session cookie.
  // However, if a database adapter is configured, the default is set to "database".
  // For the "database" strategy a sessionToken is stored in the cookie that is used to find the session in the database.
  strategy: "database",

  // The time before an idle session expires and is no longer valid.
  // In seconds
  maxAge: 30 * 86400, // 30 days

  // Control how frequently the database is updated to extend the user session.
  // In seconds. If set to 0 the database will always be updated
  // Note: It's not applicable when using the JWT strategy.
  updateAge: 86400, // 24 hours

  // To define a custom session token string.
  generateSessionToken: () => {
    return randomUUID?.() ?? randomBytes(32).toString("hex")
  }
}
Next.js authentication best practices
Here are some best practices for handling and managing authentication in Next.js.
Avoid using password-based authentication
Password-based authentication is generally discouraged due to security risks and the extra measures required to protect it. It is vulnerable to several types of attacks, including:
-
Phishing attacks: Attackers create fake websites that mimic legitimate ones to trick users into revealing their passwords.
-
Brute force attacks: Attackers repeatedly try different character combinations until they guess a user’s password.
-
Credential stuffing: Attackers use leaked username-password pairs from previous data breaches to gain unauthorized access, relying on users reusing passwords across multiple sites.
Additionally, when using password-based authentication, you must implement several other solutions, such as a password strength checker, password reset, forget password functionality, etc.
Some alternatives to password-based authentication include: social login (e.g., Google, Facebook, GitHub, etc.), magic link, and one-time password (OTP). Each of these has pros and cons, so pick the one that best suits your needs.
Use an authentication solution
Most Next.js authentication solutions follow best practices and stay updated with security standards. Using them saves time and effort and reduces the risk of data breaches.
Add two-factor authentication (2FA)
Two-factor authentication adds a second verification step, enhancing security and blocking unauthorized access.
Properly configure authentication cookies
Next.js authentication cookies verify user sessions and must be properly configured to prevent unauthorized access. To mitigate risks like man-in-the-middle (MITM) attacks, cross-site scripting (XSS), and cross-site request forgery (CSRF), set the Secure, HttpOnly, and SameSite attributes.
Enable session expiration and automatic logout
Expire user sessions after a set period of inactivity to prevent unauthorized access from stale sessions. Additionally, provide users with clear feedback about session expiration and offer a seamless re-authentication process.
Implement role-based access control (RBAC)
Not all users should have the same level of access. Use RBAC to define different roles (e.g., admin, user, editor) and restrict access based on permissions.
Questions about Next.js authentication
Should you build your own authentication system?
Building a secure and scalable Next.js authentication system is complex and resource-intensive. Here’s what to consider:
-
Business priorities: A custom solution might not be worth the effort if it doesn’t directly support your business goals.
-
Technical expertise and costs: Secure authentication requires specialized knowledge, ongoing maintenance, and significant investment.
-
Scalability and complexity: As your app grows, adding features like social sign-ins or passwordless login increases cost and complexity.
-
Regulatory compliance: Handling sensitive user data means navigating evolving security regulations, adding another layer of difficulty.
Unless you’re building an Authentication-as-a-Service (AaaS) business like Auth0 or Okta, leveraging a third-party solution is usually the smarter choice.
What is the right pattern to authenticate Next.js applications?
There’s no one-size-fits-all answer—it depends on your app’s needs. No single pattern is inherently “right” or “wrong.” The key is ensuring your authentication approach is secure, scalable, and fits your requirements.
Which third-party authentication provider should I use?
There are plenty of great third-party authentication solutions to choose from, including Okta, Ory, Auth0, NextAuth, and LoginRadius. When deciding which one is right for you, consider:
-
Sign-in methods: Does it support email/password, social login, magic links, or other authentication options your users prefer?
-
Data storage: Some providers (like Auth0) offer built-in databases, while others (like NextAuth) require you to manage storage yourself.
-
Features: Look for essentials like multi-factor authentication (MFA), single sign-on (SSO), analytics, and user management—especially if you plan to scale.
-
Pricing: Ensure the solution fits your budget based on the number of users and the scale of your application.
-
Support and reliability: What’s their response time? Do they offer email, chat, or video support? A slow or unresponsive provider can cost you.
-
Developer experience: Clear documentation, easy integration (via APIs, SDKs, or libraries), and compatibility with your tech stack make implementation smoother.
The best authentication provider should empower your team, not slow them down. Choose one that integrates seamlessly with your workflow and supports your long-term growth.
Closing thoughts
You now have a solid grasp of Next.js rendering methods, authentication patterns, and how to set up authentication with NextAuth. One of Next.js’ biggest strengths is its flexibility—you can choose the authentication approach that best fits your needs. And with NextAuth, you get seamless, hassle-free authentication that integrates smoothly with third-party identity providers like GitHub and Facebook.
Now, take your Next.js project even further with ButterCMS. Power up your content management with a free 14-day trial and see how easy it is to manage and personalize content for your applications.
Ready to dive deeper? Check out these resources:
Next.js starter project
How to boost your blog with Next.js