Serverless application architectures are gaining in popularity and it's no mystery why. Developers are able to build and iterate on products faster when they have less infrastructure to maintain and don't need to worry about server maintenance, outages, and scaling bottlenecks.
In this tutorial, you’ll learn how to use React, ButterCMS, and Netlify to create a serverless, SEO-friendly, CMS-powered blog. You'll also learn about Netlify, serverless architecture, and why it's an excellent choice for SEO-friendly apps.
Table of contents
What is Netlify?
Netlify is a platform that allows developers to securely and easily build, test, deploy, host, and manage web applications. Netlify connects to the repository containing the source code provided by developers, then begins the build process and delivers the build to content delivery networks (CDNs).
Netlify is an excellent option for quickly deploying serverless applications because it includes several features, such as:
-
Serverless platform: Netlify provides a serverless platform that manages the application’s infrastructure, allowing developers to focus on building serverless applications.
-
Content delivery network (CDN): Netlify provides a content delivery network that enables the rapid delivery of serverless functions.
-
Monitoring: Developers can use the Netlify monitoring tool to keep track of their application performance in real time and identify any issues that may impact the user experience.
-
Scalability: Netlify automates the scaling of your serverless functions for your applications so developers don't have to worry about application performance as the number of users increases.
In addition, Netlify offers several pricing plans that you can choose from depending on your project’s requirements. They include:
-
Starter plan - Free
-
Pro plan - $19 per member/month
-
Business plan - $99 per member/month
-
Enterprise plan - Custom pricing

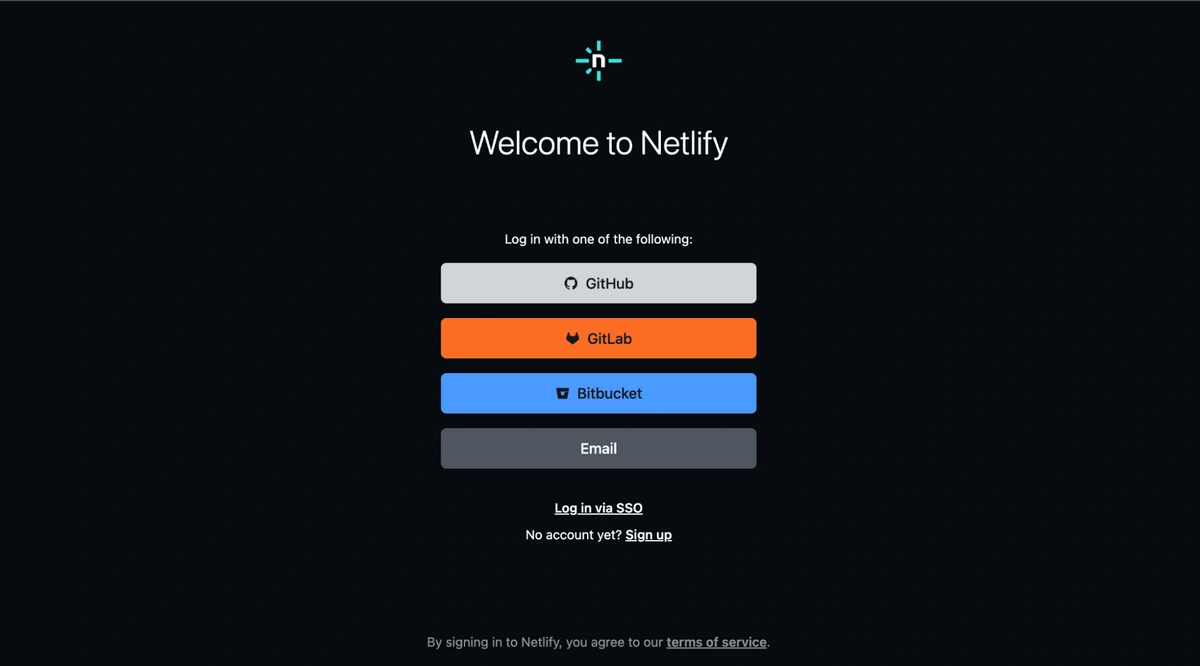
To get started with Netlify, first create an account and log in. You will be directed to a page where you can connect your source code repository:
What is serverless architecture?
A lot of work goes into managing servers such as making software updates, ensuring data is backed up, and maintaining security—all of which could be a hassle for developers. With a serverless architecture, developers can outsource this huge load of work to a service provider like Netlify and focus on writing the code for their applications instead.
Serverless architecture is a technique that saves developers the stress of managing their application’s underlying infrastructure and lets them focus on building their applications.

What makes it a good choice for SEO-friendly apps?
Serverless architecture offers a number of benefits that make it a good choice for building SEO-friendly apps. Such benefits include:
-
Reduction in development time: Using a traditional server-based architecture to handle SEO-friendly apps results in developers spending a significant amount of time manually configuring the entire application's server, which reduces the focus and attention spent on ensuring the application is SEO-friendly. Serverless architecture is a better option because it simplifies the structure of the application's code by breaking it down into smaller functions that can be easily managed, scaled, maintained, and optimized for SEO. It also simplifies the testing and integration of SEO strategies for developers.
-
Cost-effective: When developing SEO-friendly apps, there are several costs to consider, such as tools that track or monitor keyword rankings, content creation, storage, infrastructure, link building, and so on. When you use a serverless architecture for your SEO-friendly apps, you have the advantage of only paying for the resources that you use at any given time, saving costs that can be invested in ensuring good SEO for your application.
-
Auto-scaling: Manually handling sudden spikes in traffic as your application scales can be daunting and have an impact on the application's performance by causing slow loading times. This could have an impact on the application's user experience as well as its SEO ranking. Luckily, serverless architectures are a great solution to this problem because they allow for automatic scaling in response to changes in the workloads or traffic of the application without affecting its performance.
-
Third-party integrations: With serverless architectures, you can easily integrate your application with third-party services that provide several SEO best practices such as schema markup, content, mobile or website speed optimization, and so on.
Building an SEO-friendly React blog with Netlify and ButterCMS
Here, we’ll build a serverless and SEO-friendly blog application using React, ButterCMS, and Netlify. The tutorial's finished code is available on GitHub.
Prerequisites
To follow along with this tutorial, ensure you have the following:
-
An understanding of how React works
Getting started
We'll be using Vite to set up our React project.
Create the new React project by running this command:
npm create vite@latest react-serverless-blog -- --template react
Then, run the following commands:
cd react-serverless-blog
npm install
npm run dev
Creating routes
Our blog needs two screens: one for listing all posts and another for displaying individual posts. Create BlogHome.jsx and BlogPost.jsx components in the src directory:
Add this code to the BlogHome.jsx file:
import React from 'react';

function BlogHome () {
  return (
    <div> Home </div>
  )
}
export default BlogHome;
Add this code to the BlogPost.jsx file:
import React from 'react';

function BlogPost () {
  return (
    <div> Post </div>
  )
}
export default BlogPost;
Creating a React app doesn't offer routing out-of-the-box, so we'll add react-router-dom:
npm install react-router-dom
In the source folder, create a new file called routes.jsx. We'll create routes for the blog home page with and without page parameters, as well as the individual post page:
import React from "react";
import { Route, createRoutesFromElements } from "react-router-dom";

import App from "./App";

const Routes = () =>
  createRoutesFromElements(
    <Route path="*" element={<App />}>
      {/* <Route path="/" element={<BlogHome />} />
      <Route path="/p/:page" element={<BlogHome />} />
      <Route path="/post/:slug" element={<BlogPost />} /> */}
    </Route>
  );

export default Routes;
Next, we'll update main.jsx so it uses our routes when initializing the application:
import React from "react";
import ReactDOM from "react-dom/client";
import "./index.css";
import { RouterProvider, createBrowserRouter } from "react-router-dom";
import router from "./routes";

ReactDOM.createRoot(document.getElementById("root")).render(
  <React.StrictMode>
    <RouterProvider router={createBrowserRouter(router())} />
  </React.StrictMode>
);
And finally, we'll update App.jsx so it nests child components specified in our routes:
import { Routes, Route } from "react-router-dom";
import BlogHome from "./BlogHome";
import BlogPost from "./BlogPost";

function App() {
  return (
    <div className="App">
      <div className="App-header">
        <h2>My blog</h2>
      </div>
      <div>
        <Routes>
          <Route path="/" element={<BlogHome />} />
          <Route path="/p/:page" element={<BlogHome />} />
          <Route path="/post/:slug" element={<BlogPost />} />
        </Routes>
      </div>
    </div>
  );
}

export default App;
Building the blog
Next, we’ll slide in ButterCMS to bring our blog to life. ButterCMS provides an API that lets you easily fetch blog posts, categories, tags, and authors.
First, we'll install the ButterCMS JS client:
npm install buttercms --saveNext, we’ll fetch posts from ButterCMS and render them. You'll need to obtain your API token from your ButterCMS dashboard. Log in and select React from the list of stacks offered by ButterCMS:

Then, copy your API token:
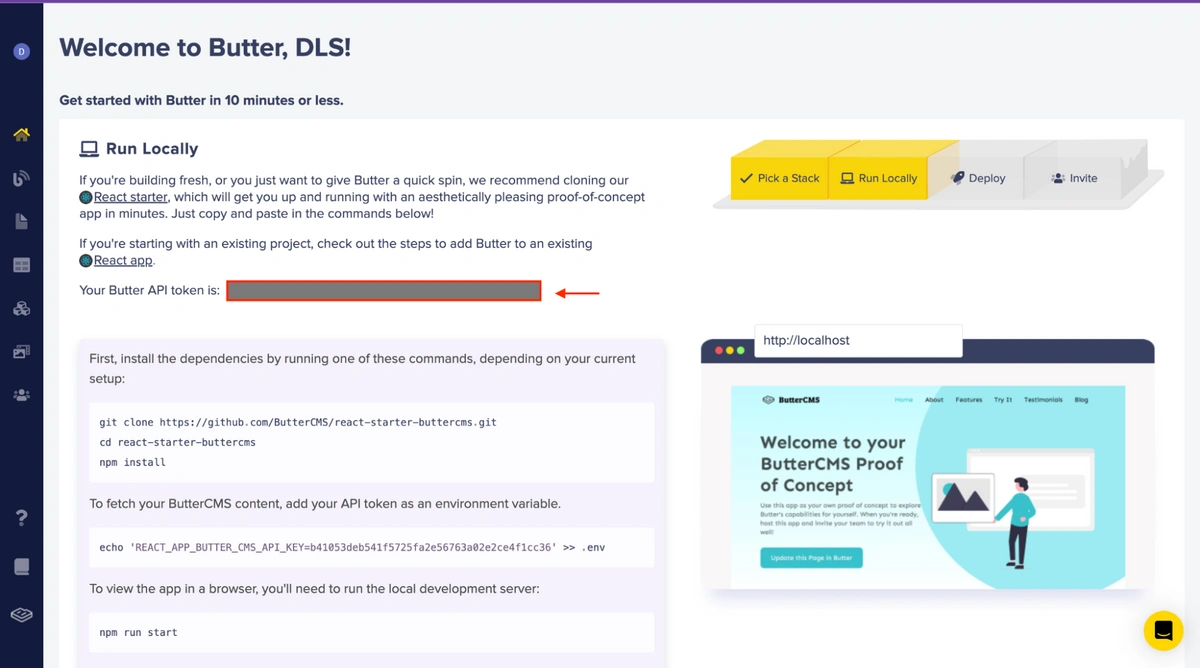
Create a butter.js file to store your API token as well as the methods we'll use to fetch posts by page and posts by slug. Copy and paste the following code into the file, replacing <API token> with the API token you copied:
import Butter from "buttercms";
const butter = Butter("b41053deb541f5725fa2e56763a02e2ce4f1cc36");

export function fetchPostsByPage(page, setState) {
  butter.post.list({ page: page, page_size: 10 }).then((resp) => {
    setState({
      loaded: true,
      resp: resp.data,
    });
  });
}

export function retrievePostsBySlug(slug, setState) {
  butter.post.retrieve(slug).then((resp) => {
    setState({
      loaded: true,
      post: resp.data.data,
    });
  });
}
Next, copy and paste the following code into your BlogHome.jsx file:
import React, { useEffect, useState } from "react";
import { fetchPostsByPage } from "./butter";
import { useParams, Link } from "react-router-dom";

function BlogHome() {
  const params = useParams();
  const [state, setState] = useState({
    loading: false,
    resp: null,
  });

  useEffect(() => {
    let page = params.page || 1;
    fetchPostsByPage(page, setState);
  }, [params.page]);

  return state.loaded ? (
    <>
      <div>
        <ul style={{ listStyleType: "decimal-leading-zero" }}>
          {state.resp?.data.map((post) => {
            return (
              <li>
                <div key={post.slug}>
                  <Link className="blog-links" to={`/post/${post.slug}`}>{post.title}</Link>
                </div>
              </li>
            );
          })}
        </ul>


        <div>
          {state.resp.meta.previous_page && (
            <Link to={`/p/${state.resp.meta.previous_page}`}>Prev</Link>
          )}
          {state.resp.meta.next_page && (
            <Link to={`/p/${state.resp.meta.next_page}`}>Next</Link>
          )}
        </div>
      </div>
    </>
  ) : (
    <div>Loading...</div>
  );
}
export default BlogHome;
Next, we'll update BlogPost.jsx to fetch and display posts based on the route:
import React, { useEffect, useState } from "react";
import { retrievePostsBySlug } from "./butter";
import { Helmet } from "react-helmet";
import { useParams, Link } from "react-router-dom";

function BlogPost() {
  const params = useParams();
  const [state, setState] = useState({
    loaded: false,
    post: null,
  });

  useEffect(() => {
    retrievePostsBySlug(params.slug, setState);
  }, []);

  if (state.loaded) {
    const post = state.post;

    return (
      <div>
        <Helmet>
          <title>{post.seo_title}</title>
          <meta name="description" content={post.meta_description} />
          <meta name="og:image" content={post.featured_image} />
        </Helmet>
        <h1>{post.title}</h1>
        <div dangerouslySetInnerHTML={{ __html: post.body }} />
        <Link className='goback' to="/"> Back </Link>
      </div>
    );
  } else {
    return <div>Loading...</div>
  }
}

export default BlogPost;
Head elements
Our blog is working but our post pages don't have properly set HTML titles or meta tags. To fix this, we'll use React Helmet.
First, install the package:
npm install --save react-helmet
Import the Helmet module in our BlogPost.jsx file and use it in our render() method to set HTML tags that should be in the <head>:
  <Helmet>
    <title>{post.seo_title}</title>
    <meta name="description" content={post.meta_description} />
    <meta name="og:image" content={post.featured_image} />
  </Helmet>
Here's what the complete code for the BlogPost.js component looks like. Inspect the DOM to verify that tags are getting set correctly.
import React, { useEffect, useState } from "react";
import { retrievePosts } from "./butter";
import { Helmet } from "react-helmet";

function BlogPost({ params }) {
  const [state, setState] = useState({
    loaded: false,
    post: null
  });

  useEffect(() => {
    retrievePosts(params.slug, setState)
  }, [])

  if (state.loaded) {
    const post = state.post;

    return (

      <div>
        <Helmet>
          <title>{post.seo_title}</title>
          <meta name="description" content={post.meta_description} />
          <meta name="og:image" content={post.featured_image} />
        </Helmet>
        <h1>{post.title}</h1>
        <div dangerouslySetInnerHTML={{__html: post.body}} />
      </div>
    );
  } else {
    return (
      <div>
        Loading...
      </div>
    );
  }
}

export default BlogPost;
Adding blog posts to ButterCMS
Let’s proceed to ButterCMS to add three blog posts.
Creating the first post
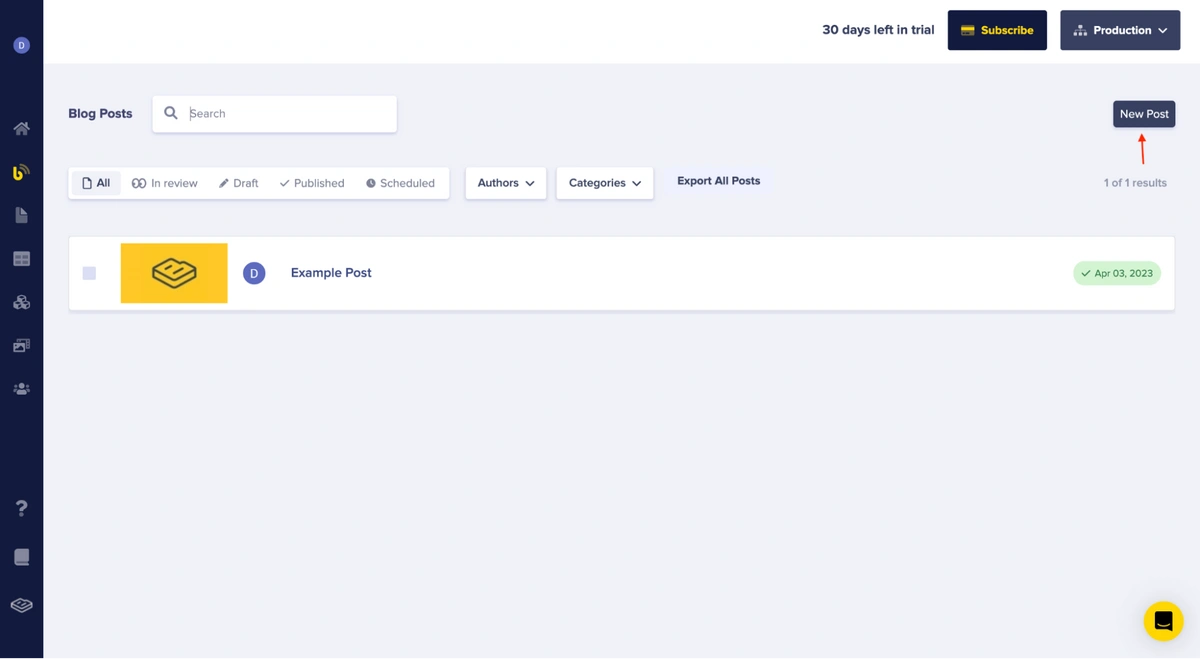
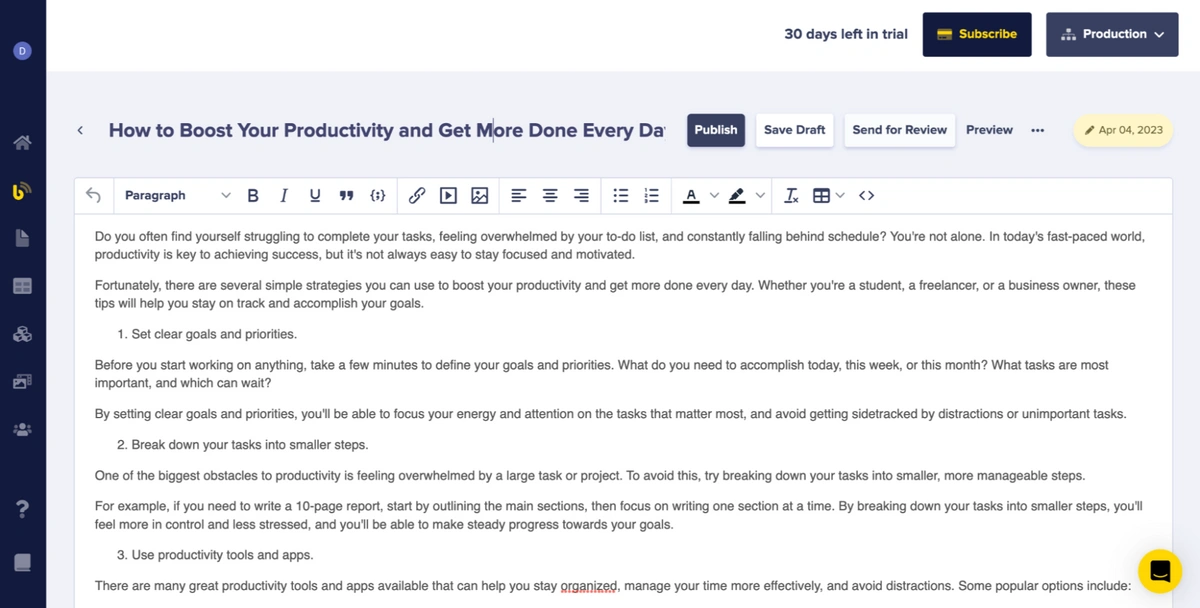
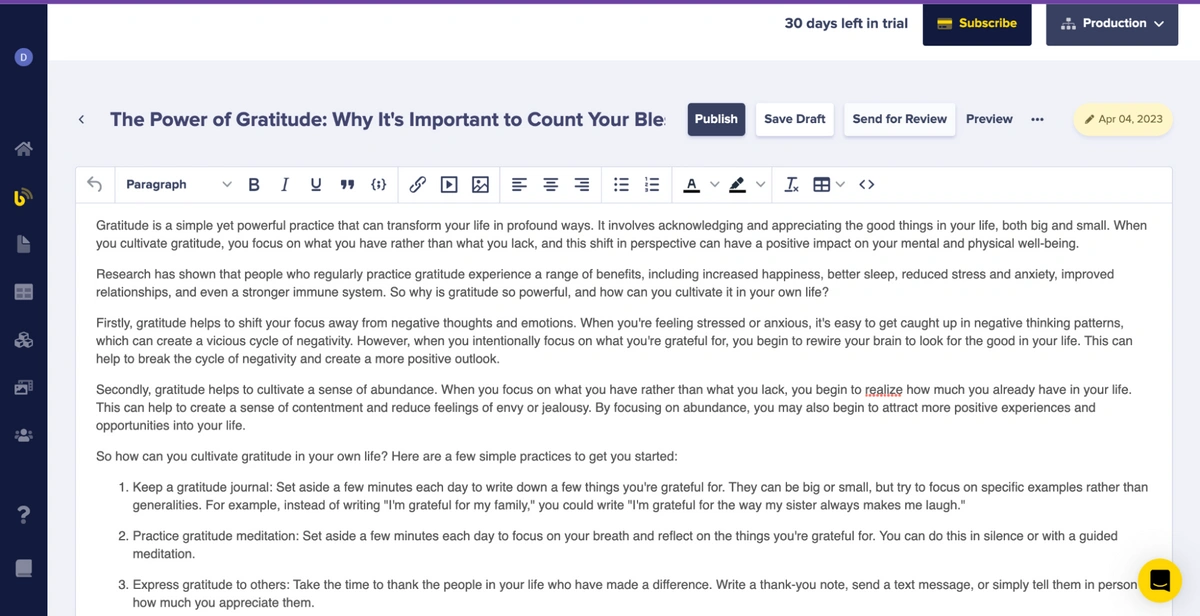
Go to your ButterCMS dashboard and select Blog Posts from the sidebar menu. Click on New Post:
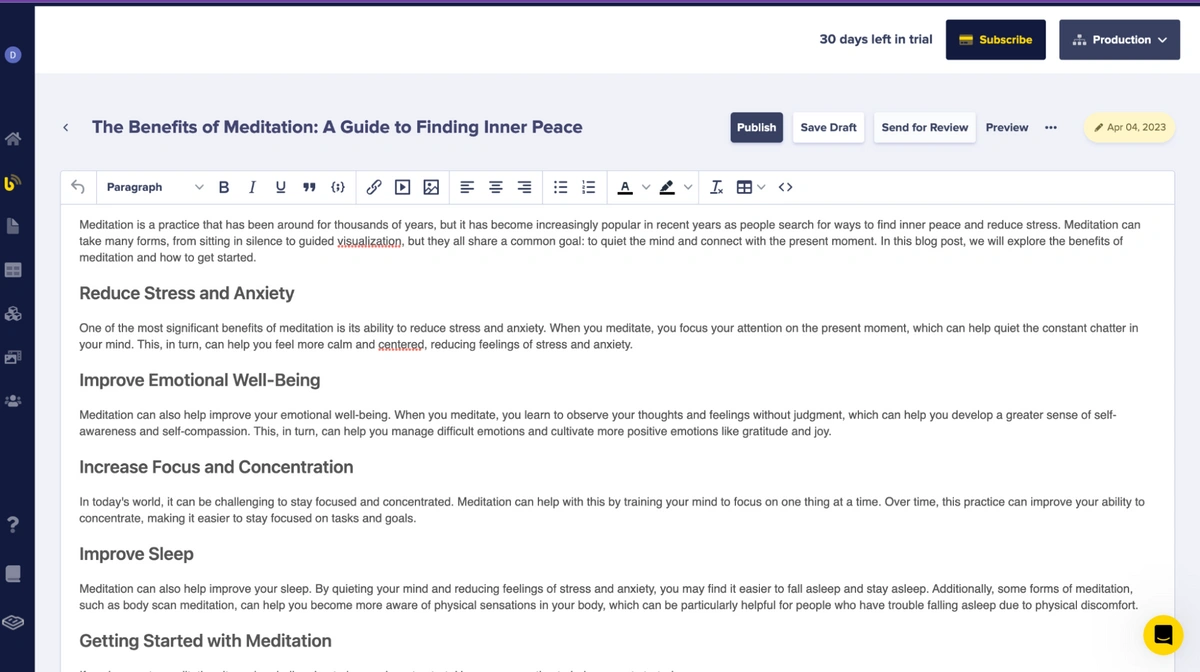
Then add blog post details including a title and content. The title of this tutorial will be "The Benefits of Meditation: A Guide to Finding Inner Peace." The content of the post can be found in the white box (you can use one of your choice).
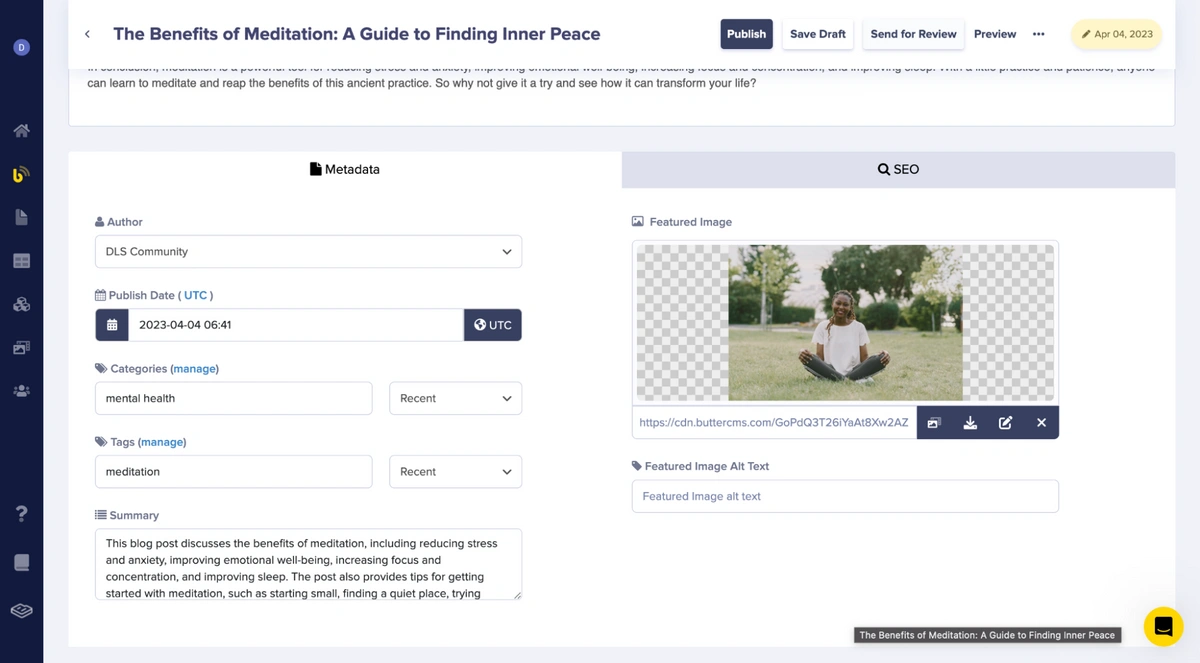
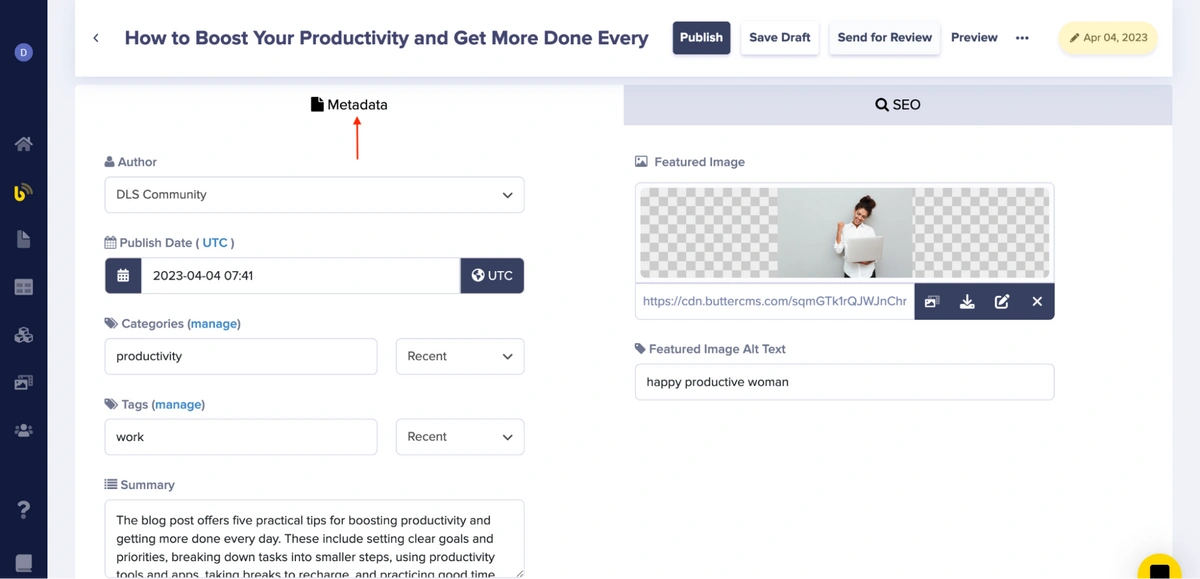
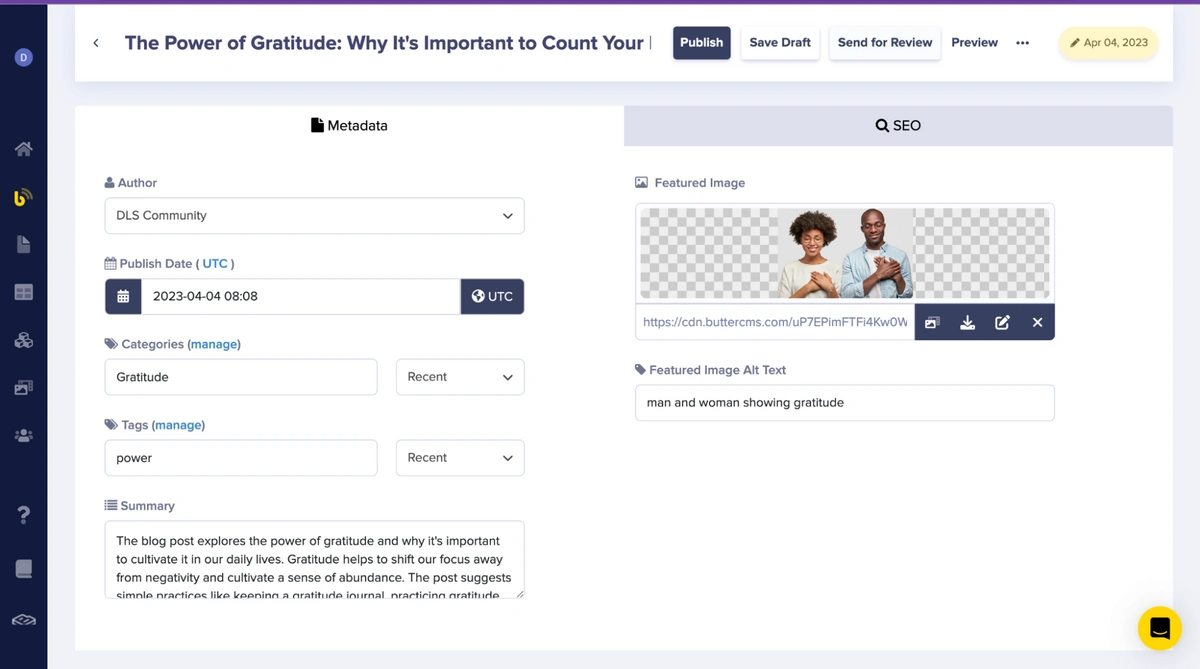
ButterCMS includes a Metadata section that includes information about the Author, Publish Date, Categories, Tags, Summary, Featured Image, and Featured Image Alt Text. Let’s add the following:
-
“Mental Health” as the category
-
A meditation tag
-
A brief summary of the post (Use any of your preferences)
-
An uploaded image (You can either upload your own image or use the one provided by ButterCMS)
-
Image alt text of “woman meditating”.
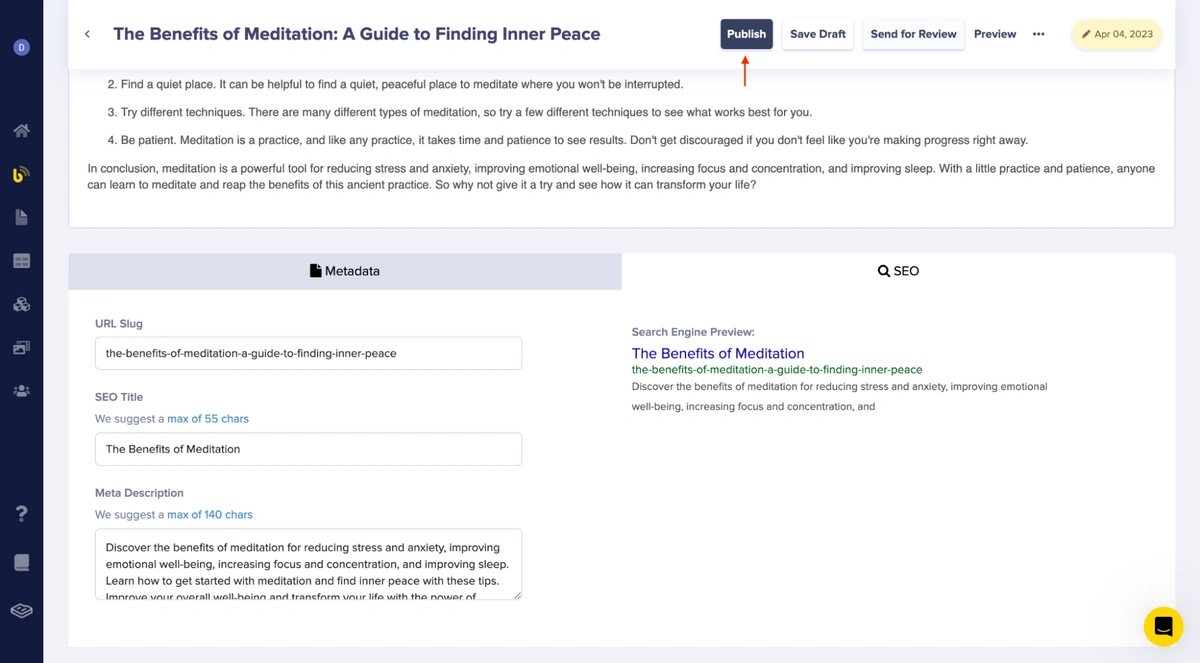
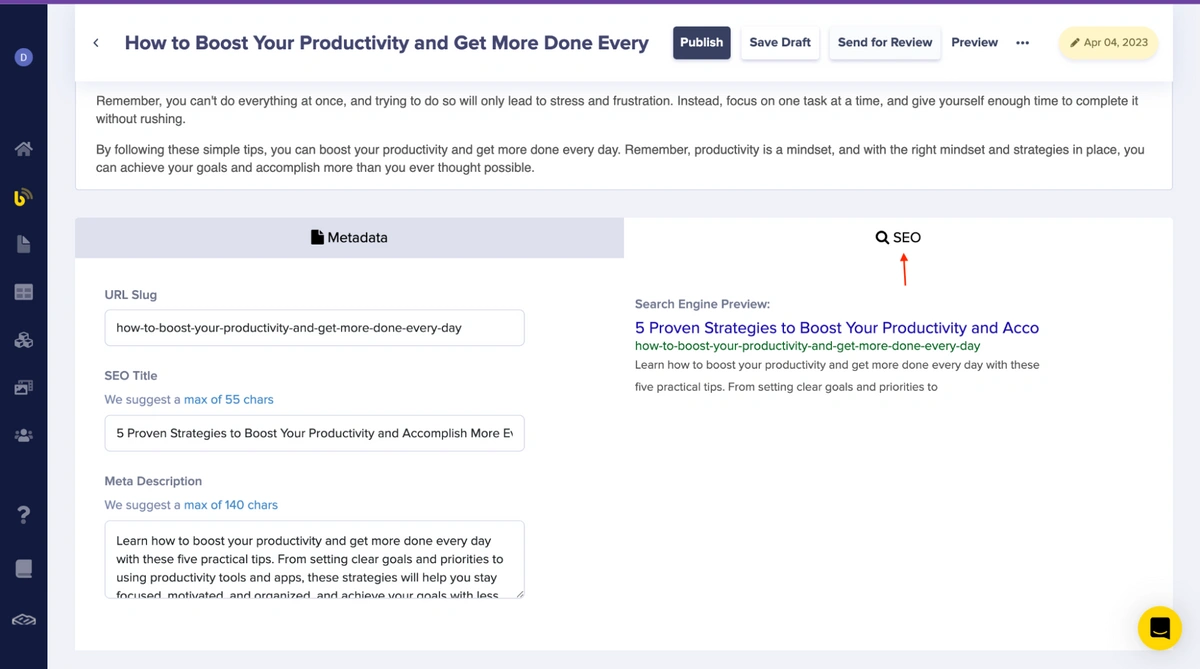
ButterCMS also has an SEO section that includes the fields URL Slug, SEO Title, and Meta Description. After adding and saving your metadata, ButterCMS will generate SEO for you. For this tutorial, we'll be using:
-
URL Slug - the-benefits-of-meditation-a-guide-to-finding-inner-peace
-
SEO Title - The Benefits of Meditation
-
Meta Description - Add a description
Once you are done, click on the Publish button:
Creating the second post
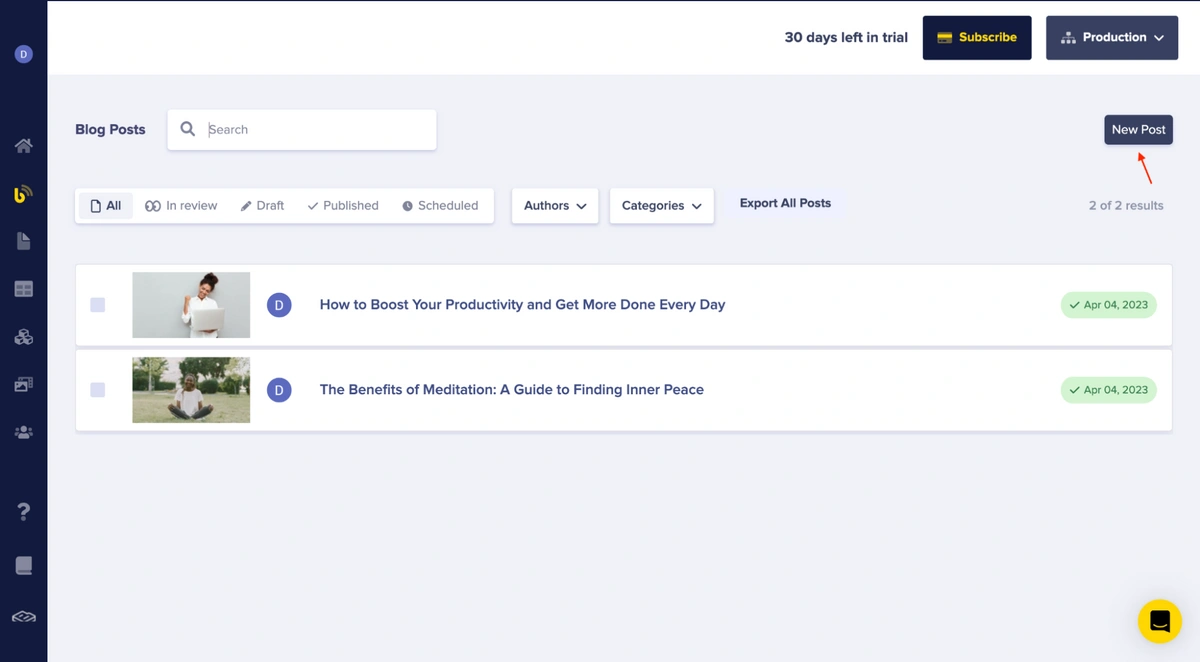
To create another post, navigate to Blog Posts in the side menu and click on New Post:

Add your title and content:
Add the details for your metadata:
Add details for your SEO, then click on Publish.
Creating the third post
Go back to Blog Posts and click on New Post:
Add your title and content:
Then, add your metadata and click Save Draft:
Afterwards, ButterCMS will automatically generate your SEO:

Running the application
Start the application by running this command in the root directory of the project:
npm run dev
Go to the URL your application is running on localhost:
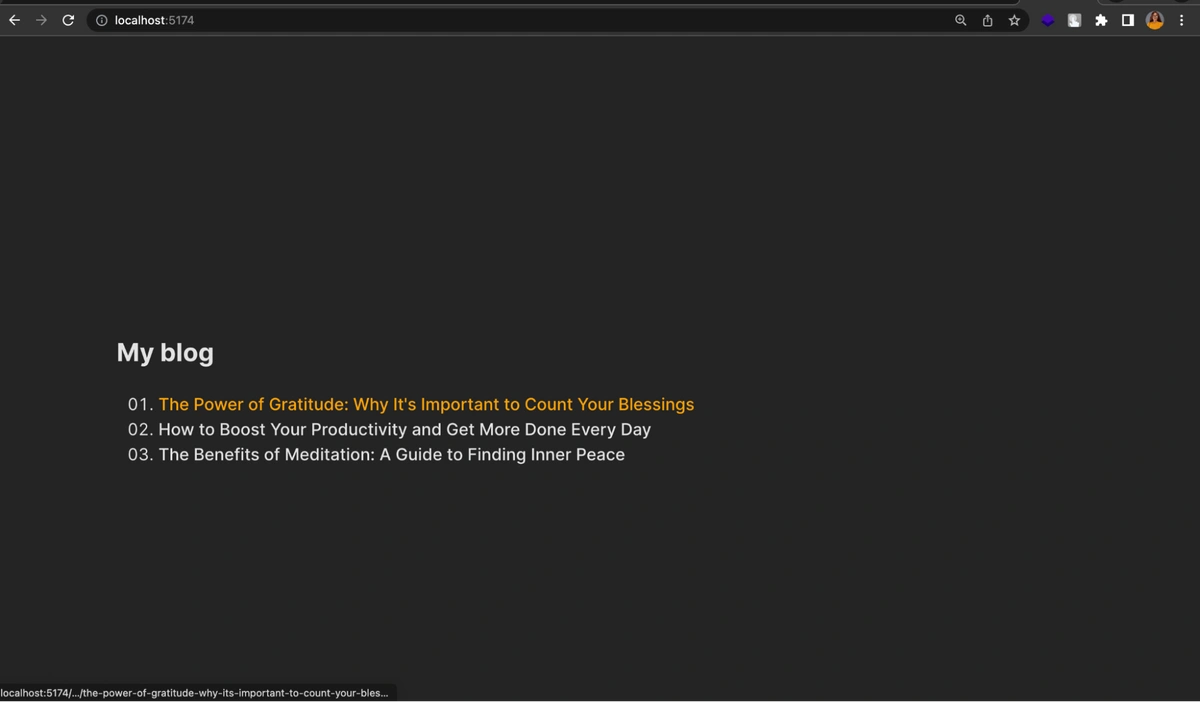
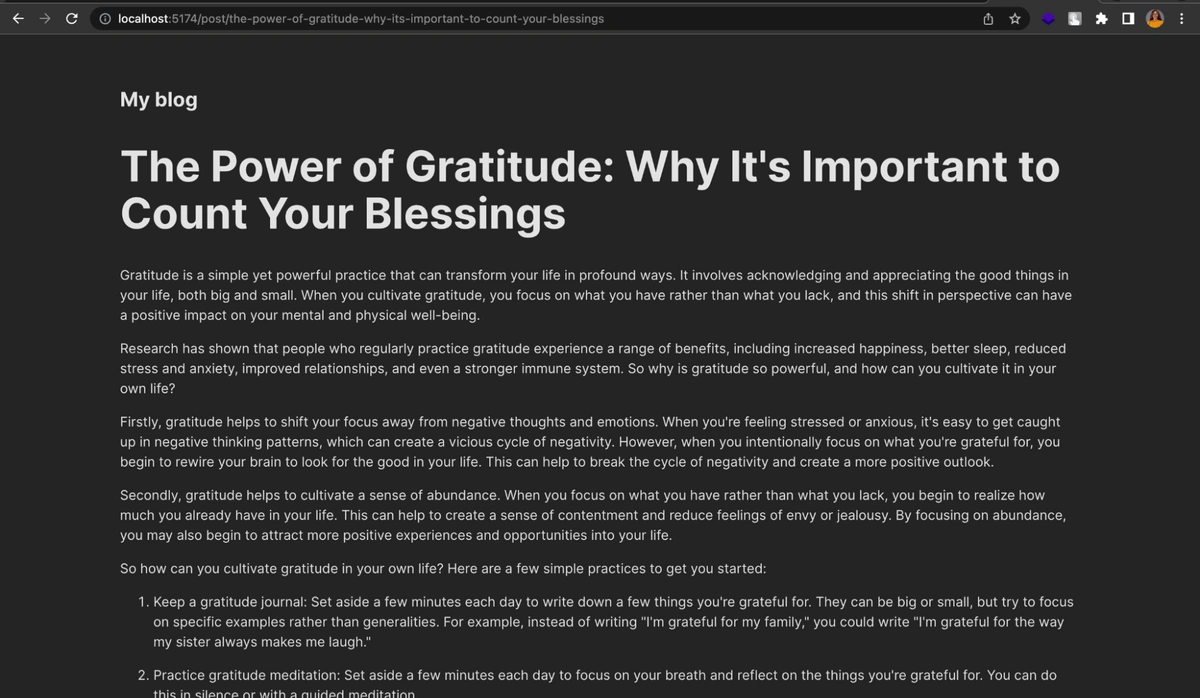
Finally, the blogs have been fetched from ButterCMS and rendered successfully. Click on the first link that redirects to the first blog post we added to ButterCMS:
Prerendering
Our blog is set up, but crawlers from search engines and social networks don't always execute JavaScript, so our blog has terrible SEO.
There are a number of ways to address this, including setting up server-side rendering and pre-rendering services like Prerender.io. But these options all require setting up and maintaining a Node.js server. Luckily, Netlify offers built-in prerendering which allows us to keep our code "serverless" while still making sure our blog is optimized for crawlers.
Deploying to Netlify
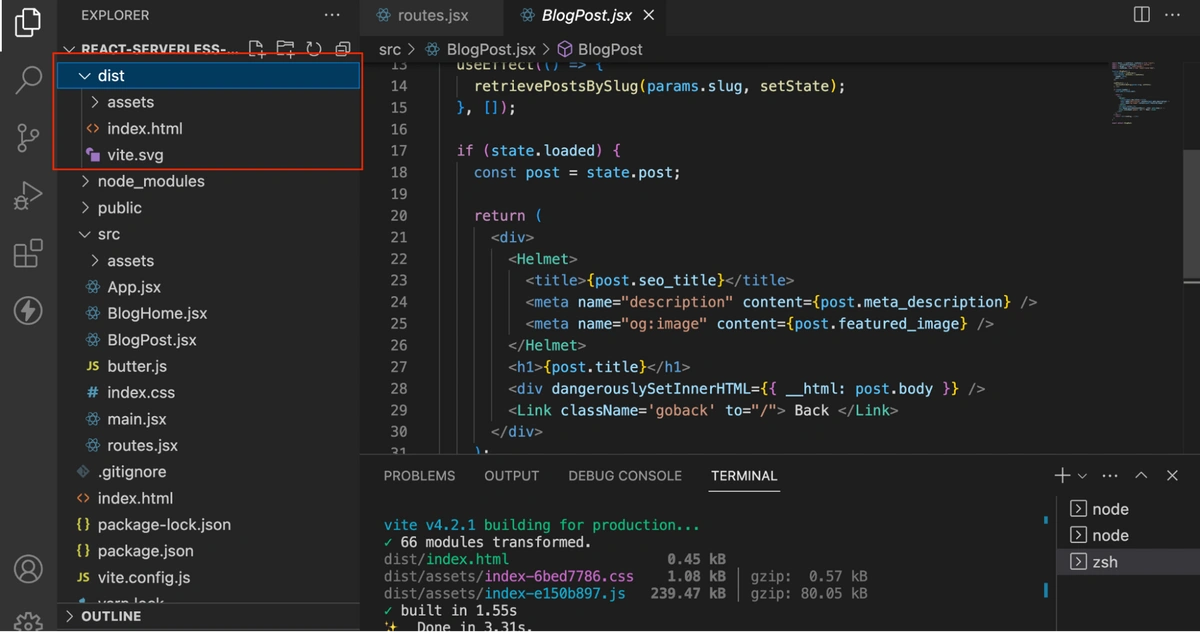
Before deploying to Netlify, we'll create a production build of our app:
npm install
npm run build
When you run those commands, a production build directory called dist will be generated:
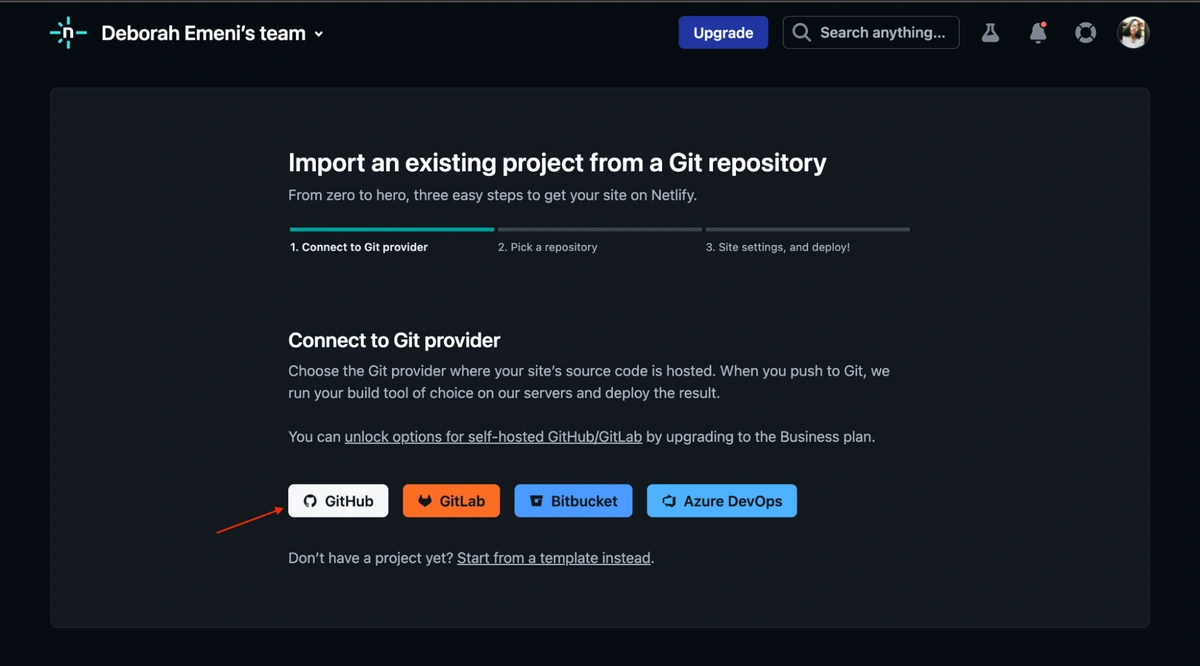
Push your code to GitHub, then go to Netlify, sign in, and click on Add new site and select Import an existing project from the list of options:

Next, link your GitHub to Netlify by clicking the GitHub button:
Search the repository that contains the source code for the project by the name “react-serverless-blog” and select it:

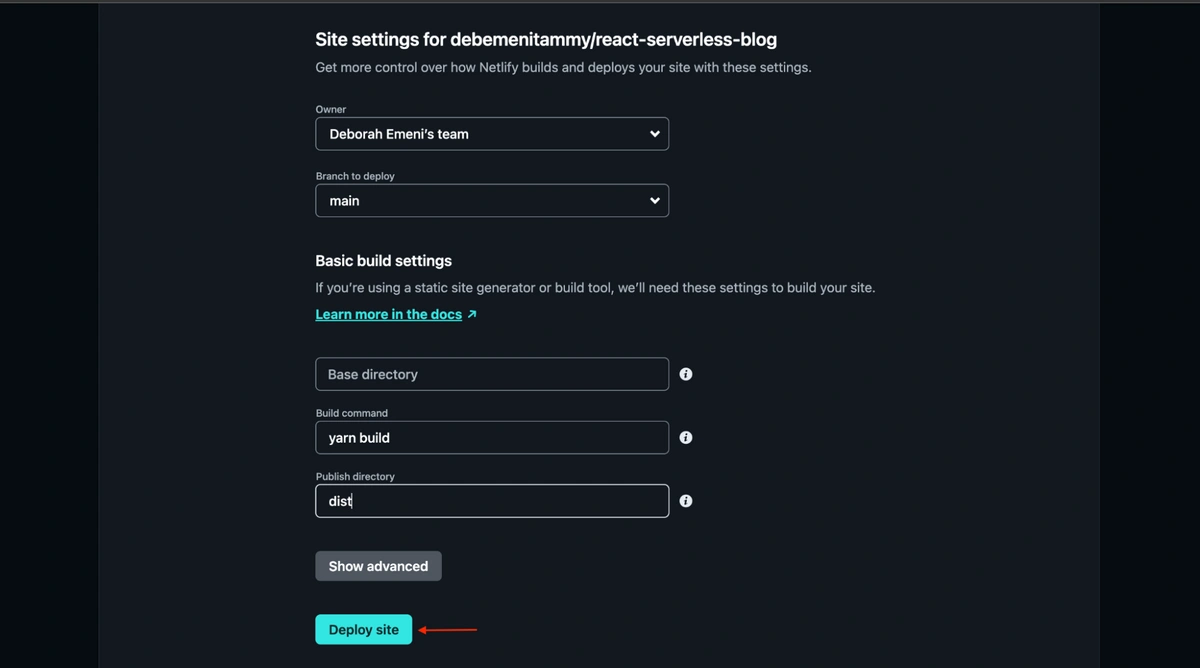
Next, configure the site settings. Select the main branch, enter the “yarn build” command, enter the dist directory, and click on Deploy site:
Once you do that, Netlify starts a build process and your application will be deployed, live, and available to use. The link to the app is written in green.

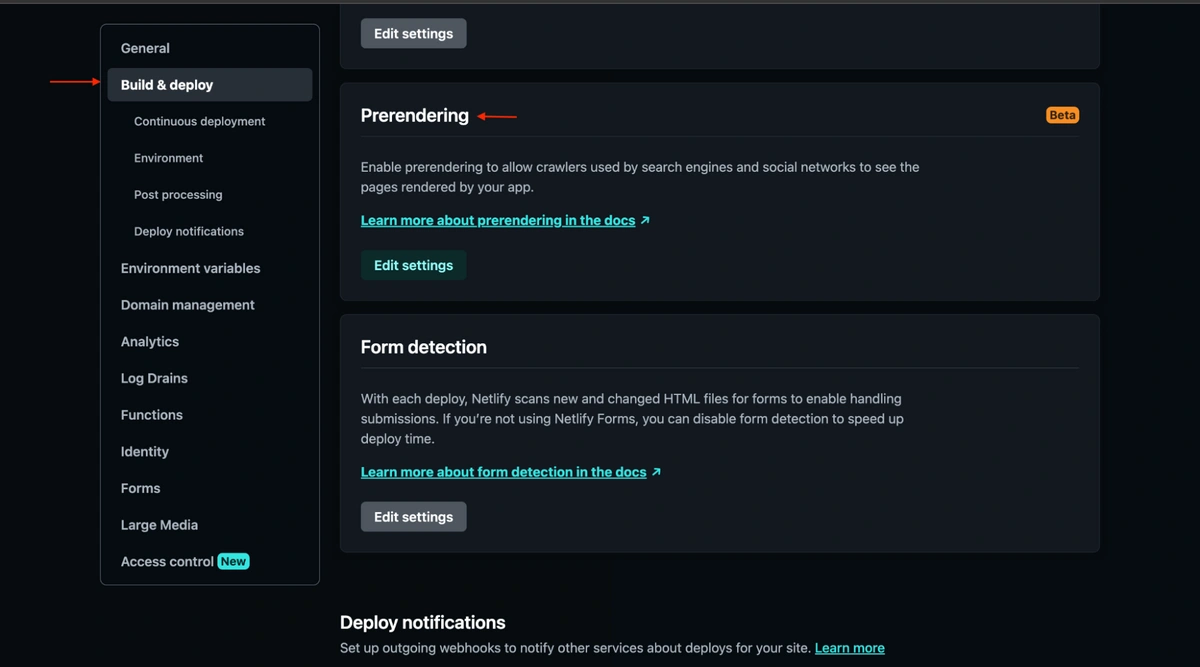
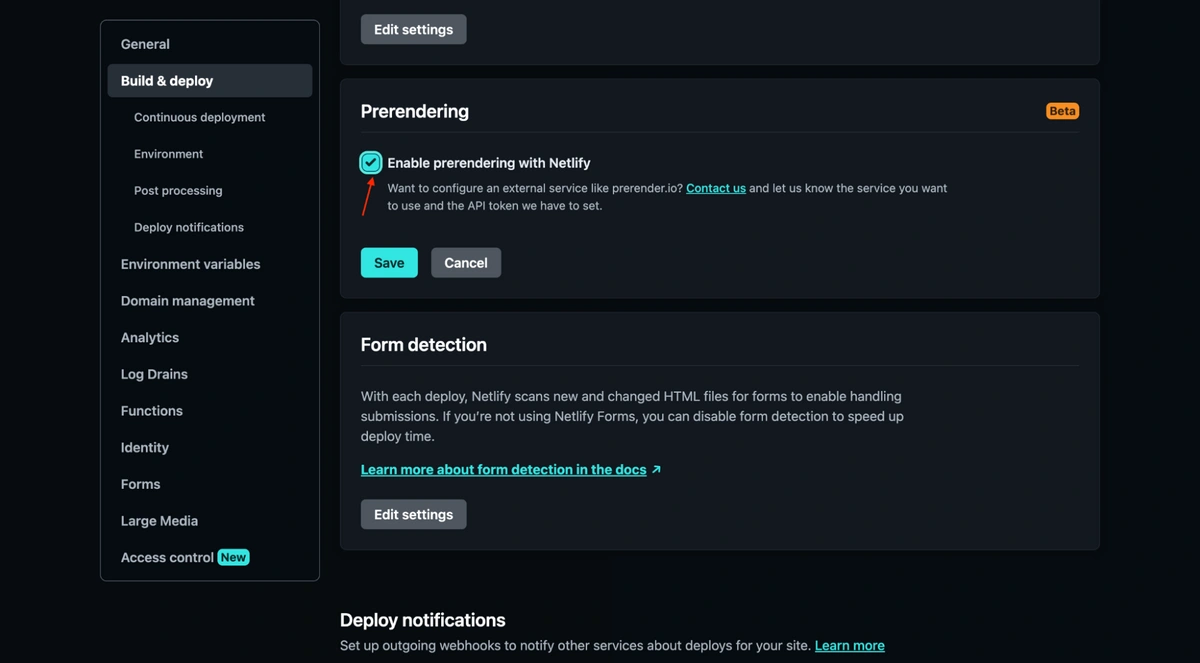
To enable prerendering, go to your app settings, select Build & deploy, and click Edit settings under Prerendering:
Tick the checkbox saying Enable prerendering with Netlify and click on Save:
The link to the application is displayed at the top-left corner of the page:
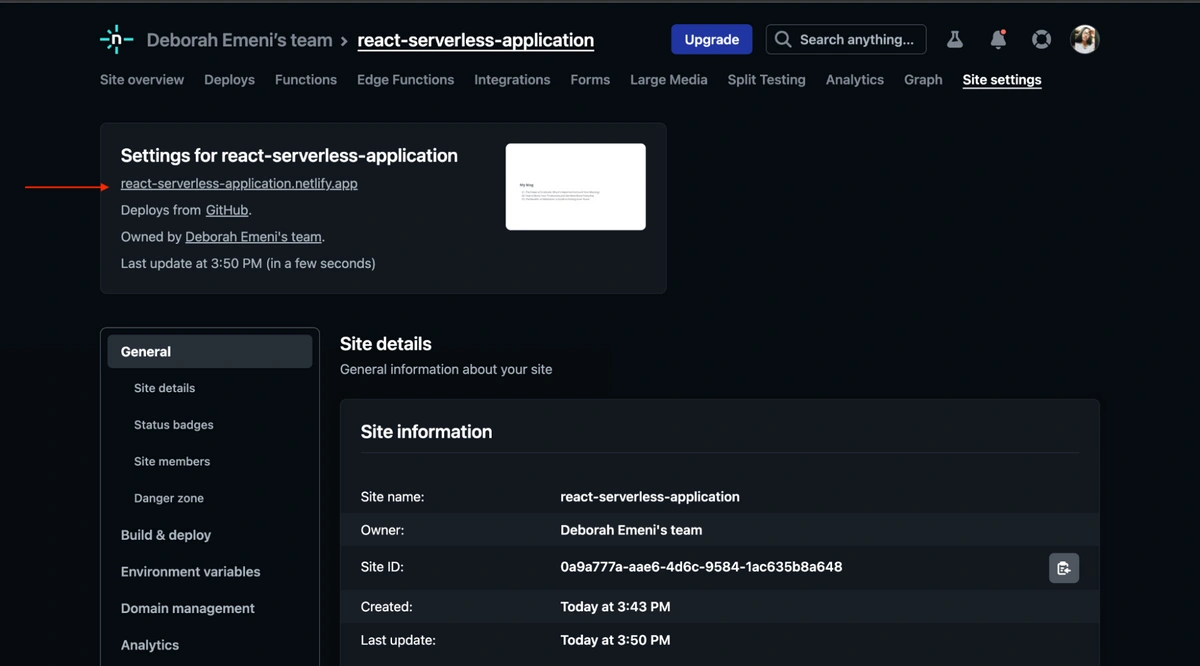
Visit the application URL at https://react-serverless-application.netlify.app/:

Your blog will work when it is loaded from the homepage, but if you try to load a post directly, you'll get a 404 page:
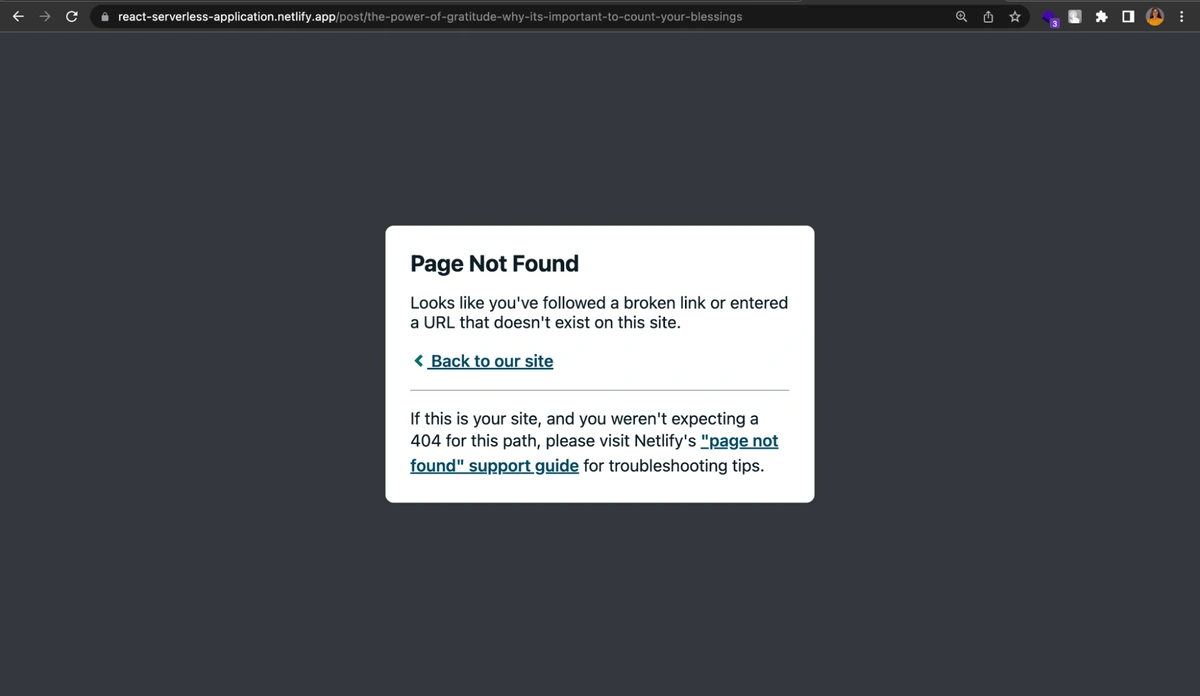
Remember that our app is serverless? To fix the 404 error we need to create a URL rewrite rule that servers up index.html no matter what URL the browser requests.
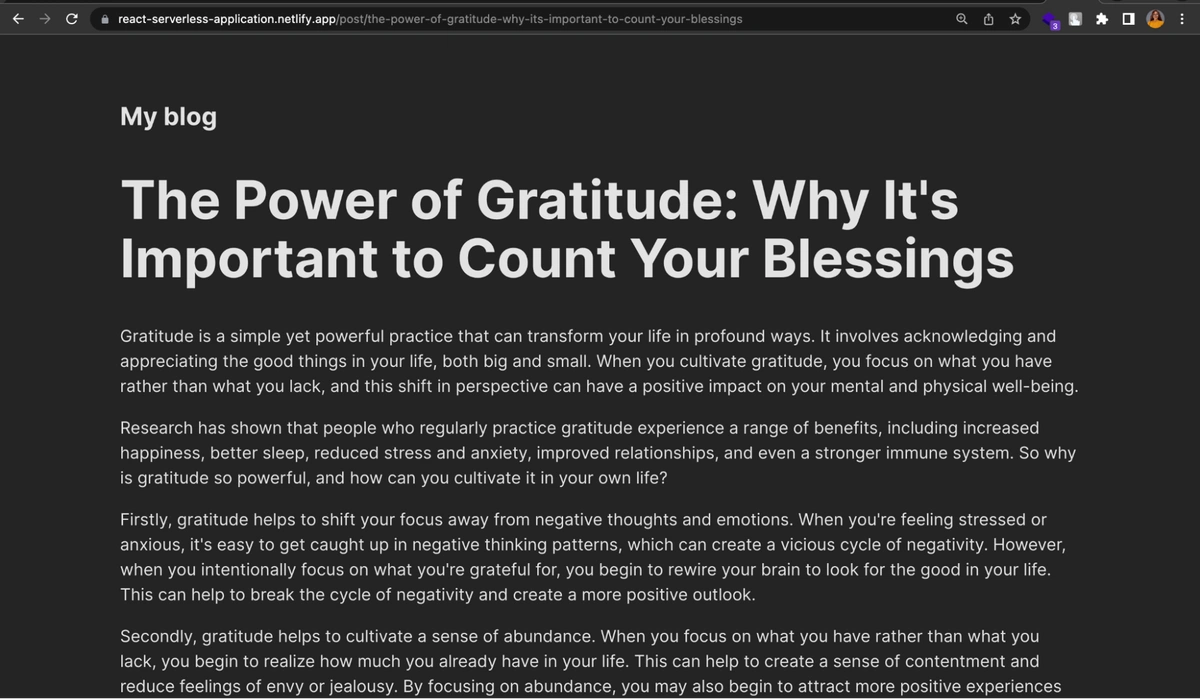
To do this, we'll create a _redirects file in our build directory with the following line:
/* /index.html 200Re-upload the contents of your build directory, and all your pages should load. Check out our live example:
To make sure this file gets redirected each time we build our app, we can update our build script in package.json:
"build": "react-scripts build && echo '/* /index.html 200' > build/_redirects"Wrapping up
ButterCMS and Netlify provide an excellent solution for developers who want to streamline the process of building and optimizing SEO for their blog sites. By integrating Netlify's serverless platform with ButterCMS, developers can simplify app development and deployment, reduce costs, and focus on content creation while Netlify manages the infrastructure.
For further guidance on using ButterCMS, check out the official blog website, which offers a range of tutorials and resources.