
Building a blog from scratch can sometimes be overwhelming, especially if you're new to web development. To aid with this, many great tools have been introduced over the years. Among these is ButterCMS, a headless content management system (CMS).
ButterCMS, unlike many other CMSs, includes a blog engine that further simplifies the process of building a blog. Whether you're new to web development or an experienced developer, this solution will help you create a fully functional, SEO-friendly blog in no time.
In this tutorial, we will learn about the ButterCMS Blog Engine and how you can use it to quickly add a blog to your Express application. We will cover creating blog posts in ButterCMS, fetching and displaying our added posts, and implementing search functionality.
Table of contents
Why use Express?
Express is a popular Node.js web application framework that provides a robust set of features for building web and mobile applications. It has a straightforward API and it is flexible as it has a lot of room to customize your app using your desired packages/tools. With a large and active community of developers who are constantly working on improving the framework and creating new middleware packages, developers can easily find support and solutions to problems they encounter while building applications with Express.
It can also be used to serve dynamic content, such as posts from a database or user-generated content, which is a key feature of most blogs. The framework's support for middleware and template engines, such as Pug and EJS, makes it easy to generate HTML pages with dynamic content.
Why use ButterCMS?
ButterCMS is a modern and powerful CMS built to help you seamlessly manage the content of your websites and applications. With its headless architecture, ButterCMS provides a flexible and scalable solution that can be tailored to meet the specific needs of each project.
One of the key advantages of ButterCMS is its ease of integration. It can be integrated into any platform or framework through its APIs, including Express, React, Ruby on Rails, etc. This makes it possible for developers to quickly add content management capabilities to their projects without having to spend a lot of time and effort building their own custom solutions.
For building blogs, it provides a Blog Engine that has a content structure for creating SEO-friendly blog posts and an interface for managing created posts which we will utilize in this tutorial.

Tutorial prerequisites
To follow along with this tutorial, you need the following:
-
Knowledge of Express
-
Node.js installed on your system
-
An active ButterCMS account (New accounts have a free trial period of 30 days.)
Building a blog with Express and ButterCMS
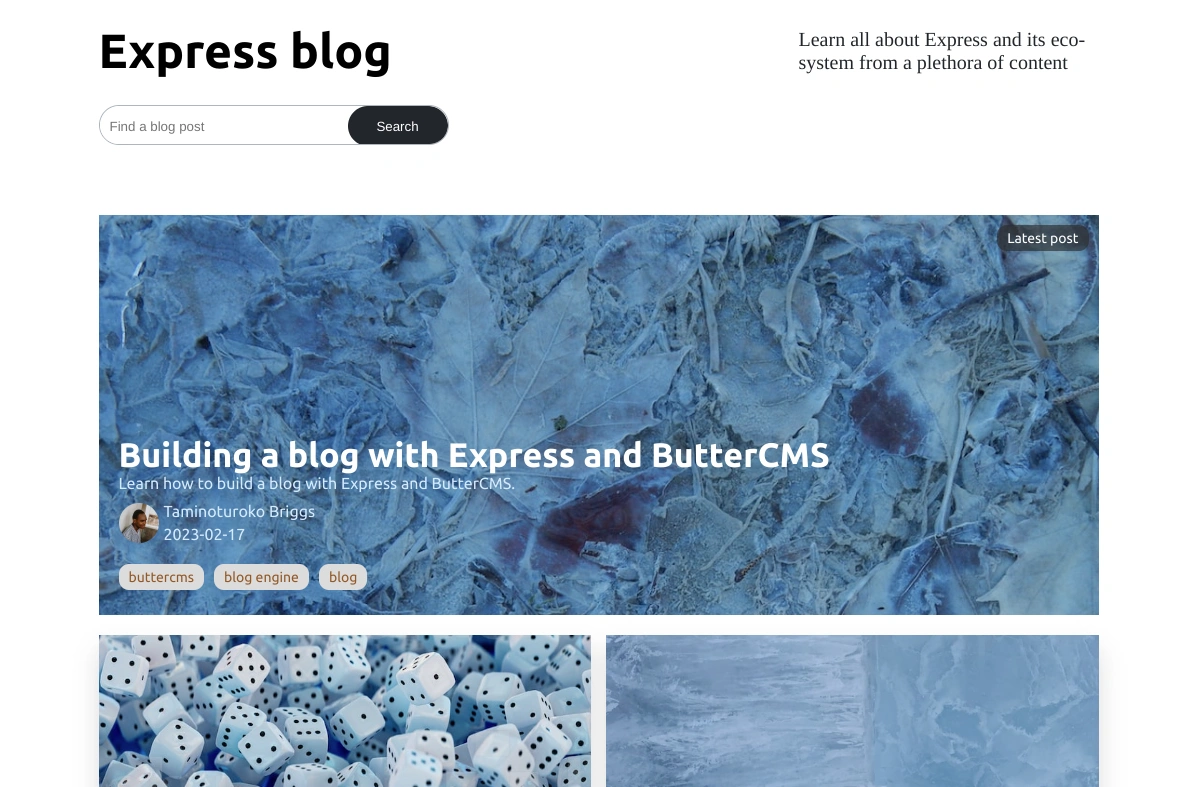
We will start by building our UI. After that, we will learn how to add blog posts to ButterCMS and integrate it with our Express app. Here is what we will be building:
Setting up Express
To set up Express, first we need to create a Node project. Create a folder called express-buttercms-blog (you can give it any name you want). Navigate to the folder in the terminal, then enter the following command.
npm init -y
Next, let’s install Express along with the following packages:
-
EJS (Embedded JavaScript templating): A template engine that allows us to insert values into our pages.
-
Express-partials: This will aid us in creating a layout page.
-
Axios: A promise-based HTTP client that will let us make API requests to ButterCMS.
-
Dotenv: To enable us to access .env files.
Enter the following command in the terminal:
npm i express ejs express-partials axios dotenv
Next, let’s create our Express server, set our app to use the EJS template engine, and add other configurations we will need.
Create a server.js file in the root directory and add the following lines of code:
var express = require('express'),
partials = require('express-partials')
require( 'dotenv' ).config()

const app = express()

app.use(partials());
app.set('view engine', 'ejs')
app.use(express.static('public'))


app.listen(5000, () => {
  console.log('server has started)
})
Now, we can start the server using the node server.js command.
Creating the blog’s UI
The blog will have a home page where all blog posts will be displayed and can be filtered using a search bar and a details page for viewing individual posts. You can get the styling for the blog app here.
To get started with creating the UI. Make your folder structure identical to the one below by adding the missing file and folders.
┣ public
 ┃ ┗ styles.css
 ┣ views
 ┃ ┣ blogDetail.ejs
 ┃ ┣ index.ejs
 ┃ ┗ layout.ejs
 ┣ .env
 ┣ package-lock.json
 ┣ package.json
 ┗ server.js
Now, to start creating the UI, first let’s create the layout page which will be a basic HTML boilerplate that comprises the meta, link, and title tag, which we don’t want to duplicate in all the pages. The layout will include a body variable in the body tag which will be replaced with the template of any page that has been served. This is made possible by express-partials.
To create the layout, head over to views/layout.ejs and add the following lines of code:
<!DOCTYPE html>
<html lang="en">
<head>
  <meta charset="UTF-8">
  <meta name="viewport" content="width=device-width, initial-scale=1.0">
  <meta http-equiv="X-UA-Compatible" content="ie=edge">
  <link rel="stylesheet" href="/styles.css">
  <title><%= title %></title>
</head>
<body>
  <div class="wrapper">
    <%- body %>
  </div>
</body>
</html>
Above, we have also made the title a variable so that we can pass the appropriate title based on the page being served.
Now, for the home page, head over to views/index.ejs and add the following lines of code:
<div class="home">
  <!-- Hero section -->
  <div class="home__hero">
    <div>
      <h1>Express blog</h1>
      <p>Learn all about Express and its eco-system from a plethora of content</p>
    </div>
    <div class="home__search">
      <form class="home__searchForm">
        <input  placeholder="Find a blog post" name="search" >
        <button>Search</button>
      </form>
    </div>
  </div>

  <!-- Latest post -->
  <div class="home__latestPost">
    <img src=https://images.unsplash.com/photo-1675207894388-8246ecd3f3ec?ixlib=rb-4.0.3&ixid=MnwxMjA3fDB8MHxwaG90by1wYWdlfHx8fGVufDB8fHx8&auto=format&fit=crop&w=1074&q=80 alt="blog post"/>
    <div class="home__latestPost__details">
      <span>Latest post</span>
      <div>
        <div class="home__latestPostInfo">
          <h2>
            <a href="#" >
              Build a blog with Express and ButterCMS
            </a>
          </h2>
          <p>
            Learn how to use the ButterCMS blog engine and Express to create a blog in no time.
          </p>
        </div>
        <div class="home__latestPost__detailsImg">
          <img src='https://images.unsplash.com/photo-1675253264487-bf2dda3a536b?ixlib=rb-4.0.3&ixid=MnwxMjA3fDB8MHxwaG90by1wYWdlfHx8fGVufDB8fHx8&auto=format&fit=crop&w=687&q=80' alt="profile"/>
          <span>
            <span>Taminoturoko Briggs</span>
            <span>2023-02-11</span>
          </span>
        </div>

        <div class="home__postTags">
         <span>buttercms</span>
         <span>blog engine</span>
         <span>blog</span>
        </div>
      </div>
    </div>
  </div>

  <div class="home__posts">
    <div class="home__post">
      <div class="home__postImg">
        <img src='https://images.unsplash.com/photo-1675522087646-ceb5c54cfc0e?ixlib=rb-4.0.3&ixid=MnwxMjA3fDB8MHxwaG90by1wYWdlfHx8fGVufDB8fHx8&auto=format&fit=crop&w=645&q=80' alt="blog post"/>
        <div>
          <img src='https://images.unsplash.com/photo-1675253264487-bf2dda3a536b?ixlib=rb-4.0.3&ixid=MnwxMjA3fDB8MHxwaG90by1wYWdlfHx8fGVufDB8fHx8&auto=format&fit=crop&w=687&q=80' alt="profile"/>
          <span>
            <span>Taminoturoko Briggs</span>
            <span>2023-02-11</span>
          </span>
        </div>
      </div>
      <div class="home__postInfo">
        <div class="home__postTags">
            <span>beginners</span>
            <span>node</span>
        </div>
        <h2>
          <a href="/blog/blog-with-express-and-buttercms">
            Getting started with Express
          </a>
        </h2>
        <p>
          Learn how to use Express a popular Node framework, to create REST APIs. and serve dynamic content.
        </p>
      </div>
    </div>
  </div>
</div>
We will serve the home page when we navigate to the base URL. Head over to server.js and add the following route after app.use(express.static('public')):
app.get('/', (req, res) => {
  res.render('index', {
    title: 'Home',
  })
})
With this, when we navigate to http://localhost:5000/ in the browser, we will see the following:
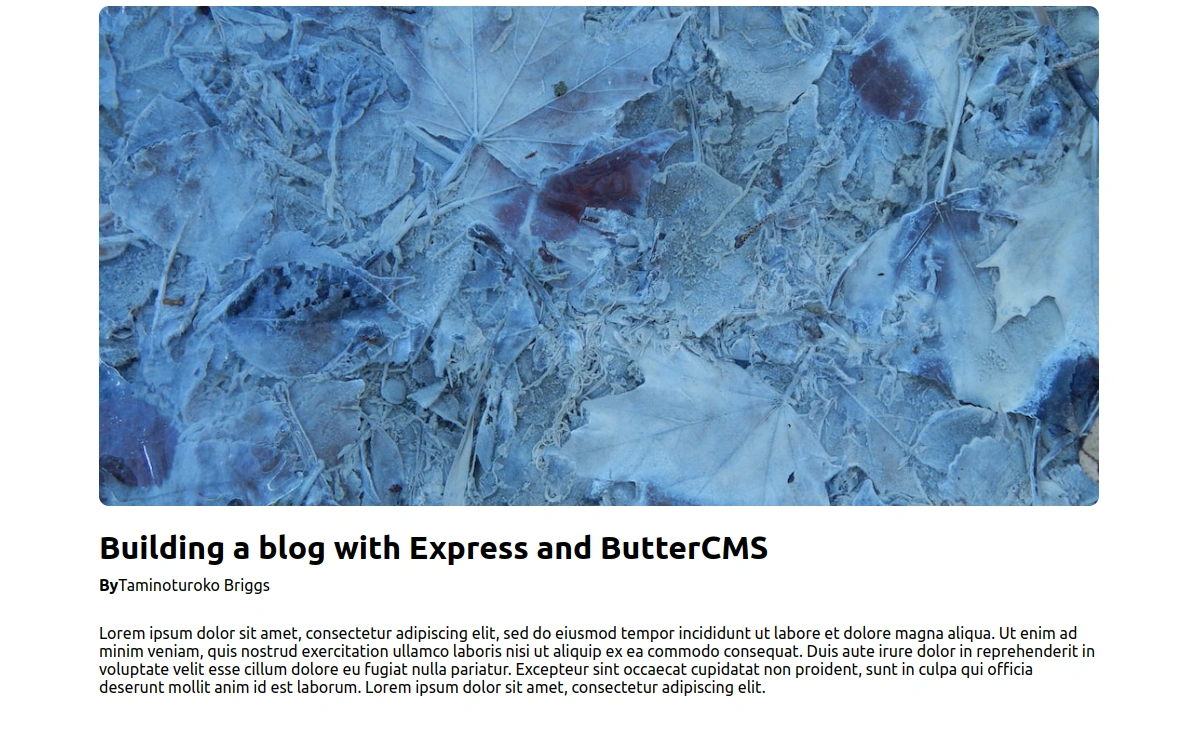
Next, for the details page, head over to views/blogDetails.ejs and add the following lines of code:
<div class="blogDetail">
  <img src="https://cdn.buttercms.com/OvjY1kN6S6Oj3qJQO8jX" alt="cover"/>
  <h1>Building a blog with Express and ButterCMS</h1>
  <div>
    <span><strong>By</strong>Taminoturoko Briggs</span>
  </div>
  <div class="blogDetail__body">
    Lorem ipsum dolor sit amet, consectetur adipiscing elit,
    sed do eiusmod tempor incididunt ut labore et dolore magna aliqua.
    Ut enim ad minim veniam, quis nostrud exercitation ullamco laboris nisi ut aliquip ex ea commodo consequat.
    Duis aute irure dolor in reprehenderit in voluptate velit esse cillum dolore eu fugiat nulla pariatur.
    Excepteur sint occaecat cupidatat non proident, sunt in culpa qui officia deserunt mollit anim id est laborum.
    Lorem ipsum dolor sit amet, consectetur adipiscing elit.
  </div>
</div>
Then, head over to the server.js file and add the following lines of code after the home page router:
app.get('/blog/:slug', async (req, res) => {
  res.render('blogDetail', {
    title: 'Blog',
  })
})
With this, when we navigate to http://localhost:5000/blog/<slug>, we will see the following:
Make sure to copy and paste the styling in the Github repo to the public/styles.css file to the same UI.
Setting up the ButterCMS Blog Engine
Navigate to the ButterCMS website and set up a new user account if you do not have one already. After logging in, we will be taken to our dashboard where we can navigate to the Blog Engine by clicking on the Blog posts icon in the sidebar.
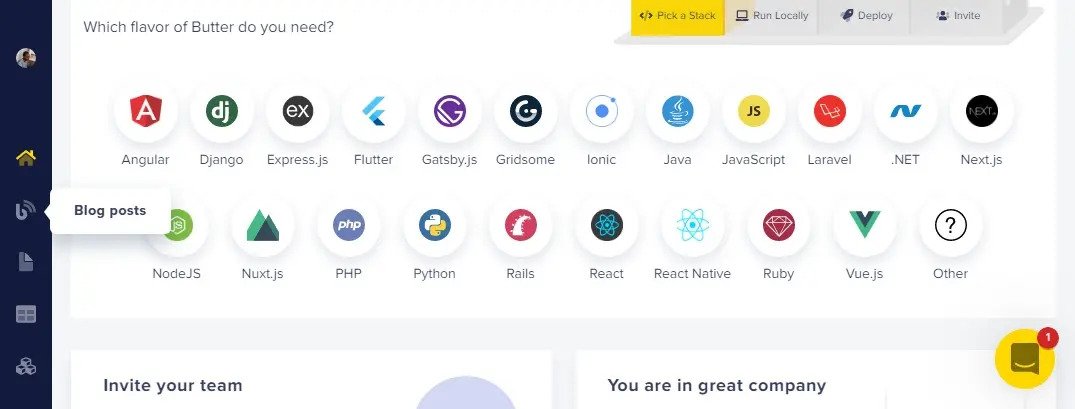
After clicking on Blog posts we will be taken to the following page:
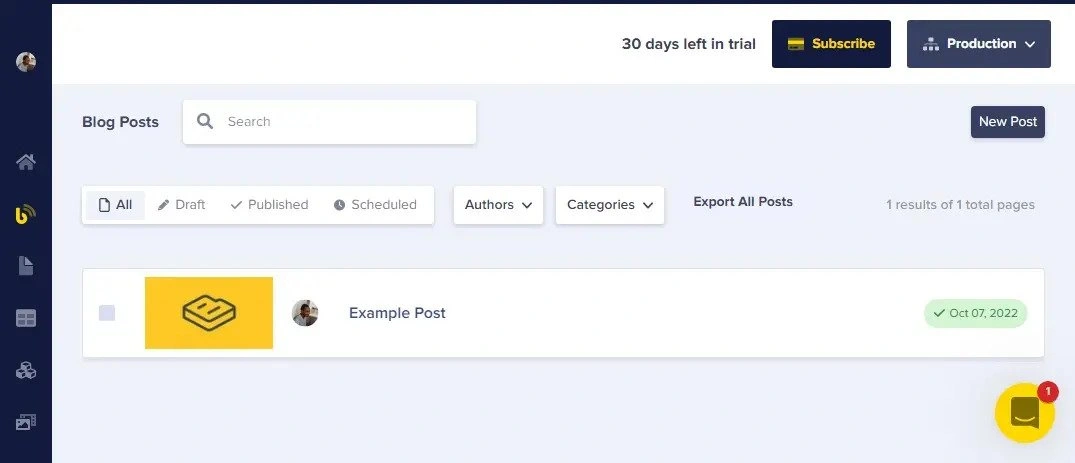
Here, an example post has already been created for us, but let’s create others to get familiar with how it’s done. For this tutorial, we will be using the data in this GitHub repo to fill out the fields when creating the blog post.
To add a blog post, click on the New Post button at the top-right of the page. On the next page, enter the title of the post, write the blog content with the WYSIWYG editor (for this we will use the “Lorem ipsum” dummy text), then fill out the rest of the fields. To make the blog post SEO-friendly, we can navigate to the built-in SEO section and fill out the SEO Title and Media data sections. After doing that click on the Publish button at the top-right of the page.
Below is a GIF that demonstrates how to add a new blog post:
Now, let’s get the API token. Hover over your image at the top on the sidebar and click on Settings in the dropdown that appears and we will be taken to the following page where we will see the token:
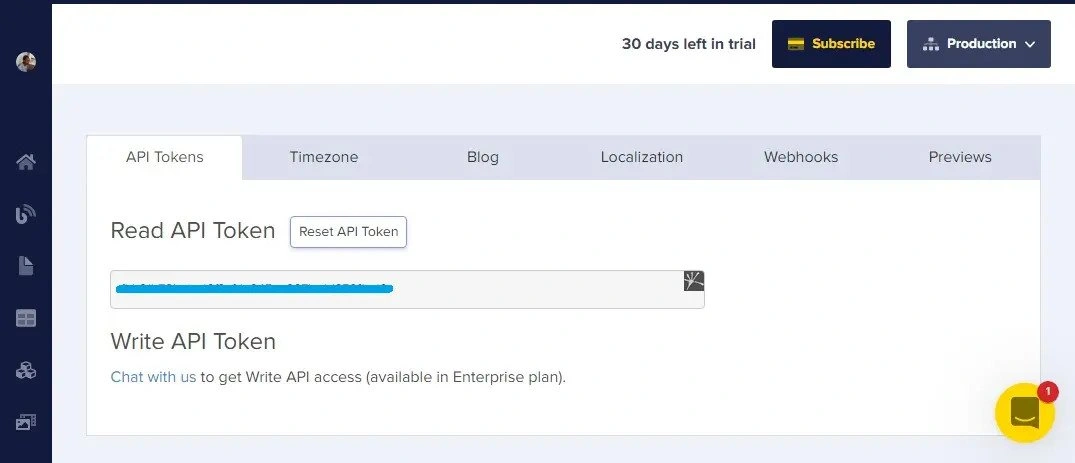
Copy the API token and store it in the .env file in our app, like this:
READ_API = <your-read-api-token-here>
Integrating ButterCMS with our Express app
To integrate ButterCMS, we will be working with its content API. We will follow the instructions documented in its API reference.
Display all posts
Let’s start by displaying our blog post on the home page. To do this, head over to the server.js file and first add the following import:
const axios = require('axios')
Next, add the following variable and modify the home page route to the following:
let posts = []

app.get('/', async (req, res) => {
  try {
    const response = await axios.get(`https://api.buttercms.com/v2/posts/?exclude_body=true&auth_token=${process.env.READ_API}`)
    posts = response.data.data
    res.render('index', {
      title: 'Home',
      posts
    })
  }catch(err) {
    res.status(500).send('An error occured')
  }
})
Above, using axios in the home page route, we are fetching our posts from ButterCMS and storing the returned data in the posts variable which is passed to the template.
We are storing the returned data in the posts variable rather than passing it directly to the template because later on (while implementing the search functionality) we will be working with the returned data. To be able to access the data, it needs to be in the same scope as the search route.
Now, let’s modify the home page template to work with the returned data.
Head over to the views/index.ejs file and modify it to the following:
<div class="home">
<!-- Hero section -->
<div class="home__hero">
<div>
<h1>Express blog</h1>
<p>Learn all about Express and its eco-system from a plethora of content</p>
</div>
<div class="home__search">
<form class="home__searchForm">
<input placeholder="Find a blog post" name="search" >
<button>Search</button>
</form>
</div>
</div>
<!-- Latest post -->
<div class="home__latestPost">
<img src=<%= posts[0].featured_image %> alt="blog post"/>
<div class="home__latestPost__details">
<span>Latest post</span>
<div>
<div class="home__latestPostInfo">
<h2><a href="/blog/<%= posts[0].slug %>" ><%= posts[0].title %></a></h2>
<p>
<%= posts[0].summary %>
</p>
</div>
<div class="home__latestPost__detailsImg">
<img src=<%= posts[0].author.profile_image %> alt="profile"/>
<span>
<span><%= posts[0].author.first_name + ' ' + posts[0].author.last_name %></span>
<span><%= new Date(posts[0].created).toISOString().split('T')[0] %></span>
</span>
</div>
<div class="home__postTags">
<% posts[0].tags.forEach((tag) => { %>
<span><%= tag.name %></span>
<% }) %>
</div>
</div>
</div>
</div>
<div class="home__posts">
<% posts.slice(1).forEach((post) => { %>
<div class="home__post">
<div class="home__postImg">
<img src=<%= post.featured_image %> alt="blog post"/>
<div>
<img src=<%= post.author.profile_image %> alt="profile"/>
<span>
<span><%= post.author.first_name + ' ' + post.author.last_name %></span>
<span><%= new Date(post.created).toISOString().split('T')[0] %></span>
</span>
</div>
</div>
<div class="home__postInfo">
<div class="home__postTags">
<% posts[0].tags.forEach((tag) => { %>
<span><%= tag.name %></span>
<% }) %>
</div>
<h2><a href="/blog/<%= post.slug %>" ><%= post.title %></a></h2>
<p>
<%= post.summary %>
</p>
</div>
</div>
<% })%>
</div>
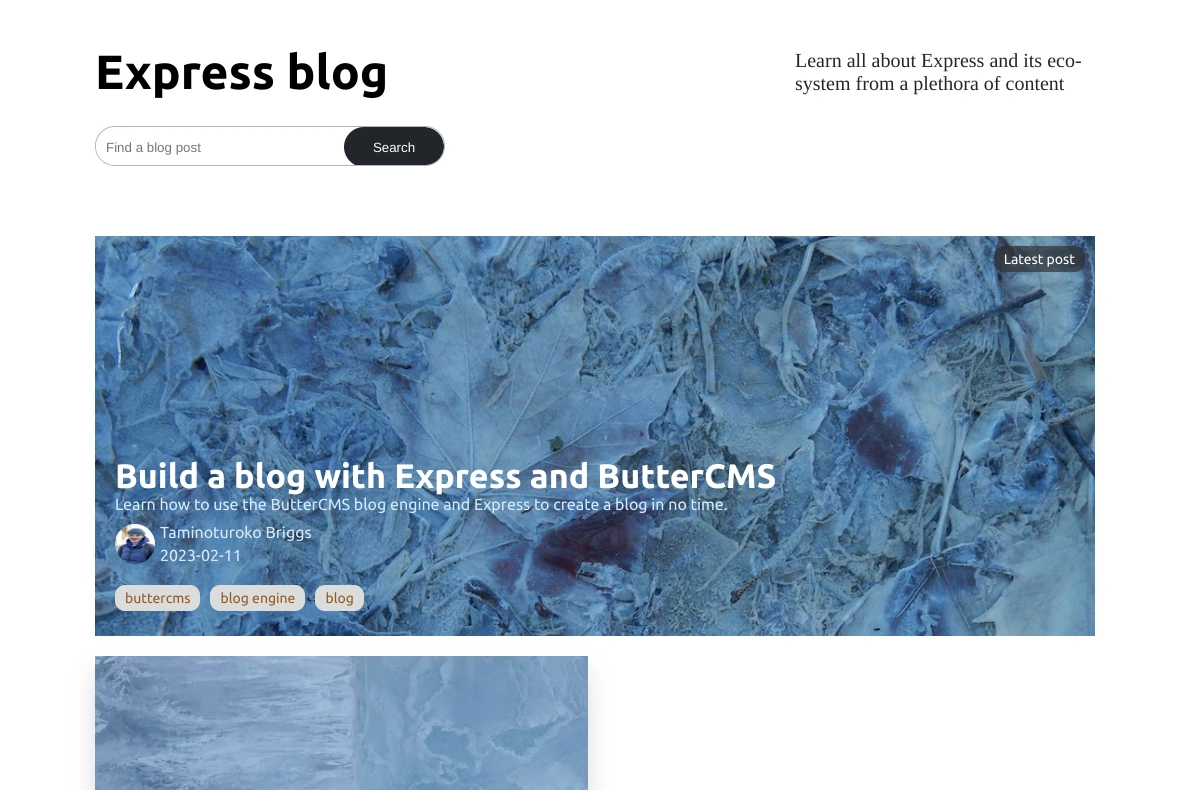
</div>With this, when we open our app in the browser, we will see the following if we added all the blog data in the GitHub repo.
Add search functionality
Now, to add the search functionality, we need to modify the search form to send requests with the search value attached to the URL whenever it is submitted. That way, we can get the search value from the URL and use it to filter the post in our code.
To do this, head over to views/index.js and modify the search form to the following:
<form class="home__searchForm" action="/search" method="GET">
  <input
    placeholder="Find a blog post"
    name="search"
    value=<%= searchValue %>
  >
  <button>Search</button>
</form>
When the above form is submitted, it will send a request to the search route. Let’s create that route. Head over to server.js and add the following route after the home route:
app.get('/search', (req, res) => {
   const filteredPosts = posts.filter((post) => (
    post.title.trim().toLowerCase().includes(req.query.search.trim().toLowerCase())
  ))
  res.render('index', {
    title: 'Home',
    searchValue: req.query.search,
    posts,
    filteredPosts
  })
})
Above, using the filter() method, we filter all the posts that match the search value passed as a query to the URL. Then, we pass the results to the home template as a variable named filteredPosts.
Next, let’s modify the home page route to also pass the searchValue and filteredPosts variables to the template so there won't be an undefined variable error.
Modify the render() function of the home page route to the following:
res.render('index', {
  title: 'Home',
  searchValue: null,
  filteredPosts: null,
  posts
})
Next, let’s display the search results in a modal. Head over to views/index.ejs and modify the div with a class of home__search to the following:
<div class="home__search">
  <form class="home__searchForm" action="/search" method="GET">
    <input
      placeholder="Find a blog post"
      name="search"
      value=<%= searchValue %>
    >
    <button>Search</button>
  </form>
  <% if (searchValue) { %>
    <div class="home__searchResult">
      <span onclick="closeModal()">X</span>
      <% filteredPosts.forEach((post) => { %>
        <div class="home__searchResult__post">
          <div class="home__searchResult__postImg">
            <img src=<%= post.featured_image %> alt="blog post"/>
          </div>
          <div class="home__searchResult__postInfo">
            <h2><a href="/blog/<%= post.slug %>" ><%= post.title %></a></h2>
            <p>
              <%= post.summary %>
            </p>
          </div>
        </div>
      <% })%>
    </div>
  <% } %>
</div>
Right now, the search functionality works, but there is no way to close the modal since the close icon is not working. To fix this, add the following script at the bottom of the page:
<script>
  const closeModal = () => {
    const modal = document.querySelector('.home__searchResult')
    modal.style.display = 'none'
  }
</script>
With this, when we enter a value in the search bar and click on the Search button, the appropriate post will be displayed.
Display an individual blog post
Now, let’s work on the blog details page. On the home page, when we click on the title of an article, we will be taken to the details page with the slug of the article attached to the URL, which we will be using shortly in order to get the corresponding post from ButterCMS.
In the server.js file, add the following route after the search route:
app.get('/blog/:slug', async (req, res) => {
  try {
    const response = await axios.get(`https://api.buttercms.com/v2/posts/${req.params.slug}/?auth_token=${process.env.READ_API}`)
    res.render('blogDetail', {
      title: 'Blog',
      post: response.data.data
    })
  }catch(err) {
    res.status(500).send('An error occured')
  }
})
Above, we have attached the slug to the request URL. With this, the returned data will be the post that matches the slug which we have passed to the detail page template.
Finally, to display the returned data on the detail page, head over to the views/blogDetail.ejs file and modify it to the following:
<div class="blogDetail">
  <img src=<%= post.featured_image %> alt="cover"/>
  <h1><%= post.title %></h1>
  <div>
    <span><strong>By</strong> <%= post.author.first_name + " " + post.author.last_name %></span>
  </div>
  <div class="blogDetail__body">
    <%- post.body %>
  </div>
</div>
With this, when we click on a blog post, the appropriate data will be displayed on the details page.
Our resulting application
Below is a GIF showing what we have built in this tutorial:
Final thoughts
I personally like how straightforward it is to work with ButterCMS. With just a few steps, we have created and added a functional blog, whose content can be managed from an intuitive dashboard, to our Express app. Awesome! I hope you enjoyed this tutorial, and be sure to leave a comment if you have any questions.

