In this quick Next.js Tutorial, you'll learn how to build an SEO-friendly blog with a headless Next.js CMS, and how to make it look great using Styled Components.
Below you'll find all the assets you need to build everything in this tutorial on your own. So let's get started!

Table of contents
If you want to jump right into the code, check out the GitHub Repo here.
And here's a link to the deployed version: https://butter-next-blog.vercel.app/
Prerequisites for Our Next.js Tutorial
- Knowledge of HTML, CSS & JavaScript
- Basic knowledge of React and Next.js
- Node & NPM installed on the local development machine
- Any code editor of your choice
- React Dev Tools (optional)
How to Set Up and Install Next.js
This tutorial will use the Create Next App template to set up the initial NextJS app quickly and without any manual configuration.
In your project’s root directory, run the following command in the terminal:
npx create-next-app butter-next-blog</code>
<code>cd butter-next-blog</code>
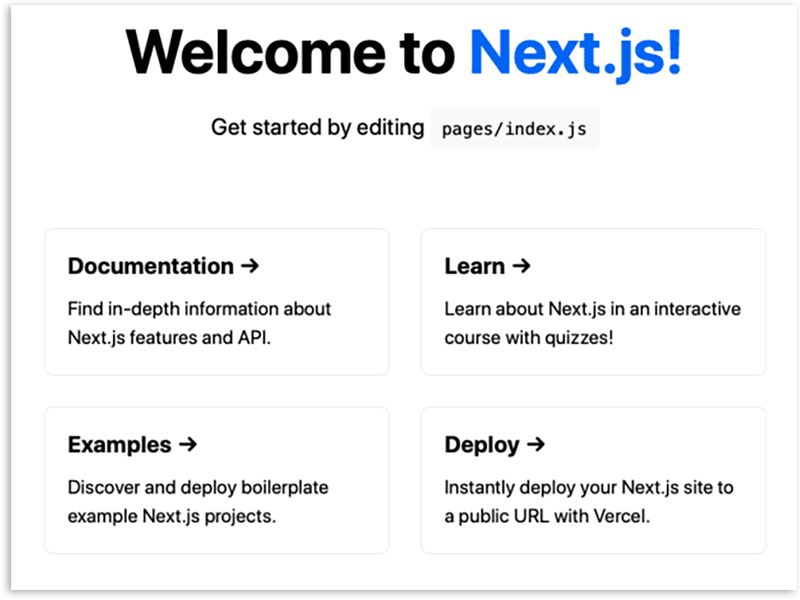
<code>npm run devThe last command npm run dev will start the development server on your system’s port 3000. Navigate to http://localhost:3000/ in your browser.
You will see the following page:
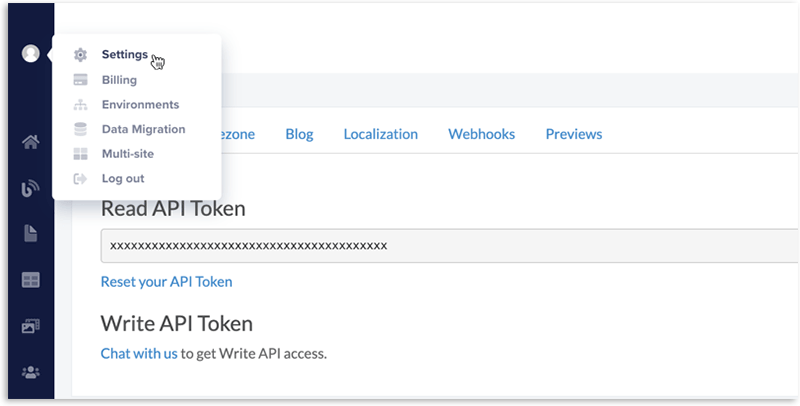
The next step is to create a free ButterCMS account. After creating an account, head over to https://buttercms.com/settings/ and copy the Read API Token.
Next.js comes with built-in support for environment variables, so you don't have to install any separate packages for it. You can read more about it here.
In your project’s root directory, run the following command to create a .env file to securely store this API token.
touch .envPaste the API token in this .env file as shown below.
<span style="font-weight: 400;">BUTTER_CMS_API_TOKEN = 'YOUR_API_TOKEN'</span>You can stop your development server now.
How to Install and Use Styled Components with Next.js
Styled Components is a CSS-in-JS tool that lets you write CSS in JavaScript files. This has many advantages. For example, you can repeat class names, easily remove unused CSS code, and manage code more easily compared to traditional CSS files.
Run the following command in your project’s root directory to install styled-components.
<span style="font-weight: 400;">npm install styled-components
npm install -D babel-plugin-styled-components</span>
Create a new file named .babelrc by running the following command in the terminal.
<span style="font-weight: 400;">touch .babelrc</span>Add the following code to .babelrc.
<span style="font-weight: 400;">{
    "presets": ["next/babel"],
    "plugins": [["styled-components", { "ssr": true }]]
  }</span>
The next step is to clean the sample code and styling. Here are the steps to do so.
- Delete
stylesandpages/apifolder - Remove
import '../styles/globals.css'frompages/_app.js - Modify
pages/index.jslike this:
import Head from "next/head";

export default function Home() {
  return (
    <div>
      <Head>
        <title>NextJS Blog with Butter CMS</title>
        <link rel="icon" href="/favicon.ico" />
      </Head>
      <h1> NextJS Blog with Butter CMS</h1>
    </div>
  );}
You have just removed the imports and the sample code provided by the create-next-app template.
The next step is to create Global Styles for your blog and add it to the app. Global Styles are the styles that are scoped to the global level in your app. For example, you can define the font’s size, family, color, etc. to be followed throughout the app in Global Styles.
Update pages/_app.js like this for the blog to have a global style throughout.
<span style="font-weight: 400;">import</span><span style="font-weight: 400;"> { </span><span style="font-weight: 400;">createGlobalStyle</span><span style="font-weight: 400;">, </span><span style="font-weight: 400;">ThemeProvider</span><span style="font-weight: 400;"> } </span><span style="font-weight: 400;">from</span><span style="font-weight: 400;"> </span><span style="font-weight: 400;">"styled-components"</span><span style="font-weight: 400;">;

const GlobalStyle = createGlobalStyle`
html{
  box-sizing: border-box;
  background: #F5F4F0;
  display:block;
  height: 100%;
  max-width: 640px;
  margin:0 auto;
  padding: 0;
}

body{
  background-color:#fafafa;
  min-height:100vh;
  padding: 1rem;
  margin-top:0;
  font-family:Verdana;
}
`;

const theme = {
  colors: {
    primary: "#fafafa",
  },
};

function MyApp({ Component, pageProps }) {
  return (
    <>
      <GlobalStyle />
      <ThemeProvider theme={theme}>
        <Component {...pageProps} />
      </ThemeProvider>
    </>
  );
}

export default MyApp;</span>Restart your development server and head over to http://localhost:3000/. Here is how your app will look:

How to Display Posts on the Page
In this section, you will fetch data from Butter CMS and display it as posts on your app.
The first step is to install the buttercms npm package which makes accessing resources from the CMS quick and easy.
Run the following command in the terminal to install it:
<span style="font-weight: 400;">npm i buttercms</span>Here is how you can fetch posts using the buttercms JS client.
const butter = Butter(process.env.BUTTER_CMS_API_TOKEN);
const response = butter.post.list({ page: 1, page_size: 10 });
You first need to provide your API key and create an instance of buttercms. Then you can fetch the posts by providing the page number and number of posts of each page in the post.list method of buttercms.
You can explore all the methods and their parameters of buttercms in our Next.js API documentation.
You will now create a PostContainer component that will take the post data as props and show them as a list on the landing page of the blog.
Run the following command to create a PostContainer component under the components directory.
<span style="font-weight: 400;">mkdir components
cd components
touch PostContainer.js</span>
Add the following code to the PostContainer.js file:
<span style="font-weight: 400;">import</span><span style="font-weight: 400;"> </span><span style="font-weight: 400;">Link</span><span style="font-weight: 400;"> </span><span style="font-weight: 400;">from</span><span style="font-weight: 400;"> </span><span style="font-weight: 400;">"next/link"</span><span style="font-weight: 400;">;import styled from "styled-components";

const Container = styled.div`
  display: flex;
  align-items: center;
  width: 480px;
  flex-direction: column;
  text-align: center;
  background-color: #f5f4f0;
  padding: 1rem;
  margin: 1rem;
  border-radius: 25px;
  h3 {
    font-family: Roboto;
    font-weight: 600;
    font-size: 2rem;
    color: #2f4f4f;
    text-decoration: none;
    cursor: pointer;
  }
  img {
    max-width: 300px;
  }
  span {
    font-weight: 100;
    color: #606060;
    margin-top: -1.5rem;
    font-family: monospace;
  }
  p {
    font-size: 1.15em;
    line-height: 1.58;
    font-weight: 400;
    letter-spacing: -0.003em;
  }
`;

const ButtonWrapper = styled.button`
  padding: 0.8rem;
  margin-top: 0.4rem;
  font-size: 1.2rem;
  background-color: #a45dc3;
  border-radius: 1.5rem;
  width: fit-content;
  font-weight: 500;
  color: white;
  text-decoration: none;
  cursor: pointer;
  :hover {
    background-color: #9a4abc;
  }
`;
export default function PostContainer({
  title,
  slug,
  featured_image,
  alt,
  date,
  summary,
}) {
  const publishedDate = new Date(date);
  return (
    <Container>
      <img src={featured_image} alt={alt} />

      <Link href={`/posts/${slug}`}>
        <h3>{title}</h3>
      </Link>
      <span> {publishedDate.toDateString()}</span>
      <p>{summary}</p>
      <Link href={`posts/${slug}`}>
        <ButtonWrapper>Read More</ButtonWrapper>
      </Link>
    </Container>
  );
}</span>
In your pages/index.js, you will now create and export the asynchronous function getStaticProps() to fetch data at build time.
One of the use cases of getStaticProps() is to fetch data from a remote API, which is exactly what we are doing. You can read more about this method here.
<span style="font-weight: 400;">import</span><span style="font-weight: 400;"> </span><span style="font-weight: 400;">Head</span><span style="font-weight: 400;"> </span><span style="font-weight: 400;">from</span><span style="font-weight: 400;"> </span><span style="font-weight: 400;">"next/head"</span><span style="font-weight: 400;">;
import Butter from "buttercms";
import styled from "styled-components";
import PostContainer from "../components/PostContainer";

const butter = Butter(process.env.BUTTER_CMS_API_TOKEN);

const Container = styled.main`
  h1 {
    font-size: 3rem;
    font-family: Consolas;
    margin-bottom: 1em;
    color: #383428;
    margin: 0;
  }
  h2 {
    font-family: Cambria;
    font-weight: 600;
    color: #808080;
  }
`;
const Post = styled.div`
  display: flex;
  align-items: center;
  flex-direction: column;
`;


export default function Home({ posts }) {
  return (
    <Container>
      <Head>
        <title>NextJS Blog with Butter CMS</title>
        <link rel="icon" href="/favicon.ico" />
      </Head>
      <h1>NextJS Blog with ButterCMS</h1>
      <h2>Latest Posts</h2>
      <Post>
        {posts.data.map((post) => (
          <PostContainer
            key={post.slug}
            title={post.title}
            featured_image={post.featured_image}
            alt={post.featured_image_alt}
            slug={post.slug}
            summary={post.summary}
            date={post.published}
          />
        ))}
      </Post>
    </Container>
  );
}

export async function getStaticProps() {
  const response = await butter.post.list({ page: 1, page_size: 10 });
  const posts = await response.data;

  return {
    props: {
      posts,
    },
  };
}</span>
Restart your development server and head over to http://localhost:3000/. Here is how your app will look:
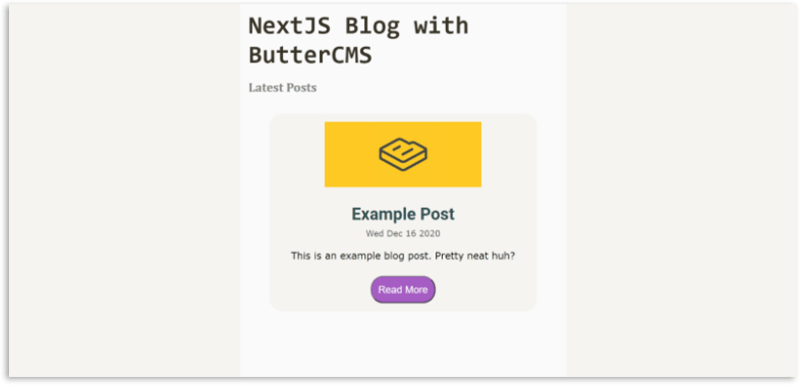
You will notice the links do not work yet, but we'll fix that by creating routes for the posts.
How to Add Dynamic Routes to Posts
Creating dynamic routes is easy in Next.js, you can add brackets to a page name ([param]) to create a dynamic route. You can read more about it here.
Stop your development server and create a new file named [slug].js under the posts directory in the pages folder. In your project's root directory, run the following commands:
cd pages
mkdir posts
cd posts
touch [slug].js
Add the following code to the [slug].js file:
<span style="font-weight: 400;">import</span><span style="font-weight: 400;"> </span><span style="font-weight: 400;">Head</span><span style="font-weight: 400;"> </span><span style="font-weight: 400;">from</span><span style="font-weight: 400;"> </span><span style="font-weight: 400;">"next/head"</span><span style="font-weight: 400;">;
import Link from "next/link";
import Butter from "buttercms";
import styled from "styled-components";
const butter = Butter(process.env.BUTTER_CMS_API_TOKEN);
const Post = styled.div`
h1,
h2,
h3,
h4,
h5 {
font-weight: 600;
margin-bottom: 1em;
}
h1 {
font-size: 3rem;
font-family: Consolas;
color: #383428;
}
ul,
ol {
margin-bottom: 1.25em;
li {
margin-bottom: 0.25em;
}
}
p {
font-family: Georgia, Cambria, "Times New Roman", Times, serif;
font-size: 1.25em;
line-height: 1.58;
margin-bottom: 1.25em;
font-weight: 400;
letter-spacing: -0.003em;
}
img {
max-width: 100%;
height: auto;
}
figcaption {
font-style: italic;
text-align: center;
color: #ccc;
}
p code {
padding: 2px 4px;
font-size: 90%;
color: #c7254e;
background-color: #f9f2f4;
border-radius: 4px;
font-family: Menlo, Monaco, Consolas, "Courier New", monospace;
}
pre {
display: block;
padding: 1em;
margin: 0 0 2em;
font-size: 1em;
line-height: 1.4;
word-break: break-all;
word-wrap: break-word;
color: #333333;
background-color: #f5f5f5;
font-family: Menlo, Monaco, Consolas, "Courier New", monospace;
}
`;
const Home = styled.span`
padding: 0.8rem;
margin-top: 0.4rem;
font-size: 1.2rem;
background-color: #a45dc3;
border-radius: 2rem;
width: fit-content;
font-weight: 500;
color: white;
text-decoration: none;
cursor: pointer;
:hover {
background-color: #9a4abc;
}
`;
const Header = styled.nav`
display: flex;
align-items: center;
justify-content: space-between;
`;
function Posts({ post }) {
return (
<Post>
<Head>
<title key={post.title}>{post.title}</title>
</Head>
<div>
<Header>
<h1> {post.title}</h1>
<Link href={`/`}>
<Home>Home </Home>
</Link>
</Header>
<div>
<main dangerouslySetInnerHTML={{ __html: post.body }} />
</div>
</div>
</Post>
);
}
export async function getStaticPaths() {
const allPosts = await butter.post.list({ page: 1, page_size: 10 });
const paths = allPosts.data.data.map((post) => ({
params: { slug: post.slug },
}));
return {
paths,
fallback: false,
};
}
export async function getStaticProps({ params }) {
const response = await butter.post.retrieve(params.slug);
const post = await response.data;
return {
props: {
post: post.data,
},
};
}
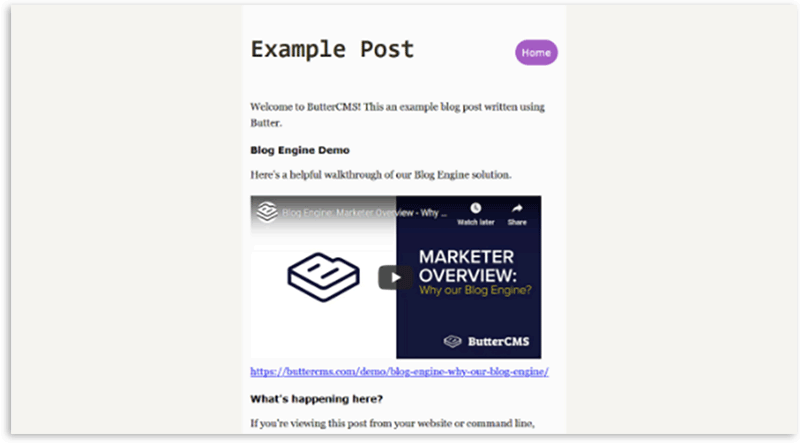
export default Posts;</span>Restart your development server and head over to http://localhost:3000/posts/example-post in your browser. Here is how this page will look:
Conclusion & Next Steps
In this tutorial, we saw how to create an SEO-friendly blog with Next.js and Styled Components, using Butter's headless Next.js CMS.
Next, you should try adding other features and functionality to this project. Here are a few ideas to get you started:
- Add sort, filter, and search functionality
- You could try styling the app with UI libraries like Chakra UI, Material UI, etc.
Here are some additional resources that can be helpful.
Happy coding!