Smartphones have been averaging above 1 billion sales annually according to Statista. More and more people are using their smartphones to access the internet compared to using laptops or PCs. This is due to the fact that smartphones are portable and easy to access. However, there is more to it than this. 230 billion mobile applications were downloaded in 2021 alone, and these numbers are projected to increase with time.
All these facts and more are encouraging businesses to build apps with the aim of capitalizing on the market’s size. React Native apps play a critical role in allowing developers to build apps faster and cheaper for these businesses.
In this tutorial, you will learn how to integrate a ButterCMS blog into a React Native application. Blogging is essential to educating your customers about your products in a friendly, detailed way and enables you to share tips and tutorials for your customers.
Table of contents
Why use React Native?
React Native is an open-source UI software framework created by Meta Platforms, Inc. It is used to develop applications for Android, Android TV, iOS, macOS, tvOS, Web, Windows, and UWP. It enables developers to use the React framework along with native platform capabilities.
React Native is compatible with iOS and Android, meaning you do not have to code separate projects for them. This saves you time as the developer and it makes it easier to maintain your project while making it cheaper for a business to have a mobile app.
React Native makes slick and smooth apps without giving up functionality. It allows you to create reusable code components which are easy to test and debug since issues can be isolated. These components also allow you to simply copy and paste components from any React Native project provided you install all the required dependencies.
React Native is easier to understand if you have a background in JavaScript. Given that most developers are familiar with JavaScript, this increases the chances of its adoption among developers, directly making the community stronger with a steady increase in maintained modules.
Why use ButterCMS?
ButterCMS is a headless content management system (CMS) that focuses on hosting content and exposing the content via an API. It enables developers to use any UI they choose.
The same cannot be said about a traditional CMS, as they tend to have a tightly coupled backend and frontend. That makes it difficult to make adjustments as changing code for the frontend or adding features is not supported by the current code base.
According to Gabe Richter, Head of Technology at Realty Austin, when he was interviewed for a case study done by the ButterCMS team, he stated that “most SaaS products have custom backend CMS platforms that are just horrible. They don’t give you any sort of dynamic capability to control schema or microdata on a page.” This supports the idea that the difference between a headless vs a traditional CMS is huge and making the switch can determine how much money and time you will spend on your software development.

Prerequisites
- Node.js (version 16.17.1, includes npm 8.15.0)
- Visual Studio Code (version 1.72)
- Smartphone emulator/smartphone with Expo GO installed
Tutorial: Create & add a blog to your React Native application
In this tutorial, you will learn how to add a ButterCMS blog to an existing React project and how to handle navigation in a React Native project.
Creating a new post
First, Start by visiting the ButterCMS website and log in or create an account.
ButterCMS has an API-based blog engine designed to integrate with new or existing applications. The blog engine enables you to list all your blogs, filter your blogs, edit your blogs, export your blogs to a .csv file, and add a new post.
This tutorial will utilize the ButterCMS blog engine, which is a pre-built, SEO-optimized, API-first blog engine. If your blog use case is outside of the box, then you can create custom blog page types by going to Content Type and selecting Page Type. In this tutorial, you will be creating a standard blog type.
Now, create a new blog post by clicking on Blog Posts in the sidebar.
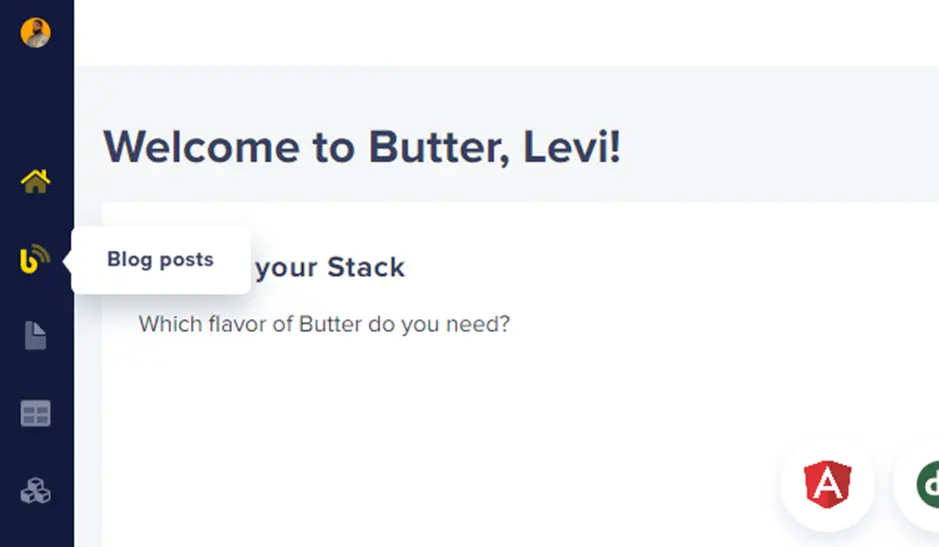
This is where you'll see your blog posts within ButterCMS as you create them.
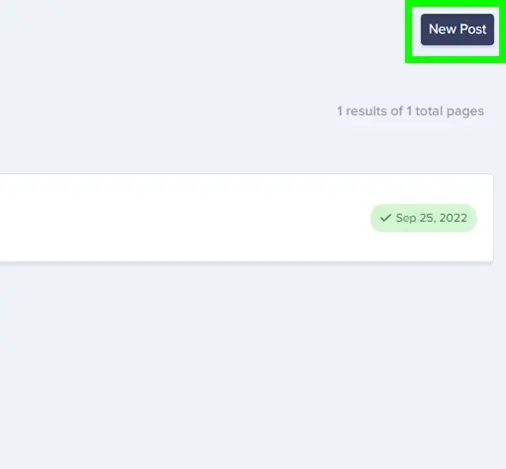
Click on the New Post button to create a new blog post.
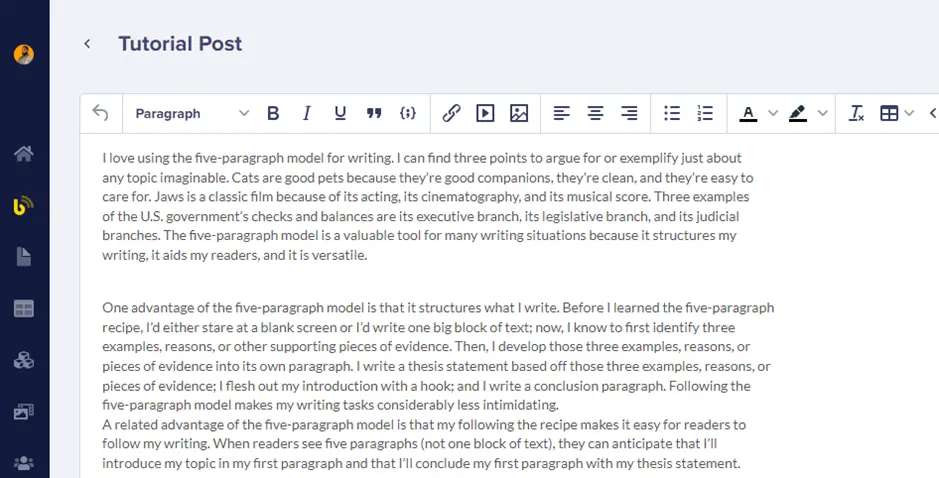
Add a title to your post and add the body into the WYSIWYG editor as shown below:
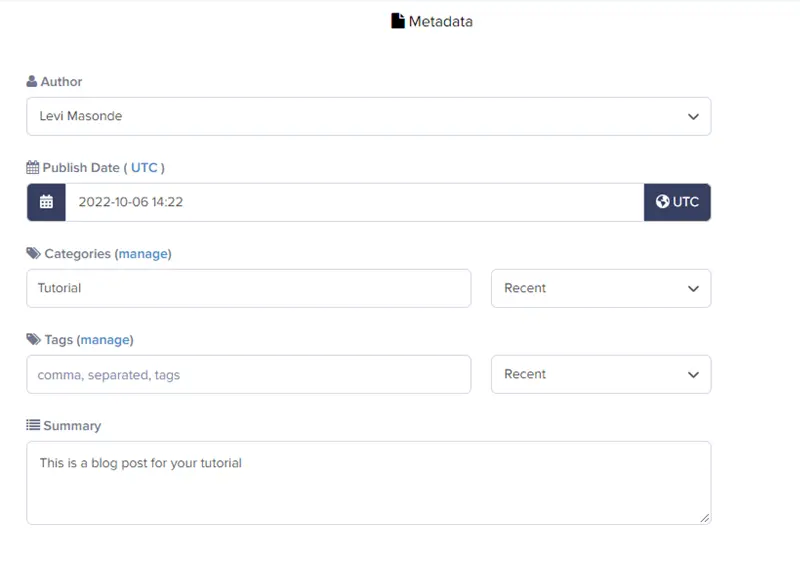
Next, add the metadata to your post at the bottom of your page as shown below:
Either click Save Draft to save a draft of your work or, if done, click Publish to publish your work.

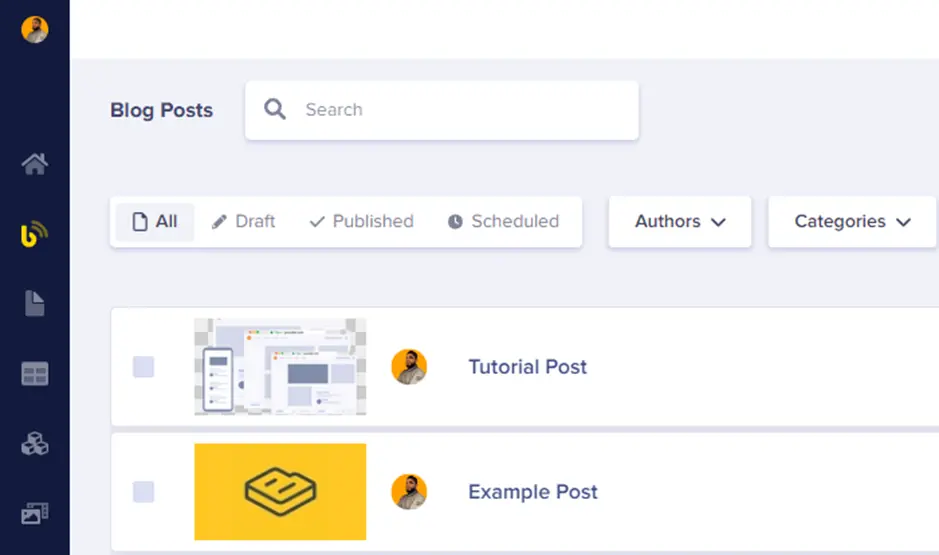
After saving a draft and publishing it, you will see your new post added to the blog list as shown below:
Creating a React Native app
Unless you already have an existing React Native app you would like to work on, you can create a new React Native app following the steps described below.
Open Visual Studio Code and press CTRL + SHIFT + ` to open a new terminal window. Then, use the npx command npx create-expo-app <your app name> to create an Expo React Native app.
Adding ButterCMS to the project
After creating your React Native application or accessing a pre-existing application, for ButterCMS to work with your application, you need to provide a ButterCMS client which will act as an authorization key and also a serializer for your requests.
To install the ButterCMS client on your project, first make sure you run the cd command cd <your project name> and then use the npm command npm install buttercms –save to load the ButterCMS module to your project.
To authenticate your requests, you need to provide your ButterCMS client with your API key. Create a file called butter-client.js and add the code as shown below to define your ButterCMS client.
//butter-client.js
import Butter from 'buttercms'

const butter = Butter('<your key>')

export default butter
You will use this file for authentication when making your API requests, so keep it safe.
Integrating ButterCMS and React Native
Creating views with components
In this section, you will create two components: one component to view the list of blogs and another component to view the blog’s content. These components will be called by their respective screens which will be described in the following section.
First, create a folder named components under your project. Then, install date-fns using the npm command npm install date-fns --save on you from your terminal.
Create a file named BlogCard.js under the components folder and add the code shown below:
//BlogCard.js
import { StyleSheet, Text, View, TouchableOpacity } from 'react-native';
import React from 'react';
import { Avatar, Button, Card, Title, Paragraph } from
'react-native-paper';
import { format } from "date-fns";


//React Native function to display the Card components.
const BlogCard = ({CardData, navigation}) => {
 //using date-fnd’s Date method to create a date variable
  var date = new Date(CardData.published);
 //converting the date to prefered date format
  var formattedDate = format(date, "MMMM do, yyyy H:mma");

  return (

    <TouchableOpacity
        onPress={() => {
            navigation.navigate('Fullblog', {
              blogName: CardData.slug

            });
        }}
        style={styles.touch}
      >
        <Card>
            <Card.Title title={CardData.author.first_name}   />
            <Card.Content>

            <Title>{CardData.title}</Title>
            <Paragraph>{formattedDate}</Paragraph>
            </Card.Content>
            <Card.Cover source={{ uri: CardData.featured_image }} />
            <Card.Actions>

            </Card.Actions>
        </Card>
  </TouchableOpacity>
  )
}


export default BlogCard

const styles = StyleSheet.create({})
The code above takes two parameters. It is expecting two parameters with information for the function’s view when called in the next subsection.
Create a file named FullBlog.js in the components folder and add the code shown below:
//FullBlog.js

import { StyleSheet, Text, View,  useWindowDimensions, SafeAreaView, StatusBar, ScrollView } from 'react-native';
import React from 'react';
import { WebView } from 'react-native-webview';

const Fullblog = ({fdata}) => {

  return (
	<View style={styles.container}>

	<WebView style={styles.webstyle} source={{html: fdata }} />

	</View>

  );
};

export default Fullblog

const styles = StyleSheet.create({
	webstyle : {
        	width : 300,
        	height : 400,

	},

	container: {
  	flex: 1,
  	backgroundColor: '#fff',
  	alignItems: 'center',
  	justifyContent: 'center',
  	marginTop: 0
	},

})
Creating screens for each page
In this section, you will create two pages: one to view a list of available blogs and another to show the selected blog post’s contents. Both screens will call their respective components from the previous section and pass the required parameters.
Use the mkdir command mkdir screens to create a folder called screens in your React Native project.
Use the npm command npm install @react-navigation/native @react-navigation/native-stack to add the modules to your project.
Use the expo command expo install react-native-screens react-native-safe-area-context to add dependencies to the projects.
Create a file called BlogList.js and add the code shown below to show the list of available blog posts in your account:
//BlogList.js
import { StyleSheet, Text, View, FlatList } from 'react-native';
import React, { useState, useEffect } from 'react';
import butter from '../apiKey';
import BlogCard from '../components/BlogCard';


const BlogList = ({ navigation }) => {

const [blogData, setBlogData] = useState([]);

const BlogSummary = async () => {
    butter.post.list({ page: 1, page_size: 10 })
    .then(function(resp) {
        setBlogData(resp.data.data);
        console.log(blogData)
    })
  }

useEffect(() => {

   BlogSummary();

  }, []);


  return (
    <View style={styles.container}>


        <FlatList

            data={blogData}
            renderItem={({ item }) => <BlogCard CardData={item} navigation={navigation}/>}
            keyExtractor={(item) => item.title}
            showsVerticalScrollIndicator={false}

            />
        <Text>Press Here</Text>

    </View>
  )
}

export default BlogList

const styles = StyleSheet.create({
  container:{
    backgroundColor:'#008b8b'
  }
})
The integration is as simple as importing a ButterCMS client to your file and making API requests to the ButterCMS database.
Create a file named Blog.js in the screens folder and add the code shown below:
//Blog.js
import { StyleSheet, Text, View, Dimensions  } from 'react-native';
import React, { useState, useEffect } from 'react';
import Fullblog from '../components/FullBlog';
import { NavigationContainer } from '@react-navigation/native';
import { createNativeStackNavigator } from '@react-navigation/native-stack';
import butter from '../apiKey';

var width = Dimensions.get('window').width; //full width
var height = Dimensions.get('window').height; //full height

const Blog = ({route}) => {

	const {blogName} = route.params;
	const [fullPost, setFullPost] = useState('');

	const blogBody = async () => {
        butter.post.retrieve(blogName)
        .then(function(resp) {
            setFullPost(resp.data.data.body);
            console.log(fullPost)
    	})
  	}

	useEffect(() => {
    	blogBody();

  	}, []);

  return (
	<View style={styles.container}>
  	<Fullblog fdata={fullPost} />
	</View>
  )
}

export default Blog

const styles = StyleSheet.create({
	container: {
    	width: width,
    	height: height,
    	alignSelf: 'stretch',
    	textAlign: 'center',
    	margin: 5
	}
})
The ButterCMS client was used again here to integrate ButterCMS to your code.
Finally, make the following changes to your App.js file:
//App.js
import 'react-native-gesture-handler';
import { StatusBar } from 'expo-status-bar';
import { StyleSheet, Text, View } from 'react-native';
import { createStackNavigator } from "@react-navigation/stack";
import { NavigationContainer } from '@react-navigation/native';
import BlogList from './screens/BlogList';

import Blog from './screens/Blog';

const Stack = createStackNavigator();

function NavStack() {
  return (
 	<Stack.Navigator
        initialRouteName="BlogList"
    	screenOptions={{
      	headerTitleAlign: 'center',
      	headerStyle: {
            backgroundColor: '#008b8b',
      	},
      	headerTintColor: '#fff',
      	headerTitleStyle :{
        	fontWeight: 'bold',
      	},
    	}}
  	>
  	<Stack.Screen
        name="BlogList"
        component={BlogList}
    	options={{ title: 'Blog List' }}
  	/>
  	<Stack.Screen
        name="Fullblog"
    	component={Blog}
    	options={{ title: 'Full Blog' }}
  	/>

    </Stack.Navigator>
  );
}

export default function App() {
  return (
    <NavigationContainer>
  	<NavStack />
    </NavigationContainer>
  );
}

console.disableYellowBox = true;

const styles = StyleSheet.create({

});
Running the application
To start your application use the npm command “npm start” in your project’s terminal and use the QR code on the terminal to link your smartphone to your application or, alternatively, use an emulator. Enjoy the hot reload.
Your app should now render on your device as shown below in the results section.
Results
Congratulations on making it this far! Your app should be looking smooth and feeling smooth, too. When you click on a blog on the list, you should be redirected to the full blog with all the content of the selected blog.
Closing thoughts
For a quick recap, more people are buying and using smartphones, and for businesses to have a piece of this market, they need to invest in applications. The market is already competitive, so any edge in costs and development time is crucial.
React Native offers a great solution for this scenario: you get to save money and time while getting full functionality. Furthermore, ButterCMS has a very user-friendly admin portal and its APIs are seamless and update instantly, therefore giving a great user experience while erasing the need for an in-house backend system which tends to be costly to set up and maintain. Adding a blog to your React Native application is simple since React Native uses components you can plug into your application or unplug with ease.