Content Modeling Basics
Building a Main Navigation Menu Using a Page
Step by step guide for creating menus, sub-menus, mega menus that you can change on the fly
Menu items are important for navigating through your site, but they can be a headache to build and maintain as they get more intricate. Luckily Butter has a powerful tool for easily creating menus and sub-menus that you can change on the fly! Here's how to build menus in Butter.
Step 1: Creating your Page Schema
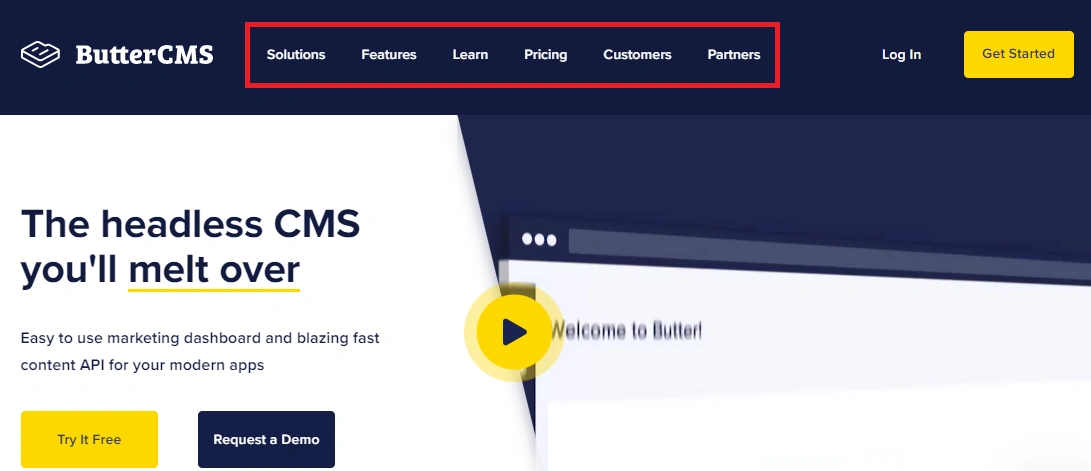
Let's look at how we can create an actual menu that looks like this:

Here's the hierarchy of our menu:
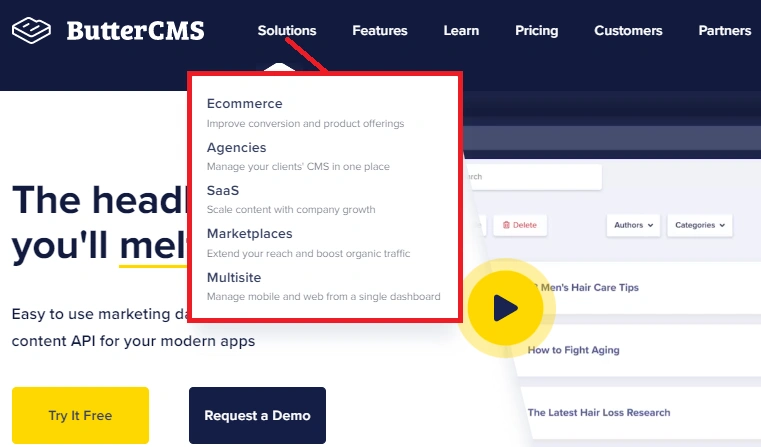
- Solutions
- Ecommerce
- Agencies
- SAAS
- Marketplaces
- Multisite
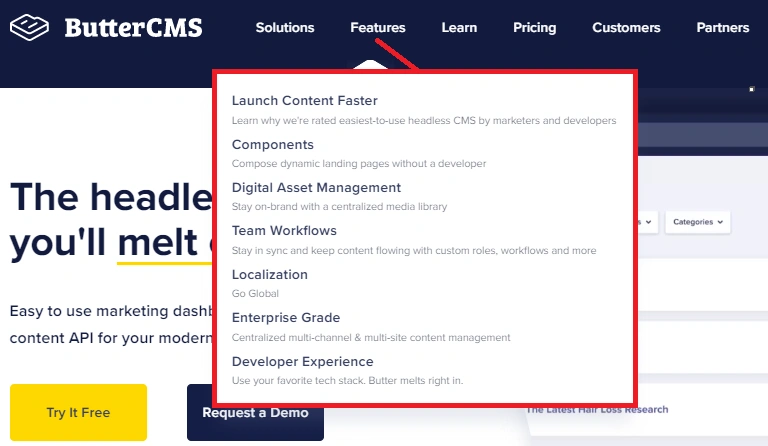
- Features
- Launch Content Faster
- Components
- Digital Asset Management
- Team Workflows
- Localization
- Enterprise Grade
- Developer Experience
- Learn
- Docs
- Starter Projects
- Blogs
- Knowledge Base
- Butter vs WordPress
- Pricing
- Customers
- Partners
In this example, we will be using Components and a Component Picker within a Page. You can model them out in any way you want and give them their own custom set of fields
Let's get started!
STEP 1: Building your Page
The first step is to build the base configuration of your menu by using a component picker. This allows you to add multiple or different components to your schema making it easier for your team to pick and choose which component is needed based on what they are building.

Next, add a component to your picker which has all the fields you need for each menu item.
For example, the "Menu - First/Second Level Label" will be your display text, and the "Menu - First/Second Level URL" will be the URL for that item. You can add other fields to it should you wish, but make sure to include the ones I just mentioned.
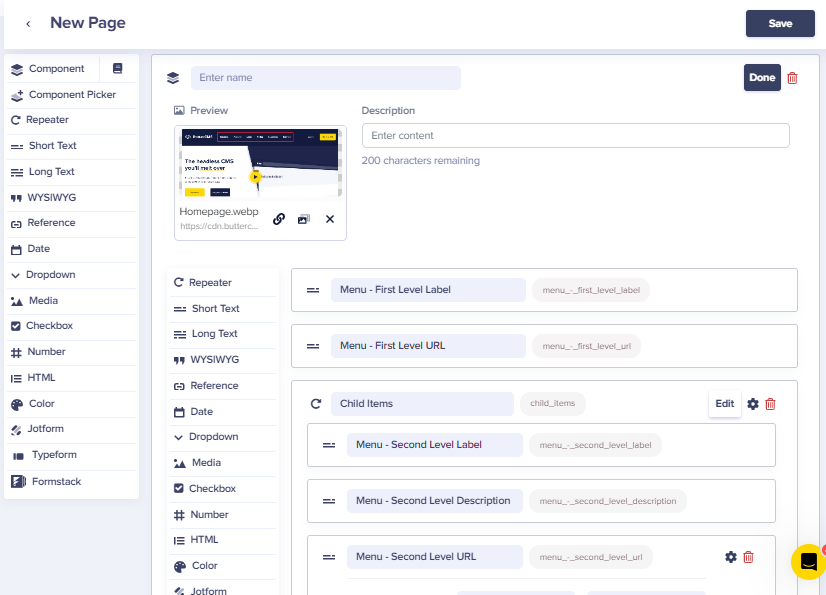
To help you better understand the fields in the screenshot above, the 'Menu - First Level' fields are what we will be using to build this section
:
While the 'Menu - Second Level' fields are what we will be using to build these sections:
STEP 2: Adding Items to your Page
To add an item to your page, just click on the Add new component button

Then choose the component you would like to use and start entering the information for each field:
Finally, review all the information you entered and preview your work. To learn more about the process of setting up your Preview URLs, you can check this article: Previewing Blog Posts and Pages