In the fast-paced world of e-commerce, headless commerce has become a popular architecture because it offers businesses the ability to improve customer experiences while allowing developers to work on a highly customizable solution. In this article, we will take a closer look at what exactly headless e-commerce is, how it compares to traditional e-commerce, and the benefits of headless e-commerce when using ButterCMS. We will also walk through how to build a simple e-commerce site that includes a products page with some basic functionality using ButterCMS and Python.
Table of contents
What is headless commerce?
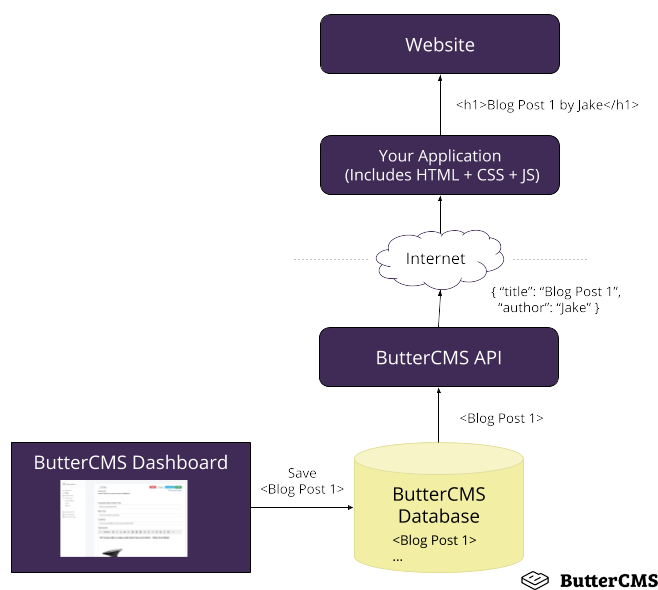
Headless commerce is a decoupled, microservice architecture that separates the front-end from the back-end of an e-commerce application. This gives developers a lot of flexibility because they can choose whichever front-end framework they prefer without having to worry about the impact it could have on the backend. The architecture itself is made up of well-defined APIs that can quickly and efficiently process large amounts of data. This is where headless commerce greatly differs from traditional e-commerce.
In traditional e-commerce, monolithic architectures are used which means that both the front-end and back-end are one giant piece of software. This sacrifices flexibility since all the components are so closely tied together. Also, because of the tight coupling and limited flexibility, making a personalized customer experience is much more difficult.
With headless commerce, front-end customization changes can be easily made in a matter of minutes. Lastly, headless commerce offers a higher level of security since it is not connected to the presentation layer. This means that there is a much smaller area that is at risk to a possible attack. So this will require a lot of redesigning and rebuilding. Knowing all this now, where does ButterCMS fit in? Well, ButterCMS is a headless content management system (CMS) that gives you lots of tools to create content for your blogging, marketing, or multi-channel site.
Benefits of headless commerce with ButterCMS
Utilizing a headless commerce architecture coupled with ButterCMS has loads of benefits both for the site and the site’s customers such as the following:
- Flexibility and Seamlessness: Like we mentioned earlier, headless e-commerce utilizes a backend made up of well-defined APIs. This allows for easy integration and communication with other systems. It also gives developers the opportunity to choose a frontend framework that will work best for them.
- Time and Cost Savings: Development work costs a lot of time which, in turn, costs a lot of money. Because headless e-commerce relies on microservices, this gives developers the chance to work more independently and not have to worry about affecting other parts of the system. This also makes it much easier for maintenance and updates.
- Omnichannel Strategy: The headless e-commerce architecture gives businesses the ability to easily spin up new websites and touchpoints without having to worry about re-platforming the storefronts. In fact, headless e-commerce makes it easier to share content across multiple channels.
- Better Customer Experience: Lastly, headless e-commerce provides a great, personalized experience for your customers. The architecture is structured to easily adapt to the needs of the customer. One way this can be accomplished is by utilizing data from the backend to offer that personalized experience.

Tutorial: Building a headless commerce site
Now that we know a little more about headless commerce and ButterCMS, let’s build a simple headless commerce site where ButterCMS will manage the content that gets presented to the customer and Python will handle the delivery. We will also integrate with Square’s API to handle checkout operations. You can find the code for this tutorial in this repo.
ButterCMS account creation and component building
To start, head on over to the ButterCMS website and create a new account. Once you have an account created and are logged in, create a component that will store our product information. Click the building blocks button on the left panel to open the Content Types page.

After that, in the top right-hand corner, click the New Content Type button and select Component.

This will present an editor where you can add a variety of fields that perform different functions. The first field we are going to use is the repeater. This will bring up another editor for adding fields. The idea behind this is that instead of creating individual components for the headless commerce site’s products, the repeater will easily allow us to duplicate fields when we go to create the page for our products.
Next, we are going to add a short text field called Product Name, a media field called Product Image, a reference called Product Type, a long text field called Product Description, and two number fields called Product Price and Product Amount.

Once all the fields are added, click the Create Component button in the top right-hand corner. You will be prompted to name the component. I named mine Products Component. Before creating the page, we need one more content type, a collection.
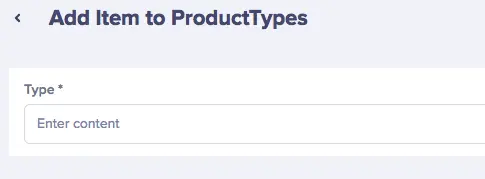
This collection will be used to categorize the different products, clothes, books, wares, etc. To build this collection, on the Content Types page, click the New Content Type button again, but this time select Collection. Again, you will be presented with an editor to add more fields, but this time we will only be adding a single short text field called Type. The only thing left to do here is to click the Create Collection button and give it a name. I called mine ProductTypes.
Creating the ButterCMS page
Now that we have all of our components and collections, we can begin the really fun part of creating the page to hold our products. On the left pane click the Pages button, then click the New Page button and select Create a New Page. Once clicked, we are presented with an editor where the first thing we will do is add a component picker field to the page.
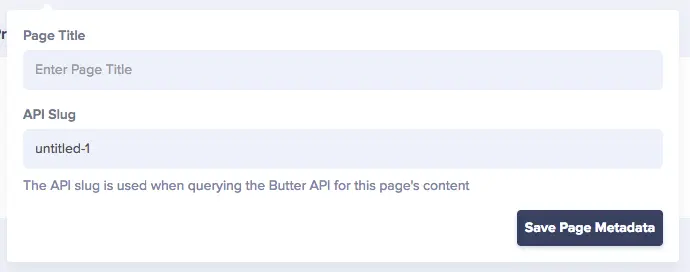
In this field, we can select the new Products component that we just created by clicking the Add from Library button. After that, click the Save button and you will be redirected to an editor where we can set the page title and add content to the page.
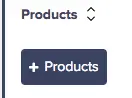
After that, by clicking the + Products button we can add a new product:
And then fill out the associated fields:
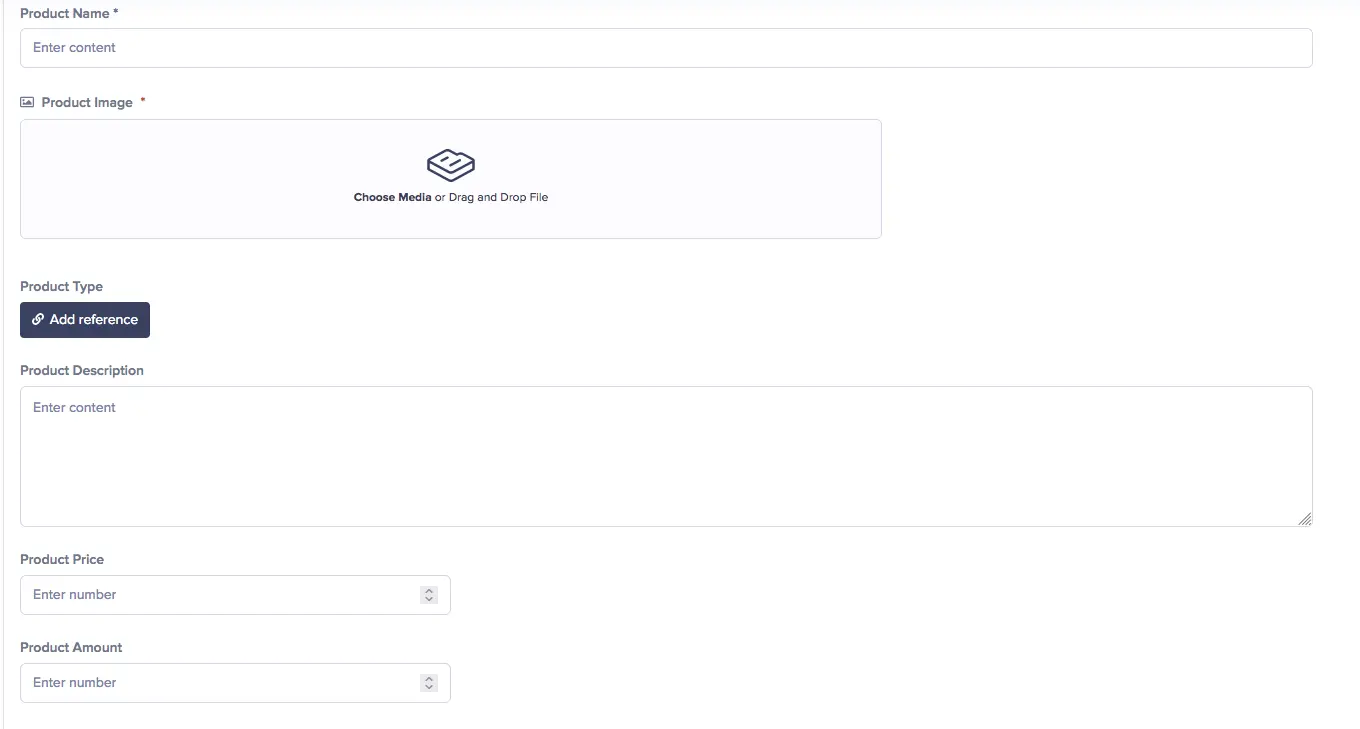
All the fields should be self-explanatory except for the Product Type field. For this field, we will be adding a reference to the items in the Product Type collection. Like it was mentioned earlier, this collection will hold the different categories that help describe our items. To create an item, all you have to do is click the Create New button after clicking the Add Reference button. This will bring up a page allowing you to add the item.
The created items will then appear in the Add Reference menu where you can select what item category you wish to tie to the product.
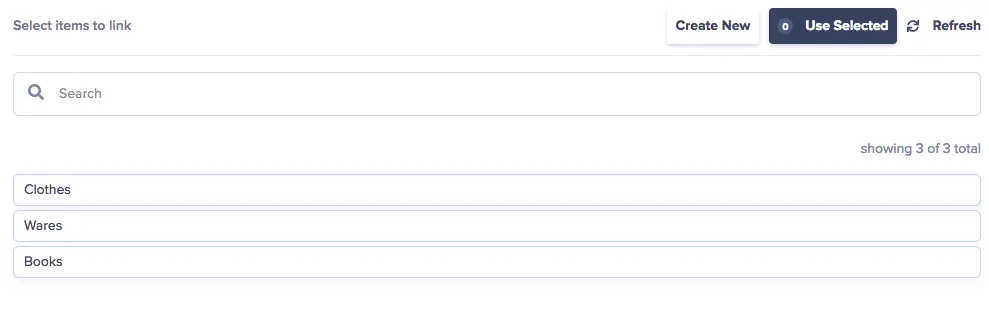
Go ahead and add a few more products and collection items!
Writing the back-end code
Installing the modules and activating the virtual environment
At this point, we are finally ready to get our hands dirty in writing some code. For this part of the tutorial, we will be using Flask to display our products and checkout page. To get started, the first thing we need to do is create a virtual environment using virtualenv. The first step to do this is to create a project directory. After that, run the following command inside the project directory to create the virtual environment:
python3 -m venv buttercms_ecommerce
Then, run this command to activate the environment:
. buttercms_eccomerce/bin/activate
Now that we have the environment activated, we need to install the Flask module, the Square Python SDK, and the ButterCMS Python SDK.
Pip3 install Flask, buttercms-python, squareupCreating the ButterCMS API wrapper file
At this time, we have everything we need to get started writing some code. Create a file called butter_wrapper.py. This file will contain a class that will act as a wrapper to the ButterCMS SDK. After you have the file created, import the ButterCMS SDK and declare a new class called ButterWrapper. In the dunder init function, declare a new instance to the ButterCMS SDK using your API token.
from butter_cms import ButterCMS

class ButterWrapper:
   def __init__(self):
       self.token = "TOKEN"
       self.client = ButterCMS(self.token)
If you don’t know where to find your Read API Token, it can be found in your profile settings in ButterCMS. Also, normally, you will want to store this in an environment variable. Next, we will write a function to get the products page data (what we built earlier) and another generic function to get collection data. The final function needed in this wrapper will be used to get the product data for items in the shopping cart session.
def get_products_page(self):
       products_page = self.client.pages.get('*', 'products-page')
       return products_page

   def get_collection(self, collection_name):
       collection = self.client.content_fields.get([collection_name])
       collection_items = collection["data"]
       return collection_items

def get_cart(self, cart):
       products = self.GetProductsPage()

       cart_list = []

       if cart is not None:
           for item in cart:
               data = [product for product in products["data"]["fields"]["products_page"]["products"] if product["product_name"] == item]
               cart_list.append(data[0])

       return cart_list
Creating the landing page route
Step number two is to create the Flask routes used to send and receive data for the front-end.
We can get started with that by creating a new file called main.py and importing the Butter wrapper file and Flask. We will also declare a new instance of Flask, set a secret key for the checkout cart session, and specify how Flask should run (host and port number).
from flask import Flask, render_template, request, session

from storage import *

app = Flask(__name__)

app.secret_key = "SUPER_SECRET_KEY"

app.run(host = "0.0.0.0", port = 5000, debug = True)
After that, we can create our first route that will direct users to the landing page that shows all of our products. There will also be a secondary route that will be used for the products based on their category.
@app.route("/")
@app.route("/<category>")
def main(category = None):
   butter_cms = ButterWrapper()

   # Getting product information
   products_page = butter_cms.get_products_page()
   data = []

   # Getting the category collection
   categories = butter_cms.get_collection("producttypes")

   # filtering by category
   if category is not None:
       for item in products_page["data"]["fields"]["products_page"]["products"]:
           for category_type in item["product_type"]:
               if category_type["type"] == category:
                   data.append(item)
   else:
       data = products_page["data"]["fields"]["products_page"]["products"]

   return render_template("index.html", data = data, categories = categories)
Breaking down what this code does, the function starts out by creating a new instance to the Butter wrapper class. Then it gets a list of all the products we created earlier in ButterCMS, followed by a list of categories from the Product Types collection. After that, it checks if a category was passed to the function and determines what products to pass to the index.html template.
Adding the product page endpoint
The next route we need will be for a page to view detailed information about a product and add the product to our shopping cart should we choose to purchase.
@app.route("/product/<product_name>", methods = ["GET", "POST"])
def product_page(product_name):
   if request.method == "GET":
       if session["cart"] is None:
           session["cart"] = []

   if request.method == "POST":
       item_list = session["cart"]
       item_list.append(product_name)
       session["cart"] = item_list

   butter_cms = ButterWrapper()

   # Getting product information
   product_list = butter_cms.get_proudcts_page()

   data = [product for product in product_list["data"]["fields"]["products_page"]["products"] if product["product_name"] == product_name]

   return render_template("product.html", data = data[0])
Quite a bit different compared to the previous function, this time we have some checks looking at how the request was sent. Based on that, we either declare a new cart session or add to the cart. However, after that, we follow a similar pattern to what we did earlier, except we only return a single object as data.
Adding the shopping cart endpoint
The next route we need to implement is the shopping cart. For the sake of simplicity, we will keep it really basic.
@app.route("/cart")
def cart_page():
   if request.method == "GET":
       butter_cms = ButterWrapper()

       cart_list = butter_cms.get_cart(session["cart"])
       cart_total = 0

       if cart_list is not None:
           for item in cart_list:
               cart_total += item["product_price"]

       return render_template("cart.html", data = cart_list, total = round(cart_total, 2))
Just like our previous routes, again, we get our list of products, search through that list using the contents of the cart session, and then tally up the total price of the items before passing it to the checkout template.
Creating the checkout endpoint
The final route that needs to be implemented is tasked with the purpose of redirecting the user to a secure Square-hosted page where they can complete their purchase. In order for this to properly work, you will need to create a Square Developer account and create an app within Square to get an access token.
It’s recommended to use the Sandbox token when testing. Once you have a token, we can send a transaction dictionary to Square's create_payment_link endpoint in their Checkout API. If a successful response is received, then we can utilize the secure URL that Square gave us to finish purchasing the customers’ items.
@app.route("/checkout")
def checkout_page():
   butter_cms = ButterWrapper()

   cart_list = butter_cms.get_cart(session["cart"])

   client = Client(
       access_token = "YOUR_ACCESS_TOKEN",
       environment = "sandbox"
   )

   transaction_list = []
   for item in cart_list:
       new_line_item = {
           "name": item["product_name"],
           "quantity": "1",
           "note": None,
           "base_price_money": {
               "amount": int(str(item["product_price"]).replace(".", "")),
               "currency": "USD"
           }
       }

       transaction_list.append(new_line_item)

   new_transaction = {
       "idempotency_key": str(uuid.uuid4()),
       "order": {
           "location_id": "LOCATION ID",
           "line_items": transaction_list
       }
   }

   result = client.checkout.create_payment_link(new_transaction)

   if result.is_success():
       return redirect(result.body["payment_link"]["url"])
   elif result.is_error():
       return render_template("cart.html")

Writing the front-end code
Speaking of templates, we still need to create those! In a directory called “templates” (it must be named templates) create four files called base.html, index.html, product.html, and checkout.html. These files will hold all HTML and Jinja2 code used to display the list of products, its detailed information, and the checkout page. One other note is that all these files utilize the Bootstrap framework.
Building a base template
Before fully diving into the front-end files, we are going to use the base.html file as a base template for all our other HTML files. Essentially, the base.html file will load the links and scripts for bootstrap and house the code for the navigation bar. The other HTML files will then inherit this file, eliminating having to write a lot of duplicate code.
<!DOCTYPE html>
<html>
   <head>
       <link href="https://cdn.jsdelivr.net/npm/bootstrap@5.2.0-beta1/dist/css/bootstrap.min.css" rel="stylesheet" integrity="sha384-0evHe/X+R7YkIZDRvuzKMRqM+OrBnVFBL6DOitfPri4tjfHxaWutUpFmBp4vmVor" crossorigin="anonymous">
   </head>
   <body>
       <script src="https://cdn.jsdelivr.net/npm/bootstrap@5.2.0-beta1/dist/js/bootstrap.bundle.min.js" integrity="sha384-pprn3073KE6tl6bjs2QrFaJGz5/SUsLqktiwsUTF55Jfv3qYSDhgCecCxMW52nD2" crossorigin="anonymous"></script>

       <nav class="navbar navbar-expand-lg bg-light">
           <div class="container-fluid">
             <a class="navbar-brand" href="#">ECommerce Site</a>
             <button class="navbar-toggler" type="button" data-bs-toggle="collapse" data-bs-target="#navbarText" aria-controls="navbarText" aria-expanded="false" aria-label="Toggle navigation">
               <span class="navbar-toggler-icon"></span>
             </button>
             <div class="collapse navbar-collapse" id="navbarText">
               <ul class="navbar-nav me-auto mb-2 mb-lg-0">
                 <li class="nav-item">
                   <a class="nav-link active" aria-current="page" href="/">Products</a>
                 </li>
               </ul>
               <span class="navbar-text">
                   <a href="/cart">Cart</a>
               </span>
             </div>
           </div>
       </nav>

       <div class="container">
           {% block content %}
           {% endblock %}
       </div>
   </body>
</html>
Building the products page
Shown below is the index.html file. Its purpose is to display our filters and a list of filtered or unfiltered products. This is where we first see Jinja2 come into action by utilizing Flask’s template inheritance to load our navigation bar and allow us to use Bootstrap. After that, we use a for loop to populate the category filter and another for loop to show the products.
{% extends "base.html" %}
{% block title %}Products{% endblock %}
{% block content %}

<h1>{{ data.name }}</h1>

<div class="dropdown">
   <button class="btn btn-secondary dropdown-toggle" type="button" id="dropdownMenuButton1" data-bs-toggle="dropdown" aria-expanded="false">
       Categories
   </button>
   <ul class="dropdown-menu" aria-labelledby="dropdownMenuButton1">
       {% for category in categories.producttypes %}
           <li><a class="dropdown-item" href="/{{category.type}}">{{ category.type }}</a></li>
       {% endfor %}
   </ul>
</div>


<div class="row">
   {% for item in data %}
       <div class="card" style="width: 18rem;">
           <img class="img-thumbnail" src={{item.product_image}}>

           <div class="card-body">
               <h4 class="card-title">{{ item.product_name }}</h4>

               <a href="/product/{{item.product_name}}" class="btn btn-primary">View</a>
           </div>
       </div>

   {% endfor %}
</div>

{% endblock %}
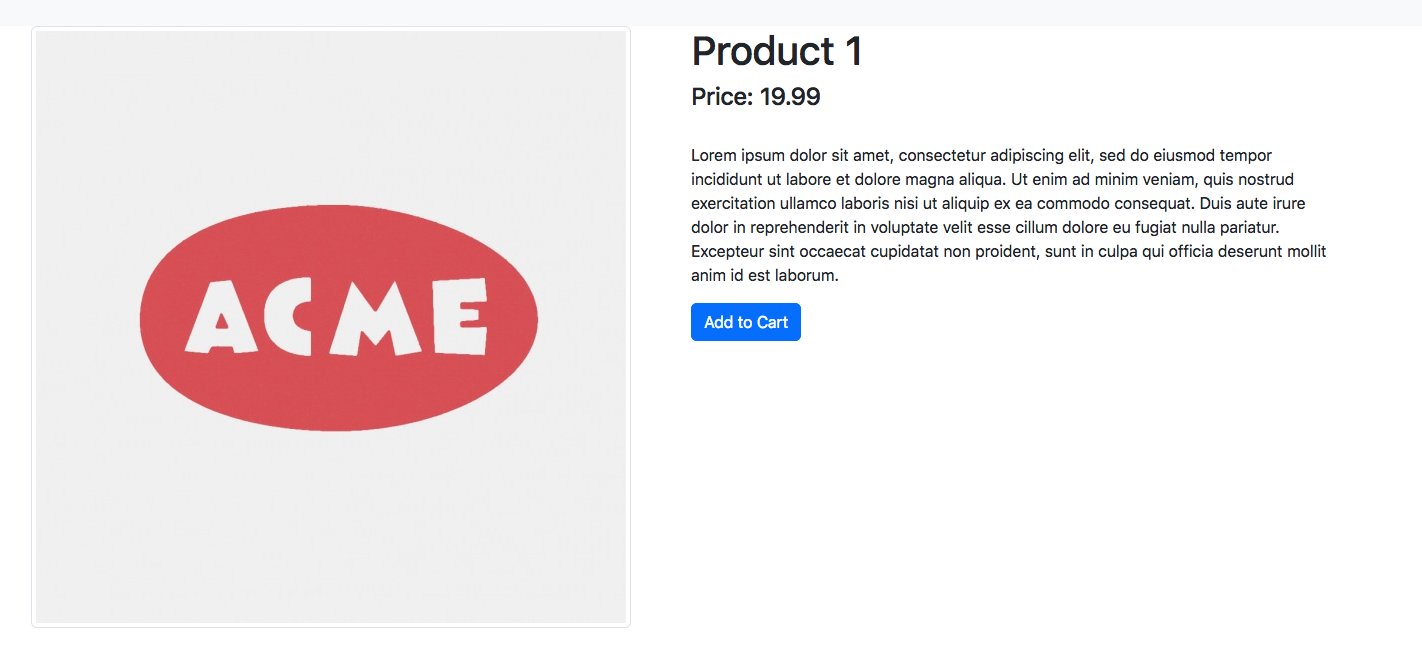
Building the product detail page
Next, we have the Product.html page. The main purpose of this file is to provide more information about the product to the user. While providing that information, there is also a form on this page that will add the item to the shopping cart when its button is clicked.
{% extends "base.html" %}
{% block title %}{% endblock %}
{% block content %}

<div class="row">
 <div class="col">
     <img class="img-thumbnail" src={{data.product_image}}>
 </div>
 <div class="col">
     <h1>{{ data.product_name }}</h1>
     <h4>Price: {{ data.product_price }}</h4>


     <p>{{ data.product_description }}</p>

     <form method="POST" action="/product/{{data.product_name}}">
       <input type="submit" class="btn btn-primary"  value="Add to Cart">
     </form>
 </div>
</div>

{% endblock %}
Building the shopping cart
Speaking of shopping carts, the cart.html page shows us all the products that were added to the cart. Again, it utilizes Jinja2 to list those products and it also displays the total price of items in the cart.
{% extends "base.html" %}
{% block title %}Cart{% endblock %}
{% block content %}
{% for item in data %}
<div class="card" style="width: 18rem;">
<div class="row">
<div class="col">
<img class="img-thumbnail" src={{item.product_image}}>
</div>
<div class="col">
<h4>{{ item.product_name }}</h4>
<p>{{ item.product_price }}</p>
</div>
</div>
</div>
{% endfor %}
<div class="row">
<div class="col">
<h3>Total: ${{ total }}</h3>
</div>
<div class="col">
<a class="btn btn-primary" href="/checkout">Continue to checkout</a>
</div>
</div>
<script>
</script>
{% endblock %}
Testing our new e-commerce site
The final step we need to do is test out everything. This can be accomplished by running the following command:
python3 main.pyAfter running this command, open up a web browser and navigate to the URL http://localhost:5000. If everything is working correctly, you should see the following page displaying a list of products:
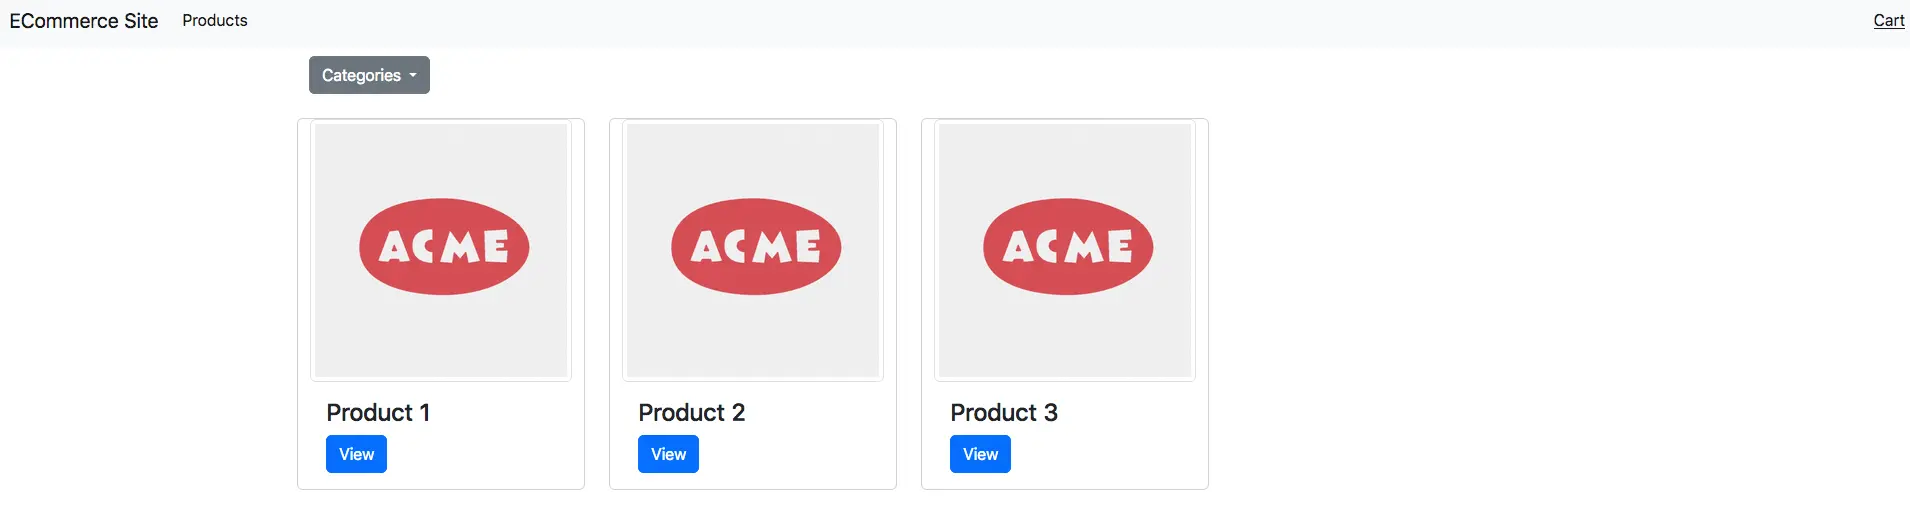
Clicking on the categories dropdown filter will allow you to filter the products by category.
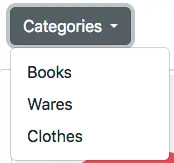
Results of selecting the Books category:
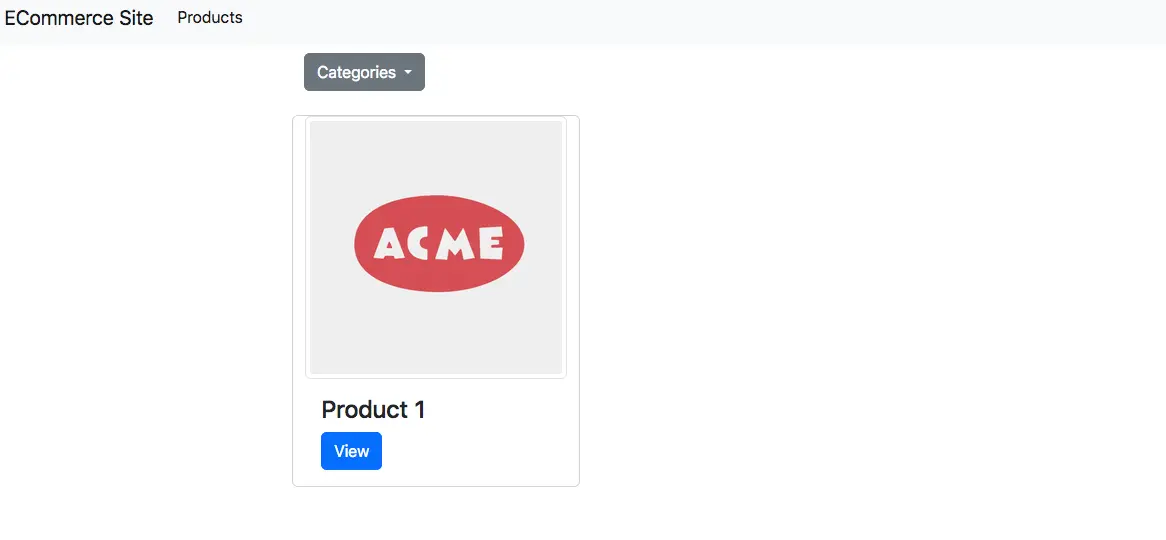
To view further details about a product, simply click the View button in the product card.
The cart button at the top right-hand corner shows which products you wish to purchase. Products can be added to this list by clicking the Add to Cart button in the Product Detail page.
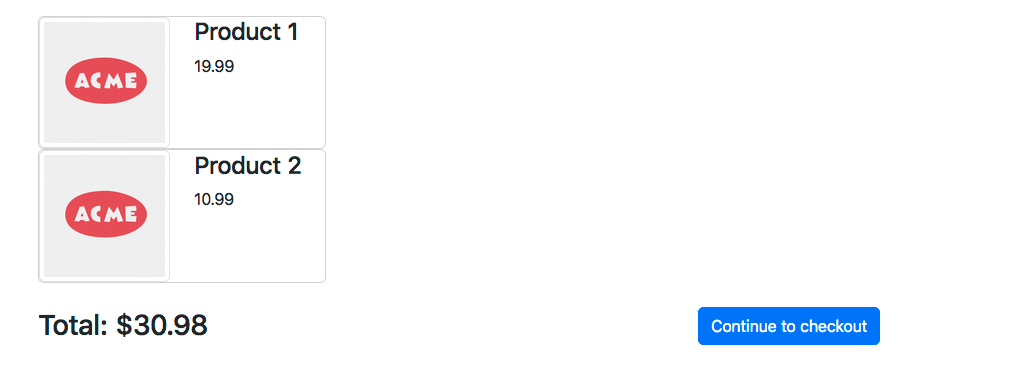
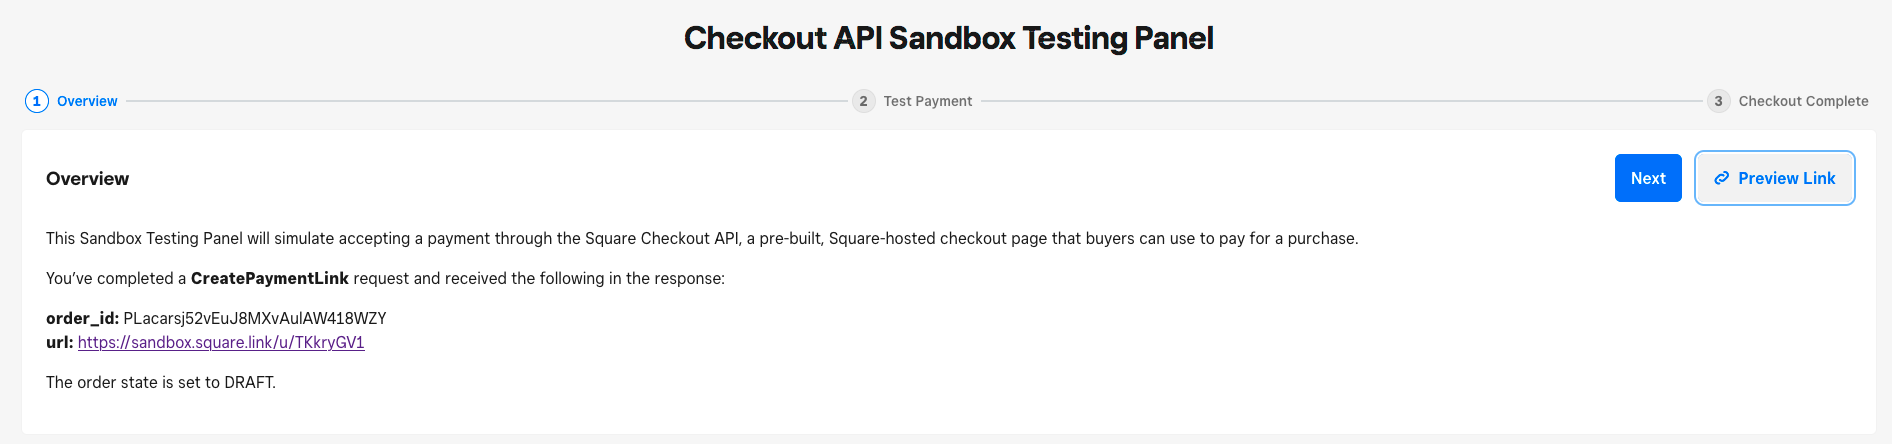
Once you have confirmed the items you wish to purchase, clicking the Continue to Checkout button will redirect you to Squares Checkout Testing Panel. The reason this happens is because we are testing the checkout process in a Sandbox environment.
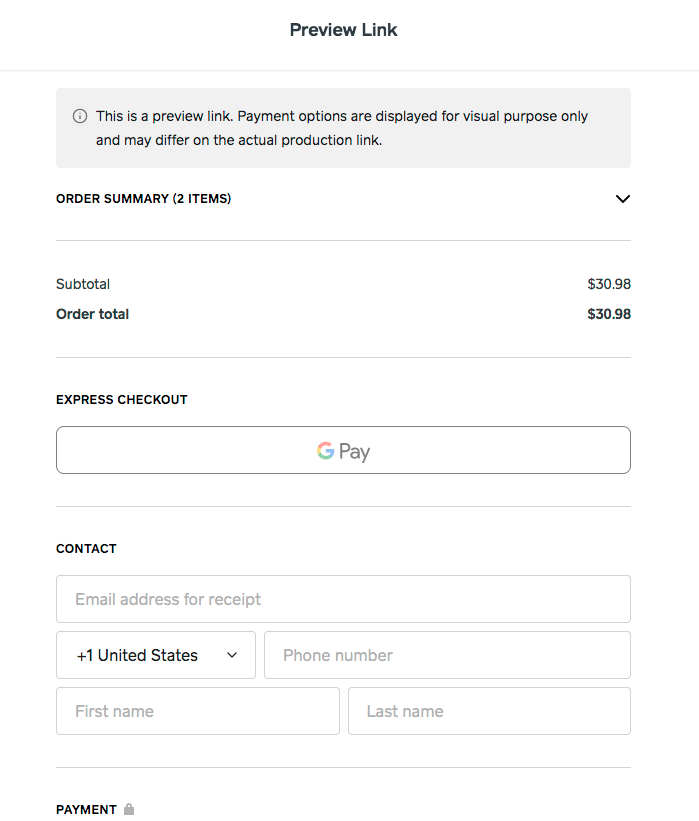
Clicking the Preview Link button will display what you would actually see in a production environment if you clicked the Continue to Checkout button in our app.
Closing thoughts
Congratulations, you have just created a basic headless commerce site using ButterCMS. Go forth and build upon what you have learned by adding more features such as a product quantity selector, a user review section, or a customer wishlist.
To sum all of this up, long gone are the days of using a huge, single application to deliver your content to the web. The headless commerce architecture combined with the power of ButterCMS is a very powerful tool in a business’ tool chest. Together, they each bring to the table many benefits that help save companies time and money while giving software developers lots of flexibility to create awesome decoupled applications that provide great experiences for customers. If you are in the market for a headless architecture to deliver your next blog, marketing site, or multichannel content, then check out headless e-commerce and ButterCMS today!