
- Why use Nuxt?
- Why use ButterCMS?
- Tutorial objectives and goals
- Project setup: Installing the Nuxt application
- Designing our blog application
- Setting up ButterCMS
- Connect our blog application to the ButterCMS dashboard
- Creating our blog pages and integrating the ButterCMS API into the blog application
- Closing thoughts
Headless CMS (content management system) technologies are rampant these days due to developers' continuous desire to discover efficient and time-saving technologies and minimize the hassle of building custom websites and applications from scratch. They are usually a better option than their traditional counterparts because of their flexibility and their ability to expose an API (application programming interface) that can be incorporated into various applications independent of the technologies these applications were built with.
In this tutorial, we will be building a blog using Nuxt, a highly performant Vue framework, and ButterCMS, a highly efficient headless CMS.
Table of contents
Why use Nuxt?
Nuxt is a high-level framework built on top of the Vue.js framework. It makes development easier by providing out-of-the-box optimized build tool configurations and creating a high level of abstraction on top of some concepts in Vue like Routing, adding and accessing instance methods (prototypes), and so on. It is supercharged with features like a global state management system (VueX/Pinia), server-side rendering (SSR), static site generation (SSG), and optimizations for build tools like Babel, PostCSS, and webpack. It is a framework of choice to build scalable applications quickly and efficiently—hence the reason we are using it for this tutorial.
Why use ButterCMS?
ButterCMS is an API-driven headless CMS that aims to eliminate the constraints associated with traditional CMSs like WordPress. It self-hosts the CMS platform that comprises the CMS dashboard and the content API. With the content API, you can integrate ButterCMS into any application of your choice independent of the technology stack used in building such an application. You can easily define the nature of your content from the CMS dashboard and then leave it to the content API to supply that content to your application or website. With this, you can easily build and power your blog, company website, news website, e-commerce application, and much more, which is why it is our headless CMS of choice for this tutorial.

Tutorial objectives and goals
Our objective for this tutorial is to build a simple blog using NuxtJS and ButterCMS. After this tutorial, you will be able to integrate ButterCMS into a NuxtJS application and learn how to build a simple blog application and manage its contents with ButterCMS. The code for this tutorial can be found in this GitHub repo.
Tutorial Prerequisites
To follow along with the tutorial, you will need to have the following:
- Basic knowledge of JavaScript
- Basic knowledge of the VueJS framework–because NuxtJS is built on top of it, right?😅
- Node.js installed on your local machine
- Package managers like yarn or npm (npx) installed and confirmed working
- Visual studio code (VS Code) Editor
Project setup: Installing the Nuxt application
We will be using Nuxt 3 to build the application. To install Nuxt 3, type the following commands in sequence:
npx nuxi init <project-name>
code <project-name>
yarn install
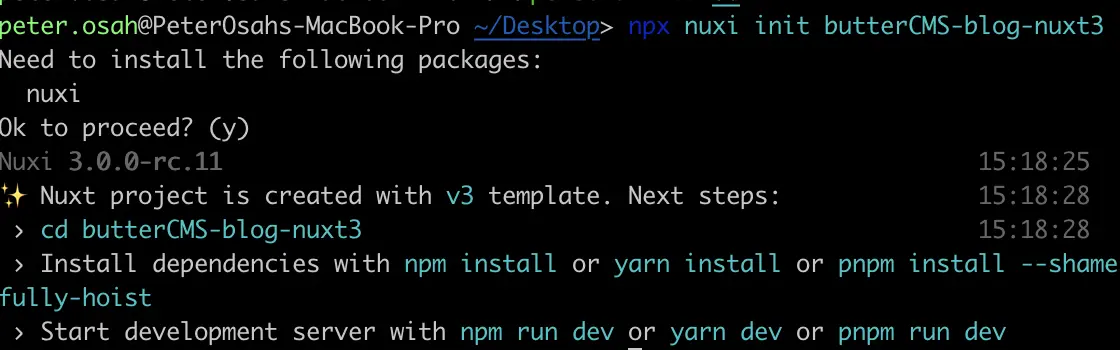
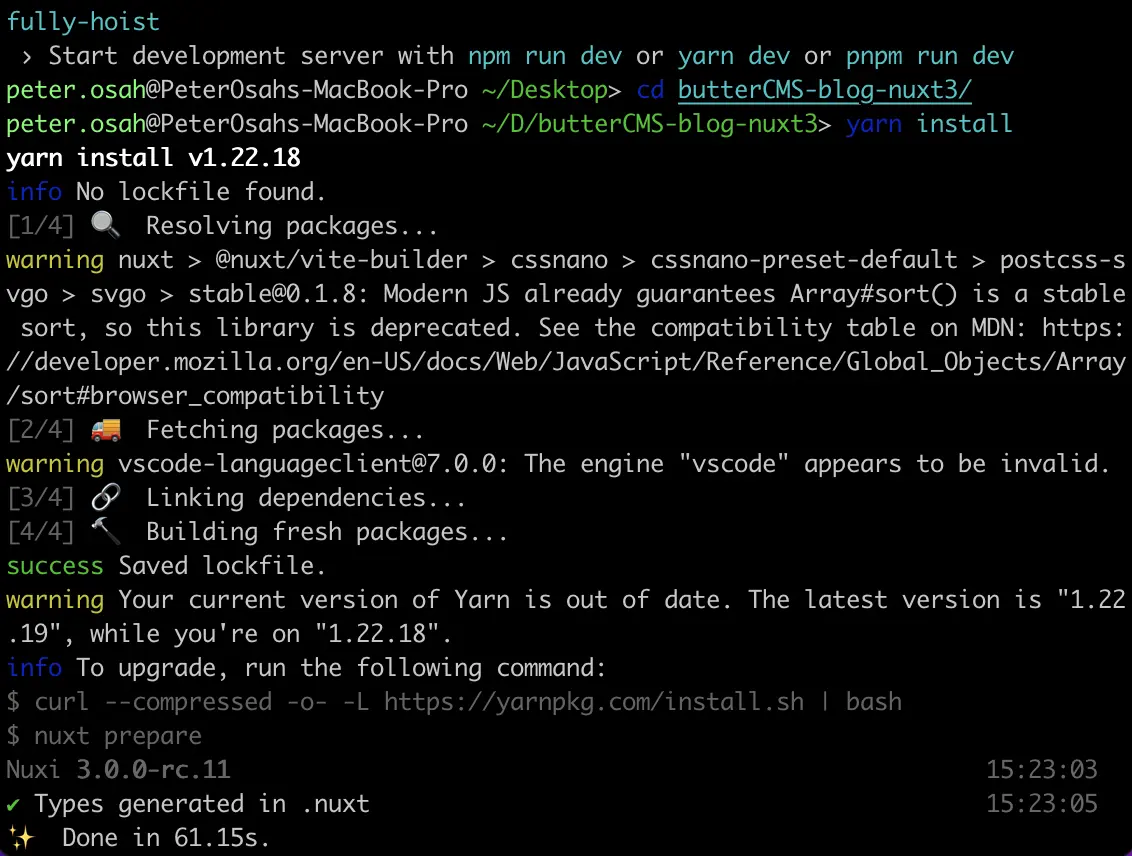
Pictorial representation of the installation process of Nuxt 3
After installation, in the root directory of the newly created Nuxt application, we will create the pages, plugins, assets, and api folders. These folders will house the pages, plugins, CSS files, and API methods that will be used in our application. After adding these folders, the application structure should look as follows:
ButterCMS-Blog    (Root Directory)
├─ api
├─ assets
├─ pages
├─ plugins
├─ nuxt.config.js
├─ package.json
└─ yarn.lock
We will also be adding Tailwind CSS as our CSS library to speed up the designing process. To configure Tailwind CSS in your Nuxt 3 application, visit here.
Designing our blog application
On adding Tailwind CSS, we will also add some custom CSS code to give our application a little bit of beauty. We will create a style.css file in the CSS folder which is present in the already created assets folder and paste the snippet of code below:
@import url('https://fonts.googleapis.com/css2?family=Nunito&display=swap');

body{
 background-color: #fff;
 color: #000;
 font-family: "Nunito", sans-serif;
 margin: 10px;
 float: none !important;
}


@media only screen and (max-width: 260px) {
 body{
     font-size: 0.7rem;
 }
 h1{
   font-size: 0.9rem;
 }

 i{
   font-size: 0.5rem !important;
 }

}


.heading-text{
 background: -moz-linear-gradient(180deg,#394EFF,#0095FF),linear-gradient(180deg,#394EFF,#0095FF);
 background: -webkit-gradient(linear, left top, right top, color-stop(0%, #394EFF), color-stop(100%, #0095FF));
 background: -webkit-linear-gradient(180deg,#394EFF,#0095FF),linear-gradient(180deg,#394EFF,#0095FF);
 background: -o-linear-gradient(180deg,#394EFF,#0095FF),linear-gradient(180deg,#394EFF,#0095FF);
 background: -ms-linear-gradient(180deg,#394EFF,#0095FF),linear-gradient(180deg,#394EFF,#0095FF);
 background: linear-gradient(180deg,#394EFF,#0095FF),linear-gradient(180deg,#394EFF,#0095FF);
 filter: progid:DXImageTransform.Microsoft.gradient( startColorstr='$color-one', endColorstr='$color-two',GradientType=1 );
 -webkit-background-clip: text;
 -moz-background-clip: text;
 -ms-background-clip: text;
 -o-background-clip: text;
 background-clip: text;
 -webkit-text-fill-color: transparent;
 -moz-text-fill-color: transparent;
 -ms-text-fill-color: transparent;
 -o-text-fill-color: transparent;
}

.error-text{
 color: #ff0033 !important;
}

@media only screen and (min-width: 768px) {
 .heading-text{
   color: -webkit-linear-gradient(180deg,#394EFF,#0095FF),linear-gradient(180deg,#394EFF,#0095FF) !important;
   font-size: 1.5rem;
 }
}


button {
 background: -webkit-linear-gradient(180deg,#394EFF,#0095FF),linear-gradient(180deg,#394EFF,#0095FF);
 color: #fff;
 border: none;
 outline: none;
}

button:focus {
 border: none;
 outline: none;
}


/****-------------custom styles -------------------*/
.blog-thumbnail{
 width: 100%;
 height: 100%;
 object-fit: cover;
 object-position: center center;
 opacity: 1;
 background: -webkit-linear-gradient(180deg,#394EFF,#0095FF),linear-gradient(180deg,#394EFF,#0095FF);
 border-radius: 5px;
}

.route-link {
 background: -webkit-linear-gradient(180deg,#394EFF,#0095FF),linear-gradient(180deg,#394EFF,#0095FF);
 color: #fff;
 border: none;
 outline: none;
}
.route-link:focus {
 border: none;
 outline: none;
}

.label-text{
 color: -webkit-linear-gradient(180deg,#394EFF,#0095FF),linear-gradient(180deg,#394EFF,#0095FF);
}

.input {
 border-bottom: 1px solid #ccc;
 outline: none;
 box-shadow: none;
 transition: color 0.5s;
}

.input:focus{
 border-color: -webkit-linear-gradient(180deg,#394EFF,#0095FF),linear-gradient(180deg,#394EFF,#0095FF);
}
Custom CSS code snippets for the application (present in /assets/css/styles.css of the root directory of our application)
Setting up ButterCMS
To use ButterCMS, you will have to create an account. To create an account, visit here.
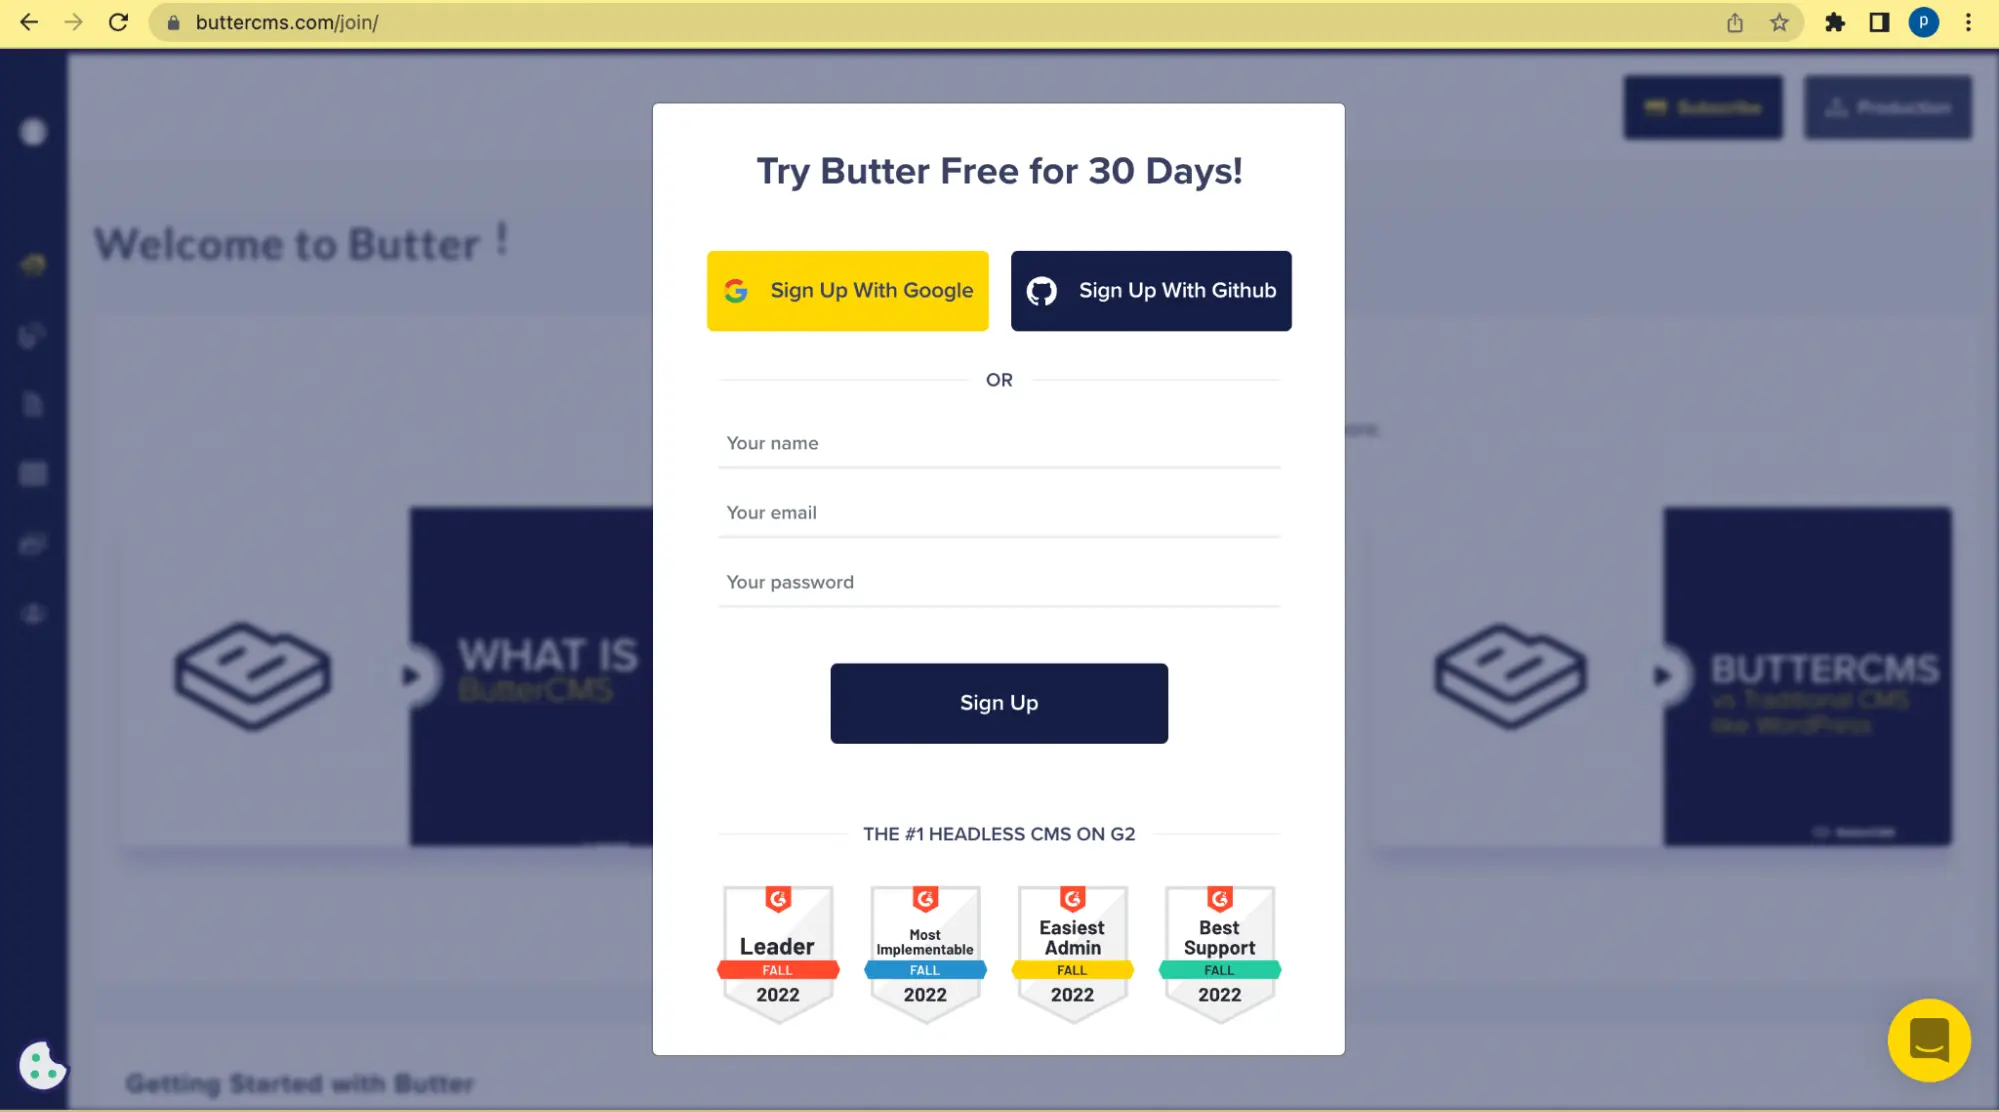
Sign-up page
Upon sign-up, you will be redirected to the ButterCMS dashboard, which looks like below:
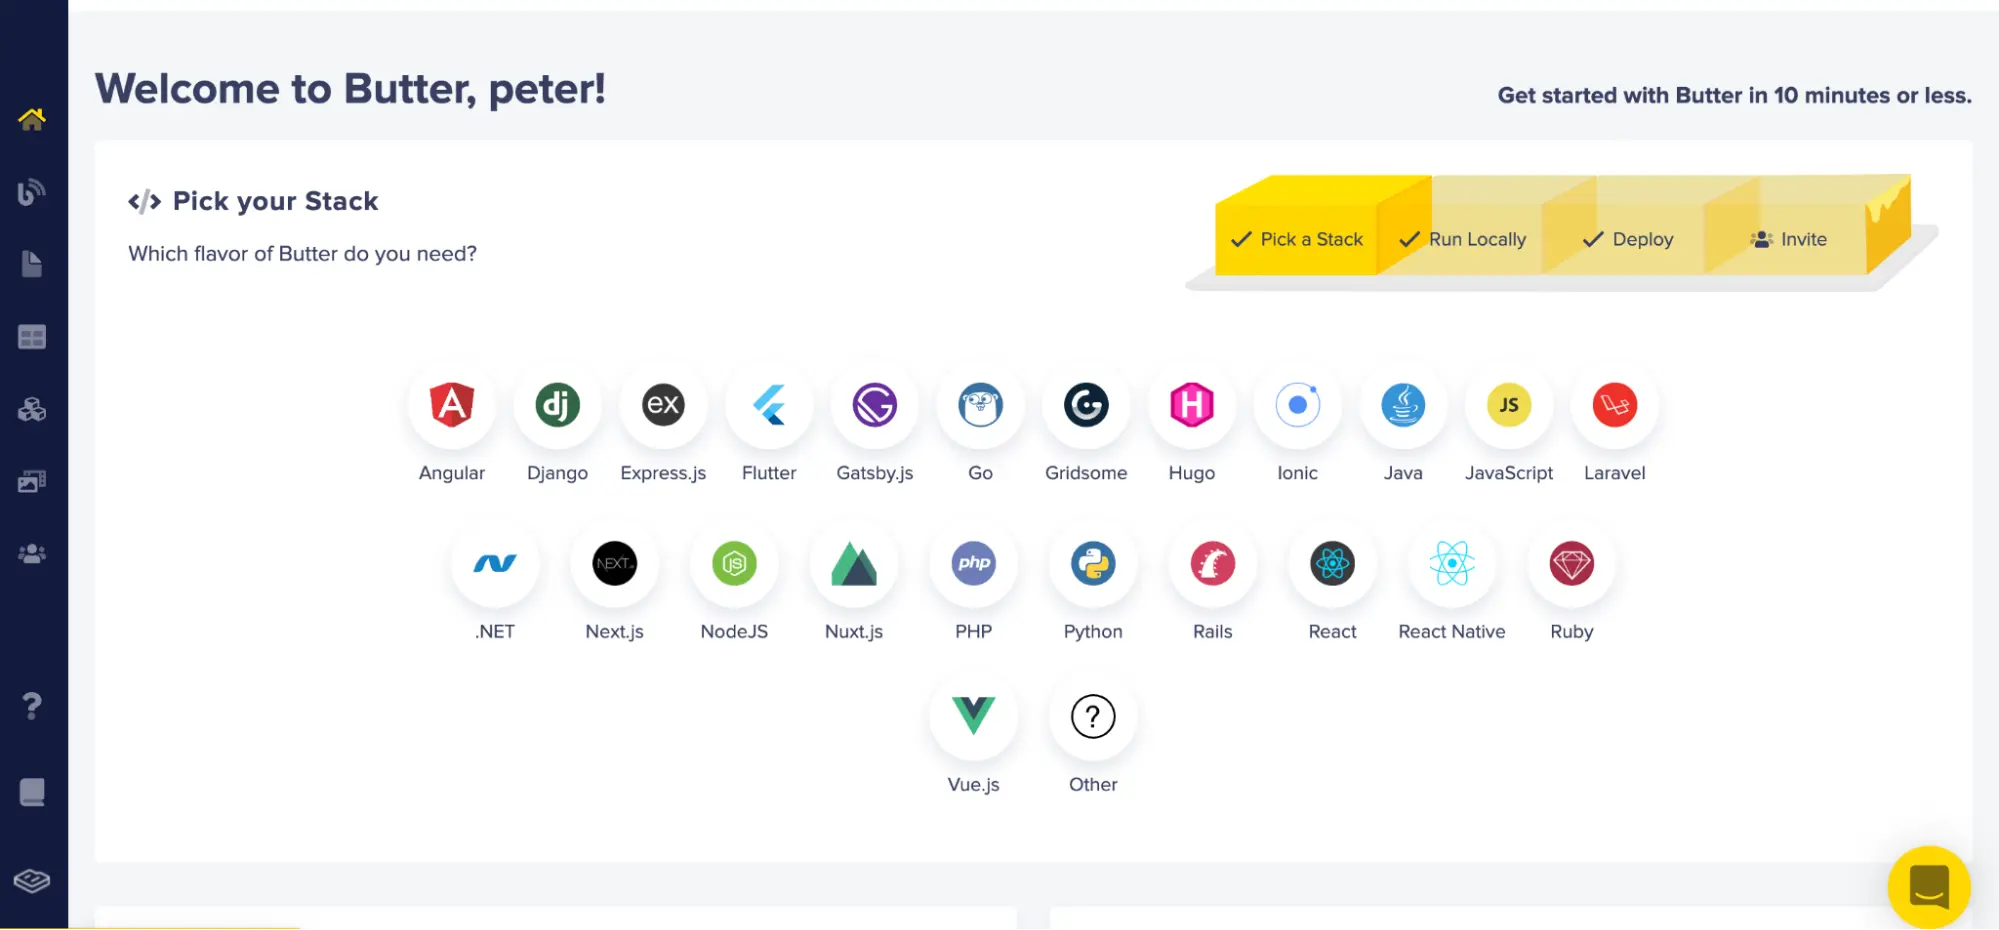
ButterCMS Dashboard
Connect our blog application to the ButterCMS dashboard
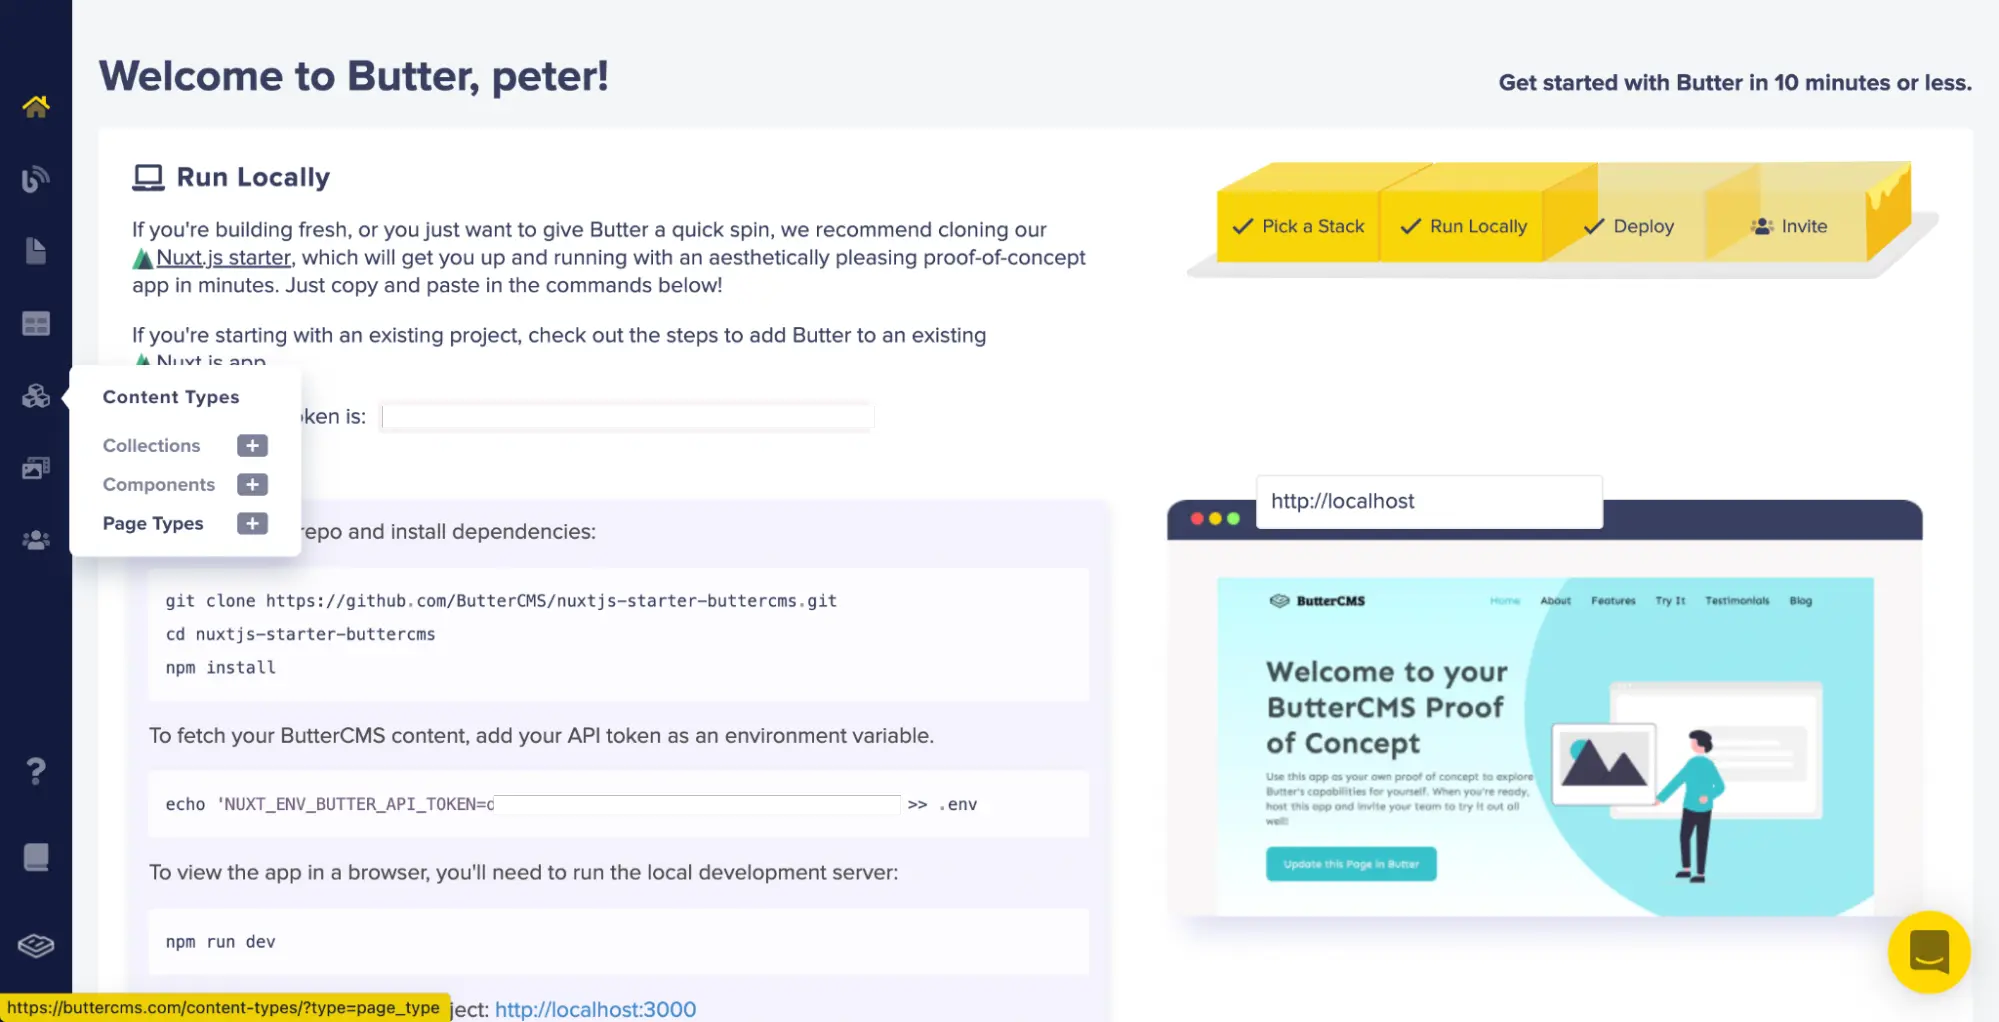
A content structure known as a Blog Engine has been created in ButterCMS specifically for writing blog articles. This eliminates the need for us to design our own. However, if you desire a blog that is flexible and can contain other content or functionality outside of the standard blog use case, you can create a custom blog page type by selecting the Page Types link on the Content Types menu and configuring a unique custom blog page type.
First access the Page Types link from the Content Types menu.
Next, access the Page Type link from the Content Types page.
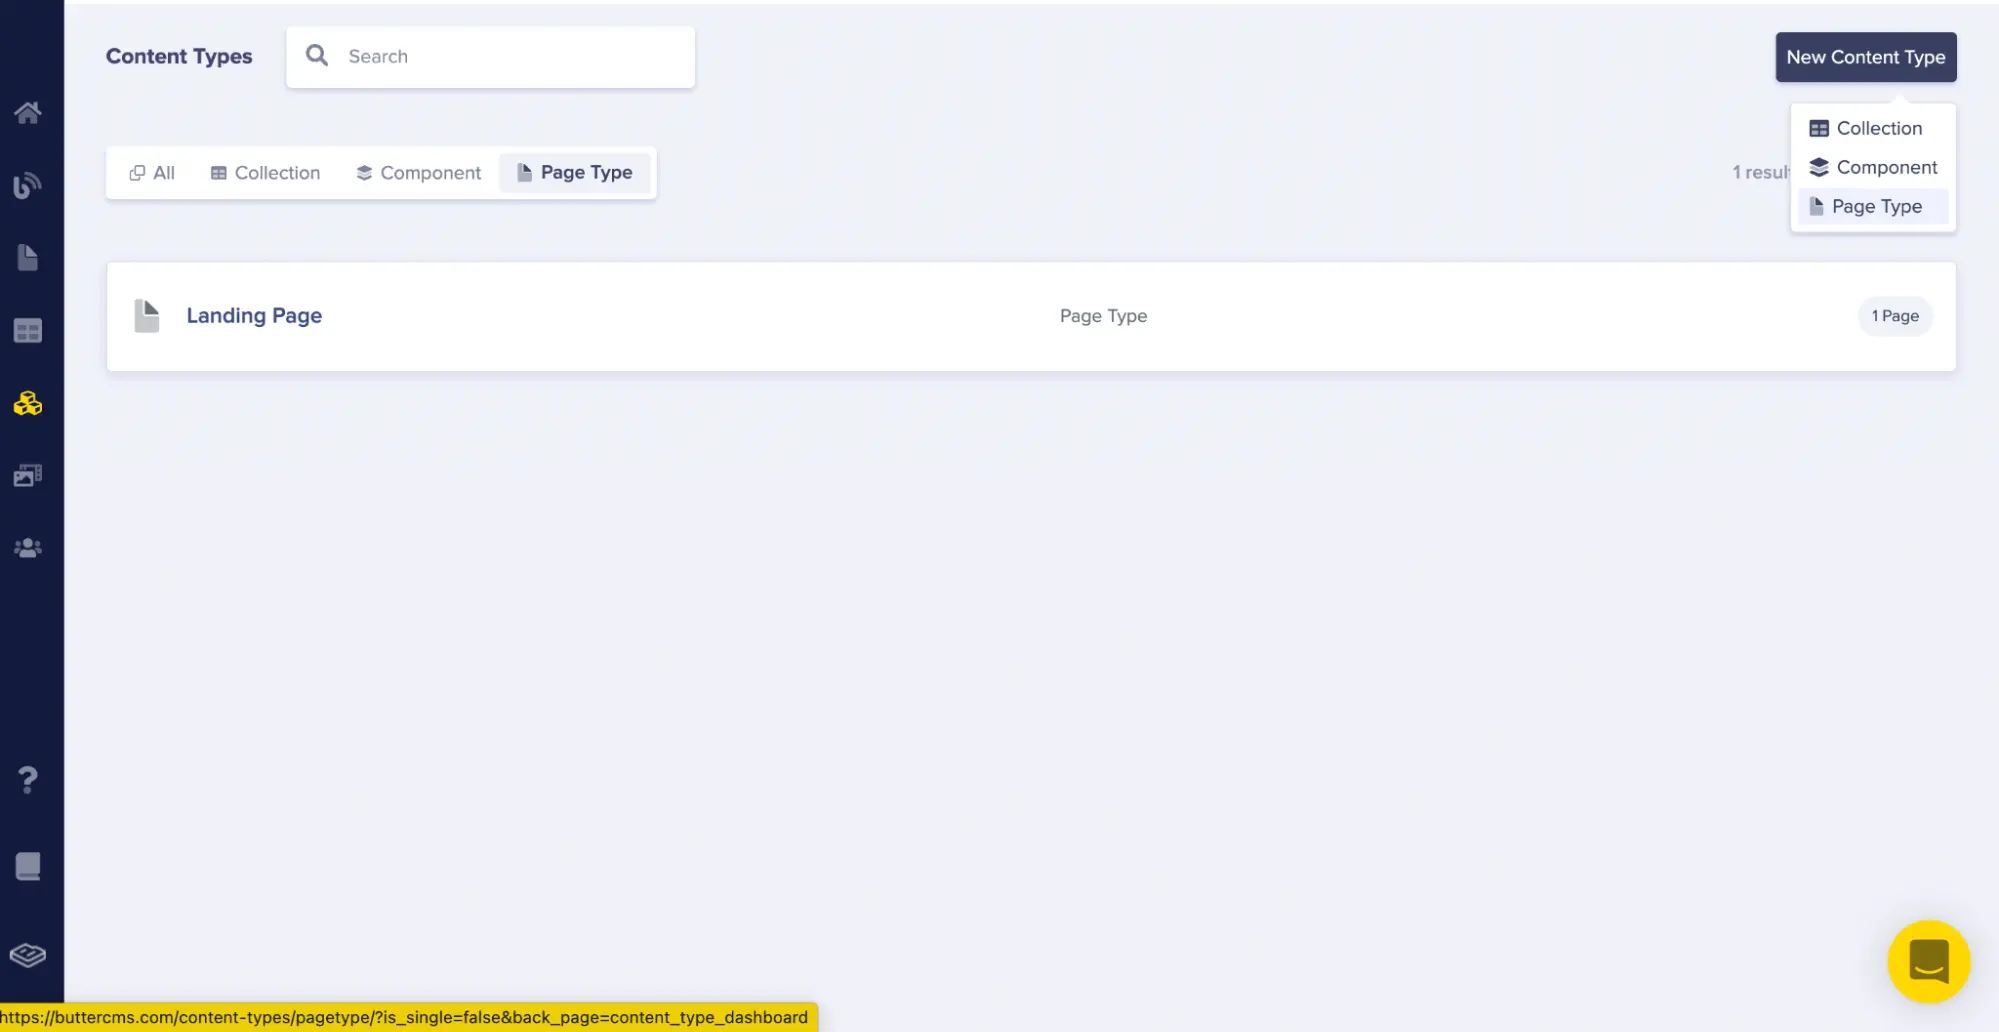
Finally, you’ll be accessing the New Page Type page (where you can configure a custom blog case).

For this tutorial, however, we’re going to be using the ButterCMS blog engine.
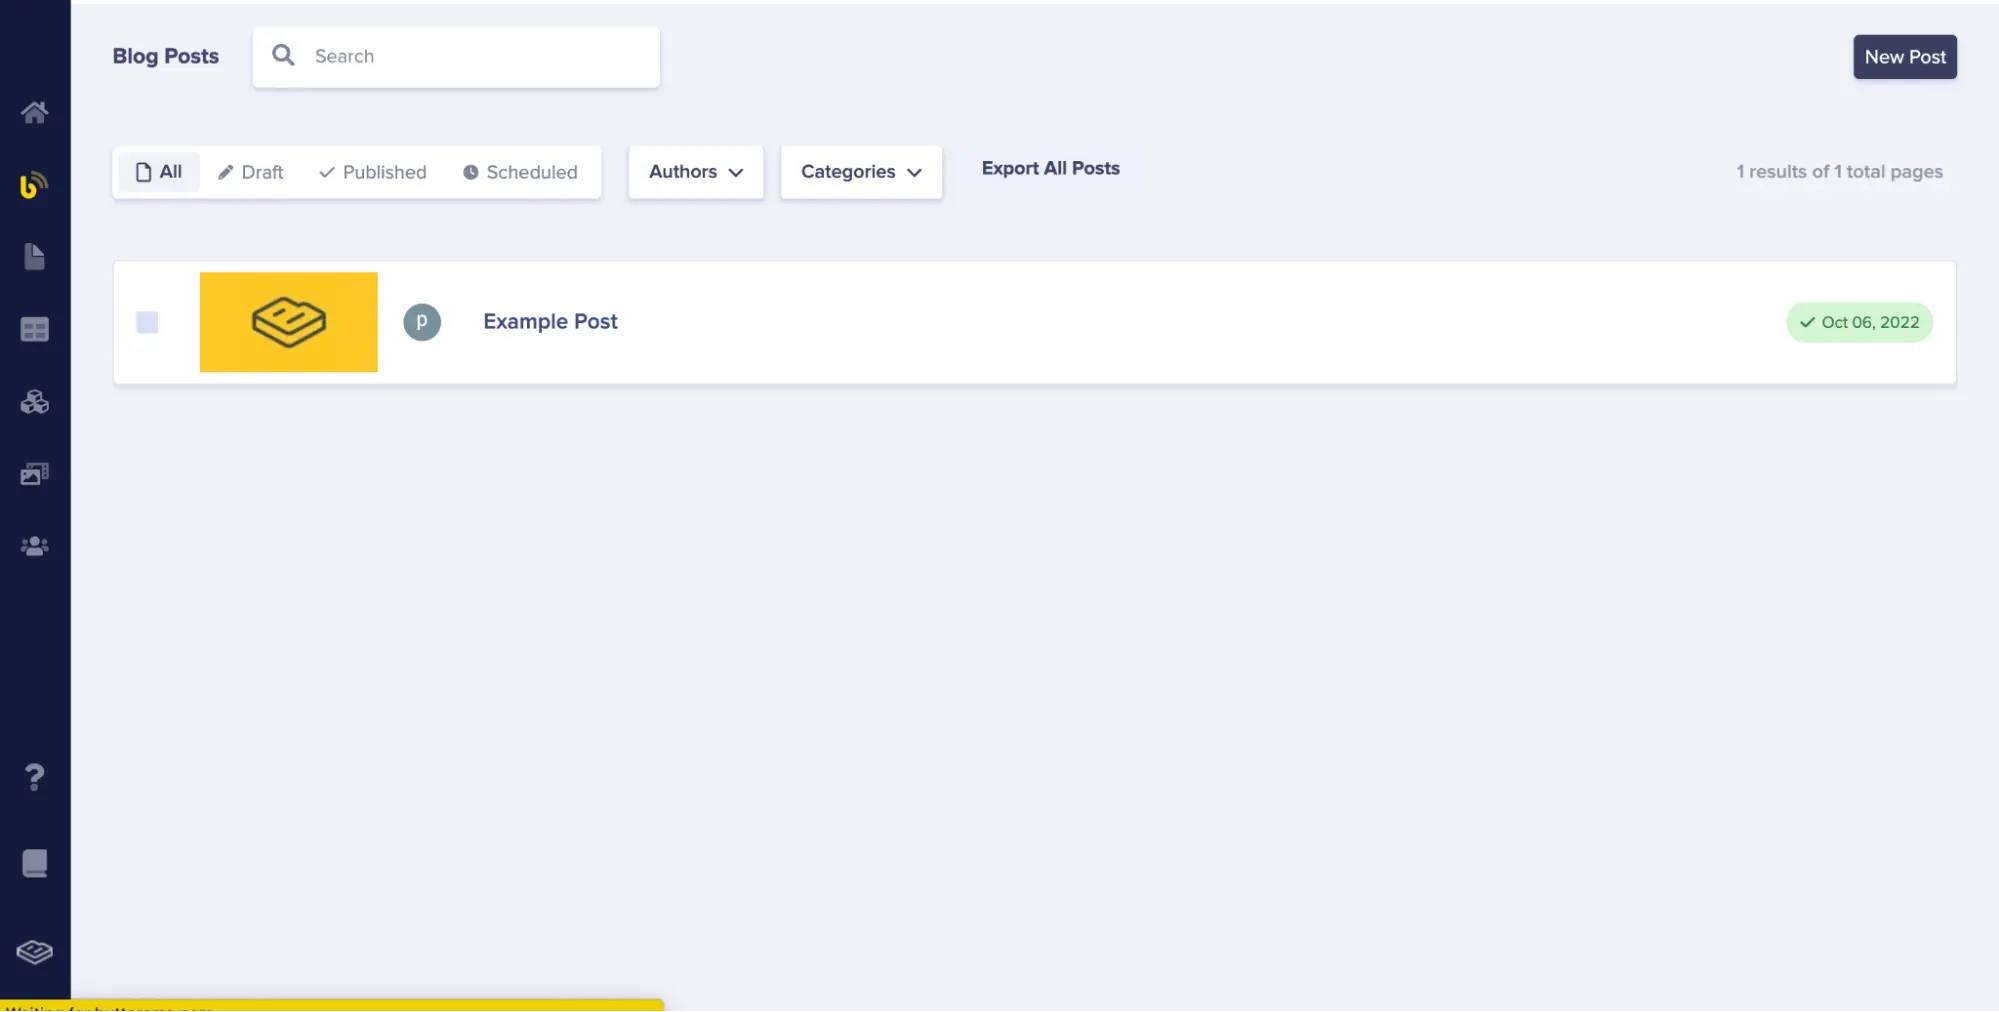
To access the default blog content structure, select Blog Posts in the left sidebar to see the blog content structure and a sample blog post:
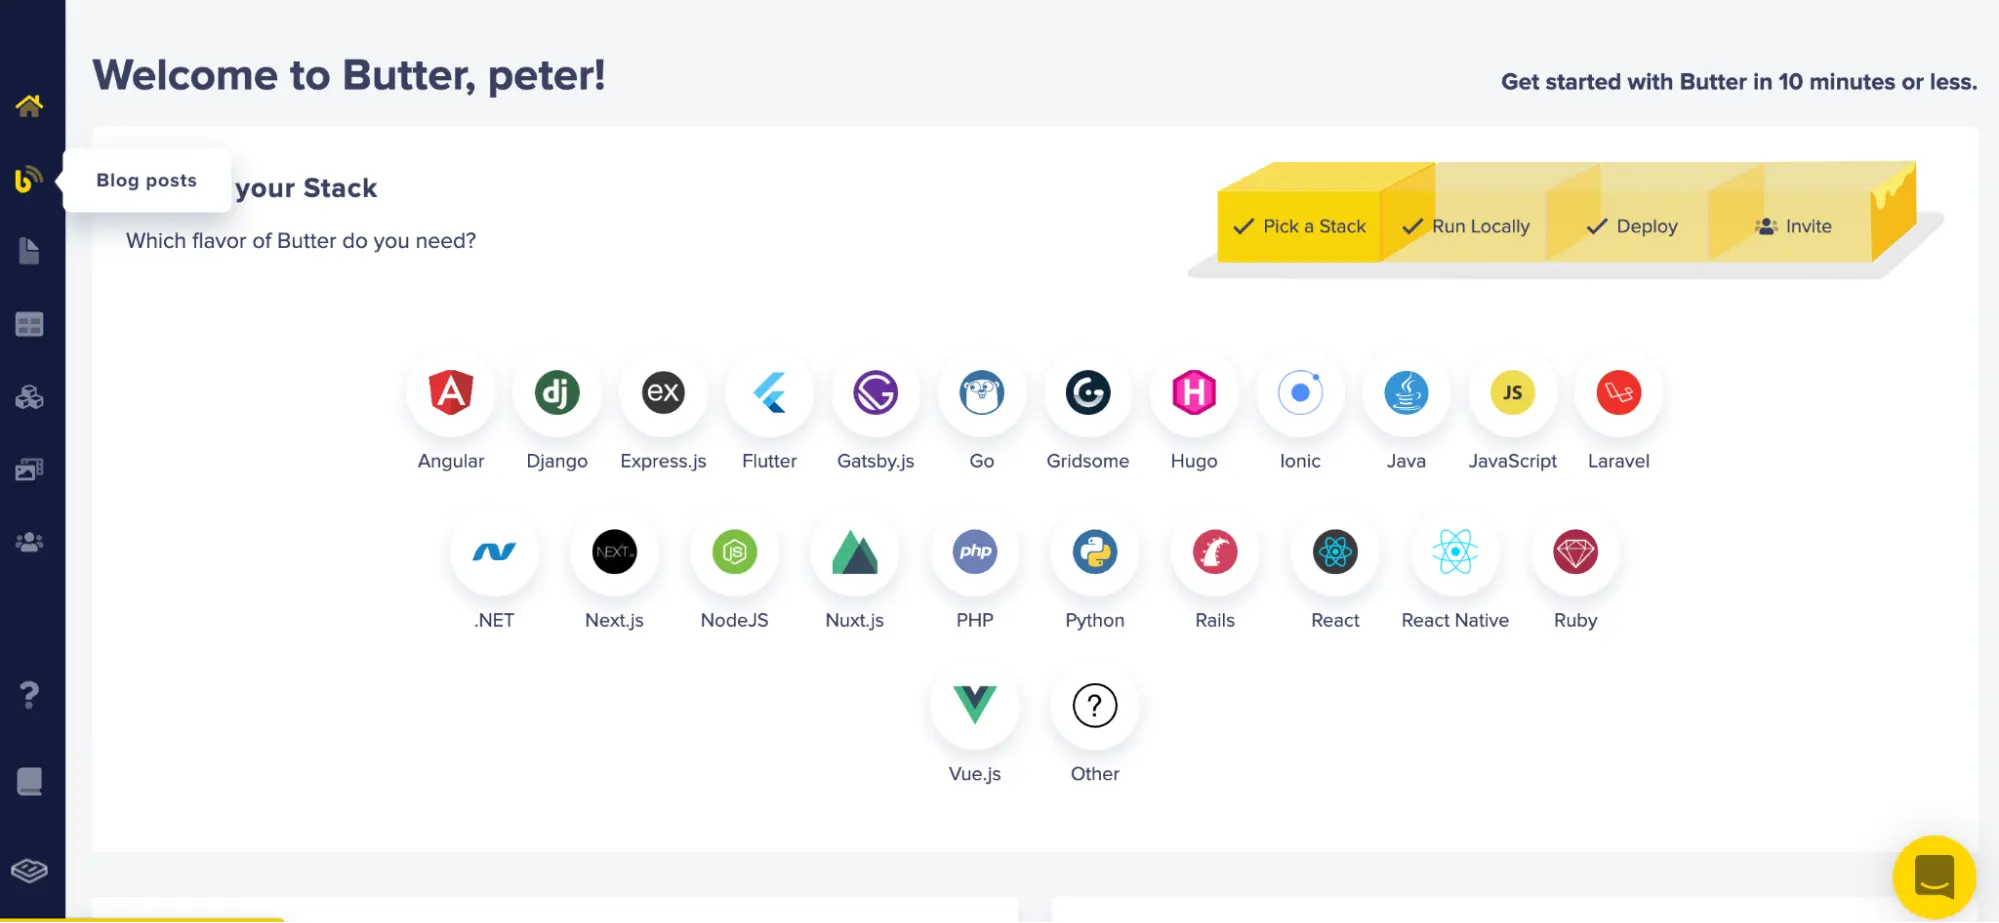
Then, you’ll land on the Blog Posts home page.
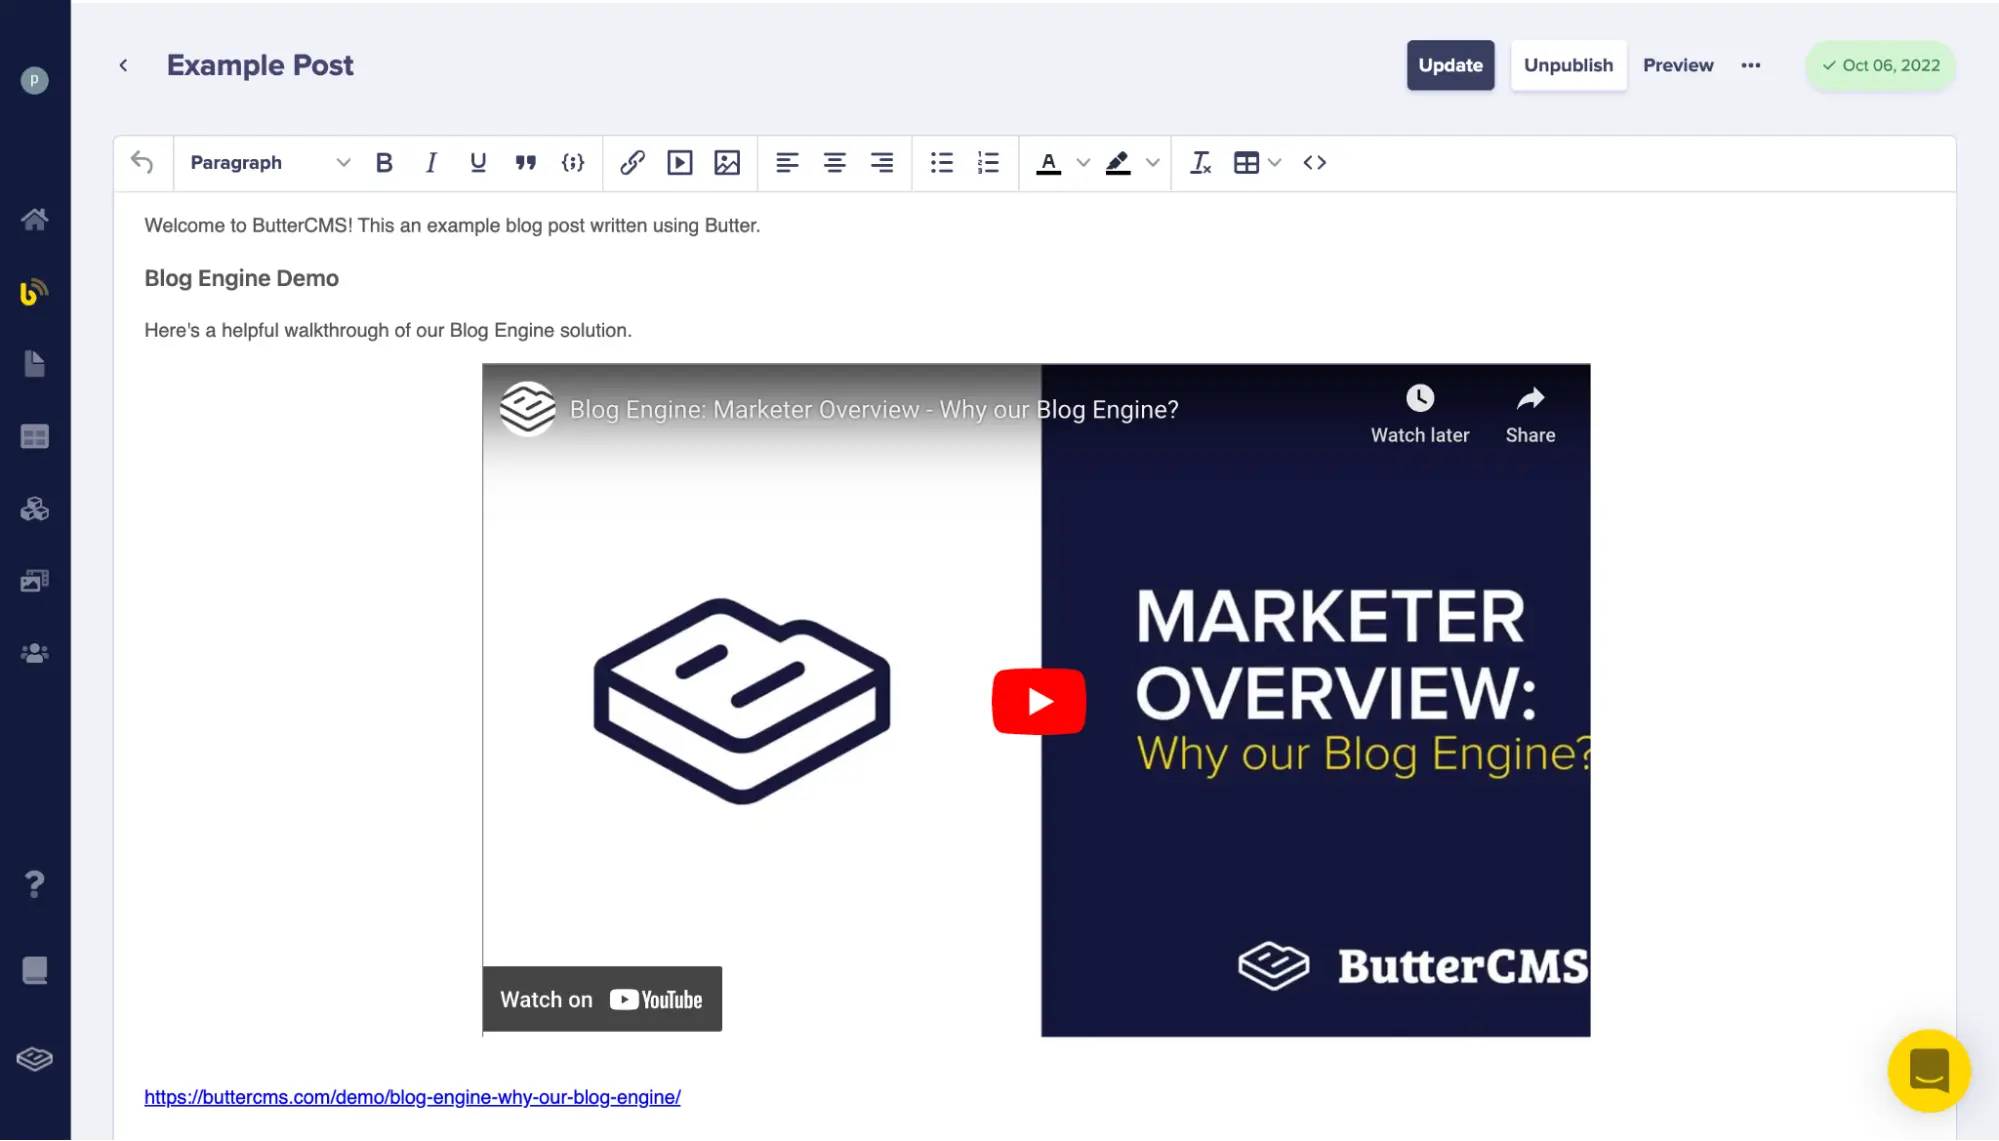
To edit a sample blog, you will use the WYSIWYG editor. With this editor, you can edit blog posts, publish pieces, save drafts, and also add SEO information at the bottom of the post.
The screenshot below shows the example blog post in the WYSIWYG editor:
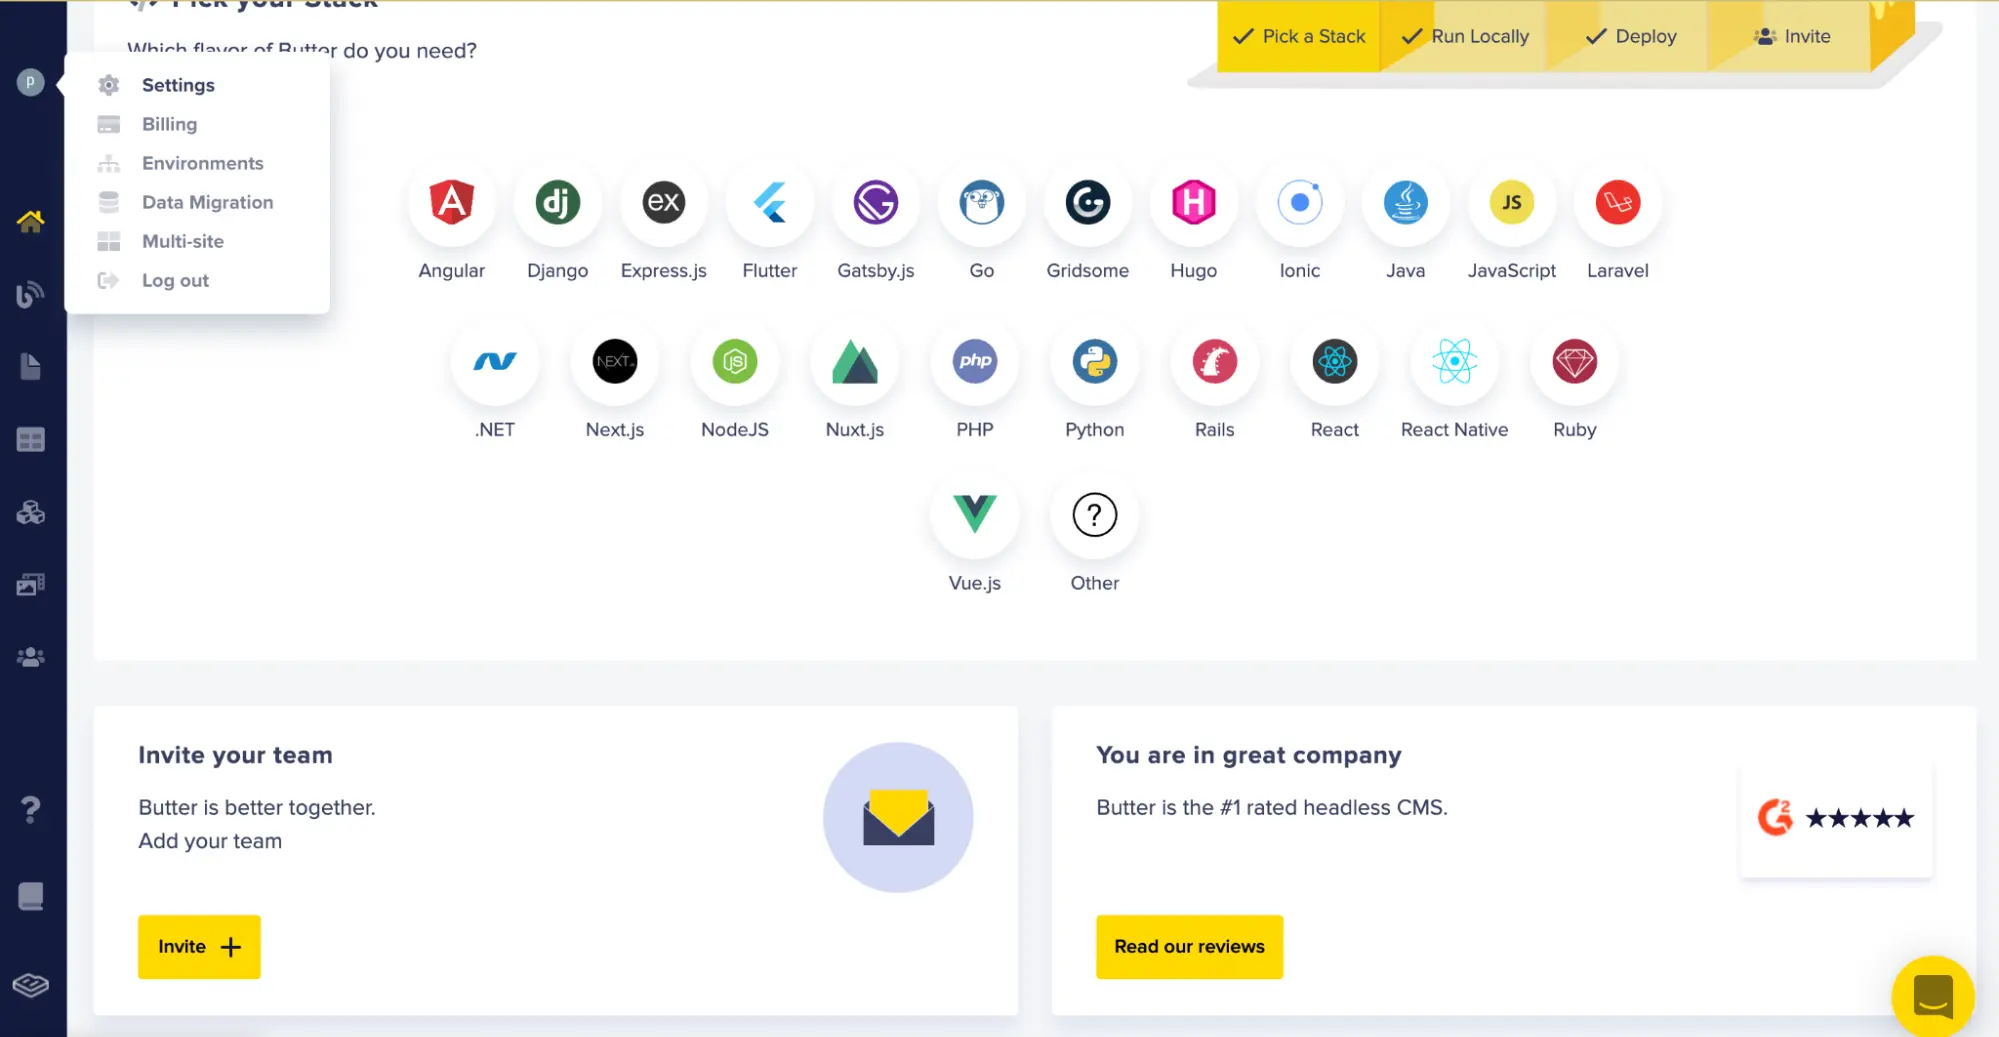
We will require the Read API token to connect our application to ButterCMS and retrieve contents from it. On the dashboard, this is located under the Settings tab. This key should be copied and saved in a .env file (environment file) in the project directory.
The screenshot below shows how to locate the Settings tab:
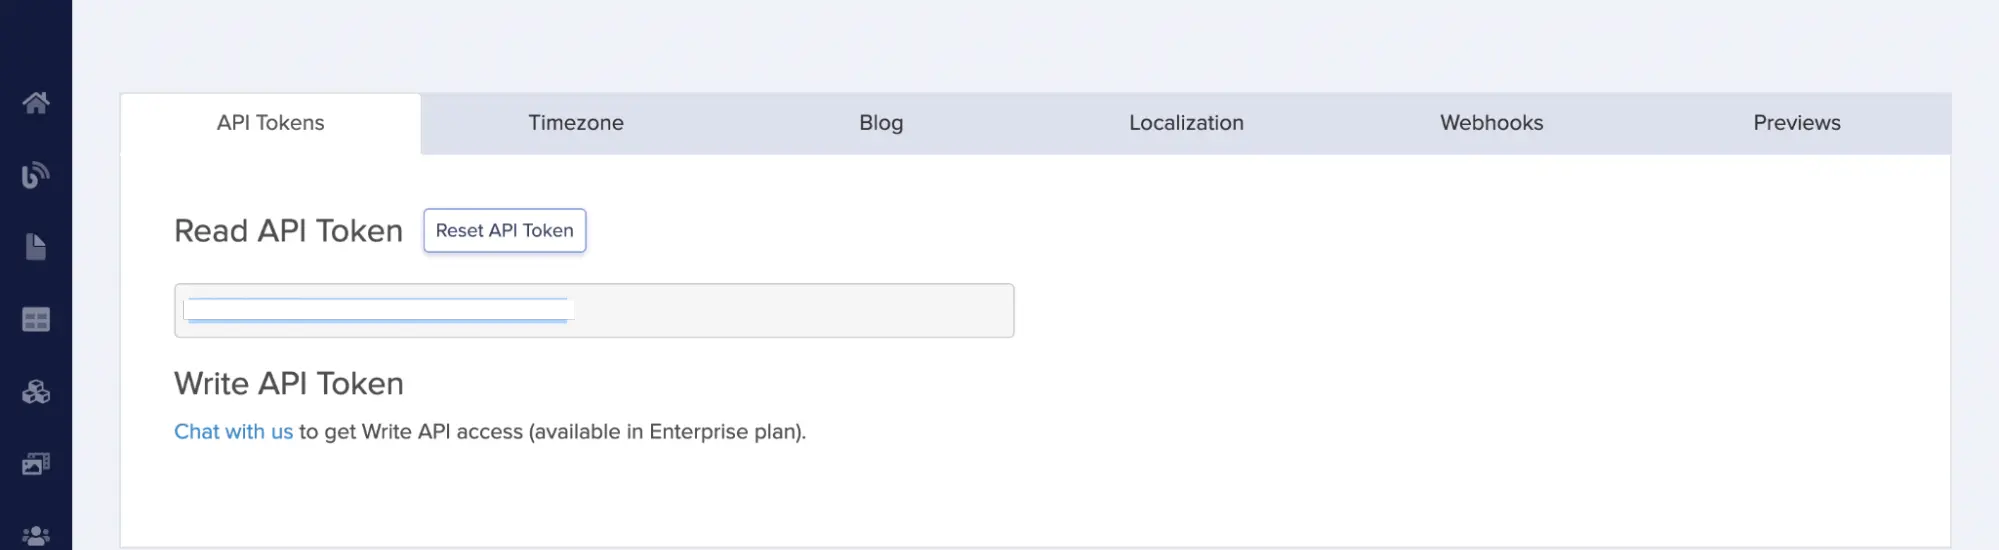
After that, we will see the API Tokens tab view on the Settings page which is shown in the screenshot below:
Once we obtain the Read API token, we will need to obtain the content API URL for our blog posts. The read token will subsequently be attached to the URL so that we can make requests to the CMS from our application. To obtain the URL, you will have to locate the API Explorer, which will be seen when you access the Blog Posts tab and view the example blog post.
Here is a screenshot of the example blog post below:
Here is a screenshot of the API Explorer of the example blog post below:
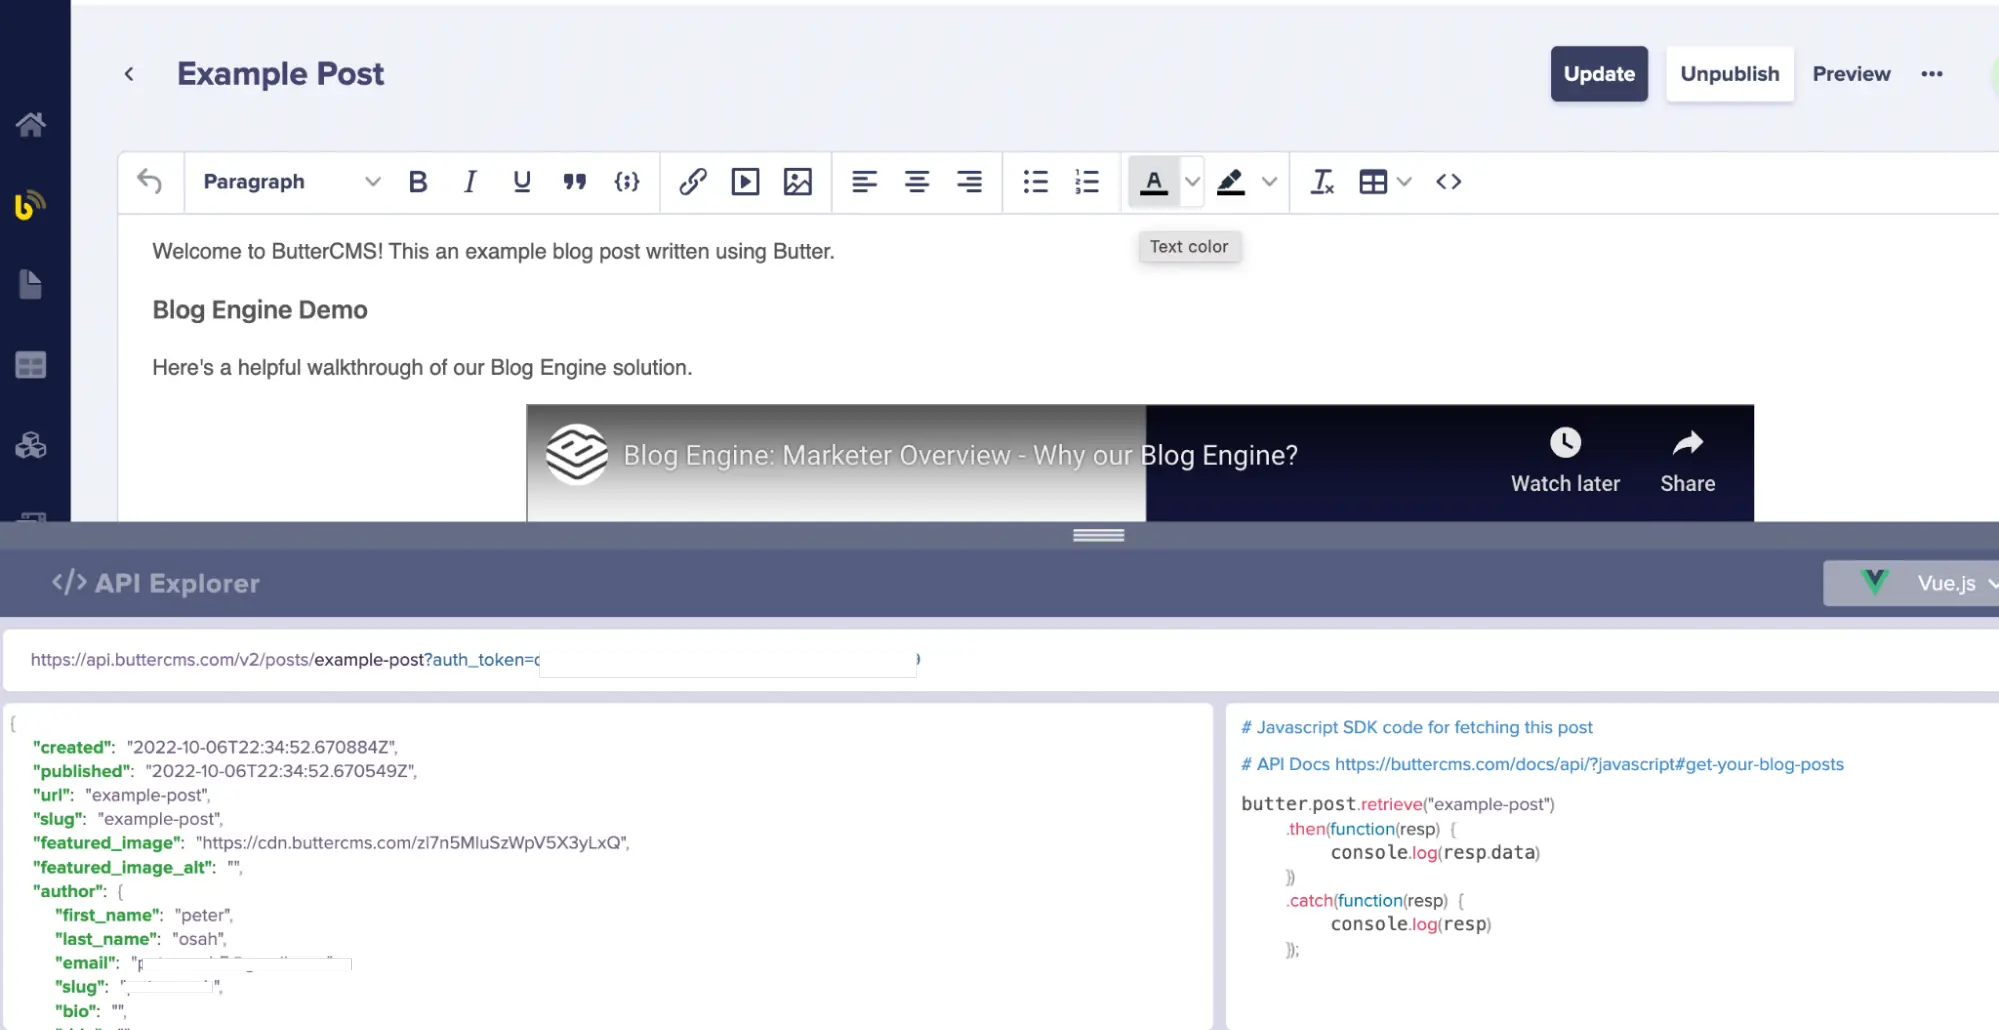
In the API Explorer, https://api.buttercms.com/v2/posts is the base API URL to access blog posts.
Once we obtain the API URL, we will also create an API class in our application which will handle the requests we will send to ButterCMS. on the api folder in the root directory of the application. The snippet of code that we will add to the API is pasted below:
import axios, { Axios, Method, AxiosError } from "axios";

class ButterCMSApi {
 requestInstance: Axios;
 ApiUrl: string;
 token: string;

 constructor(){
   this.requestInstance = axios.create()
 }

 setApiUrl(ApiUrl: string, token: string){
   this.ApiUrl = ApiUrl;
   this.token = token;
   this.requestInstance.defaults.baseURL = this.ApiUrl;
 }

 async _request(url: string, method:string, data?: Record<string, any>){

   let _url: any;

   _url = url + ?auth_token=${this.token};

   try {
     const res = await this.requestInstance.request({
       URL: _url,
       method,
       data
     })

     if (res.data) {
       return res.data;
     }
     return Promise.reject(res.data);
   } catch(err: any){
     if (err.response) {
       return Promise.reject(err.response.data);
     }
     return Promise.reject(err);
   }
 }


 getPosts(){
   return this._request('/', 'get');
 }

 getPost(postUrl: string){
   return this._request(/${postUrl}, 'get');
 }
}

export default new ButterCMSApi();
API class code present in /api/index.ts in the root directory of our application
In the code above, we simply created an axios instance that will handle the sending of API requests and created methods in our API class that we will use to access the content API. These methods are:
getPosts(), a method that handles the fetching of all blog postsgetPost(), a method that simply handles the fetching of a single blog post
After creating the API class, we then inject it into the Nuxt application to make the API readily available in our application. We will do this with the aid of plugins. Therefore, we go to our previously created plugins folder and create an api.ts file. After doing so, we will paste the snippet of code below:
import api from "~~/api"
export default defineNuxtPlugin(nuxtApp => {
 const config = useRuntimeConfig();
 api.setApiUrl(config.API_BASE_URL, config.API_READ_TOKEN)
 nuxtApp.provide('api', api)
})
API class code present in /plugins/api.ts in the root directory of our application
Creating Our Blog Pages and Integrating the ButterCMS API into the Blog Application
We will begin by defining the pages that will be present in our blog application. The pages are:
Index.vue, the page that displays all blog posts[id].vue, a page that displays a specific blog post
To create the page that displays all blog posts, we will create an Index.vue file and add it to the already created pages folder in the root directory of the application. We will also integrate the content API to this page by importing the injected API and calling the getPosts() method which fetches all blog posts from ButterCMS.
<template>
 <div>
   <div class="flex items-center justify-between py-10 md:py-14 md:mb-14">
     <div class="">
       <h1 class="heading-text">ButterCMS Blog 1</h1>
     </div>

     <div class="">
       <NuxtLink to="/" class="route-link py-5 px-3"> create new post </NuxtLink>
     </div>
   </div>

   <div>
     <div>
       <div class="md:flex md:flex-wrap md:items-stretch md:-mx-4 -my-8 md:-my-8">
         <div v-for="(curr, i) in posts" :key="i" class="md:w-3/12 md:px-4 py-8 md:py-8">
           <NuxtLink :to="'/' + curr.slug" class="relative inline-block w-full">
             <img :src="curr.featured_image" class="w-full blog-thumbnail h-20 border" />
             <div class="mt-4">
               <h1 class="heading-text">
                 {{ curr.title }}
               </h1>
               <p class="mt-8">
                 {{ curr.summary }}
               </p>
               <p class="mt-2" style="color: #ccc">
                 {{ new Date(curr.created).toLocaleString("en-US")}}
               </p>
             </div>
           </NuxtLink>
         </div>
       </div>


       <div class="flex items-center justify-center pt-20">
         <div class="">
           <button class="py-5 px-3"> Next Page </button>
         </div>
       </div>
     </div>
   </div>
 </div>
</template>

<script setup lang="ts">
 const { $api } = useNuxtApp()

 const posts = ref<any>([])
  onMounted(async () => {
   try {
     const res = await $api.getPosts();
     posts.value = res.data;
     console.log('response', res);
   } catch(err: any) {
     throw new Error(api error--- ${err?.response?.data})
   } finally {
     console.log('------working-------');
   }
 });
</script>

<style>

</style>
Code of the page to view all blog posts (/pages/index.vue)
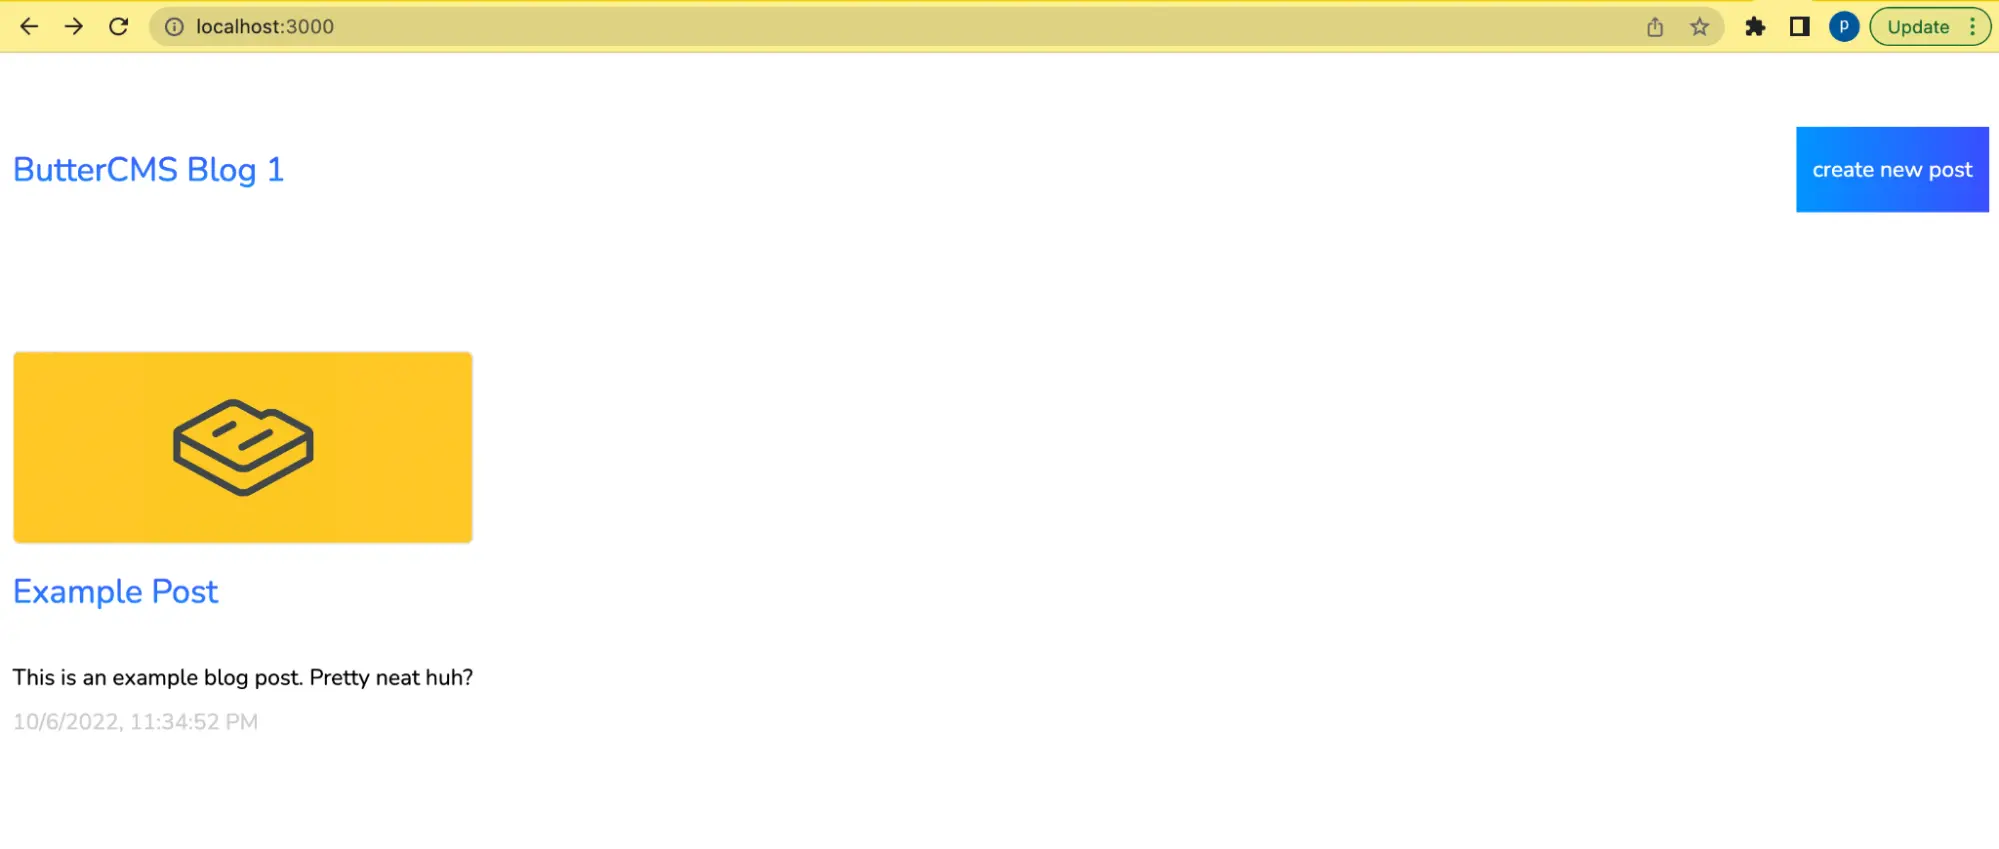
The output of the page to view all blog posts (/pages/index.vue)
From the output above, you can see the blog posts fetched and the blog post tallies with that on the ButterCMS dashboard.
Note: we are using the example post that already exists in ButterCMS and we are not creating a post from the application. This implies that the Create New Post button on the snapshot is not functional for the scope of the project as it is barely used for UI purposes.
To create the page that displays a single blog post, we will create an [id].vue file and add it to the already created pages folder in the root directory of the application.
This page is dynamic, hence, the content of the page changes based on the blog selected.
We will also integrate the content API to this page by importing the injected API and calling the getPost(slug) method where the slug is obtained when a user decides to view a specific blog post. This fetches the blog post specific to that slug from ButterCMS.
<template>
 <div>
   <div class="md:w-6/12 mx-auto">
     <div class="flex items-center justify-between py-10 md:py-6">
       <div class='py-10 md:py-20'>
         <div class=''>
           <a class='cursor-pointer' @click="()=> router.go(-1)"> BACK </a>
         </div>
       </div>

       <div class=''>
         <NuxtLink to="/" class='heading-text'>ButterCMS Blog</NuxtLink>
       </div>
     </div>


     <div class=''>
       <div class=''>
         <div class='relative inline-block w-full'>
           <img :src="post?.featured_image" class='blog-thumbnail h-20' />
           <p class='mt-8' style="color: #ccc">
             created at: {{ new Date(post?.created).toLocaleString('en-US')}}
           </p>
           <div class='mt-20'>
             <h1 class='heading-text'>
               {{ post?.title }}
             </h1>
             <div class='mt-8'>
               <div v-html="post?.body"></div>
             </div>
           </div>
         </div>
       </div>
     </div>
   </div>
 </div>
</template>

<script setup lang="ts">
 const router = useRouter()
 const route = useRoute()

 const { $api } = useNuxtApp()

 const post = ref<any>(null)
  onMounted(async () => {
   try {
     const res = await $api.getPost(route.params.id);
     post.value = res.data;
     console.log('response', res);
   } catch(err: any) {
     throw new Error(api error for single post--- ${err?.response?.data})
   } finally {
     console.log('------working dazze-------');
   }
 });
</script>

<style>

</style>
Code of the page to view all blog posts (/pages/[id].vue)
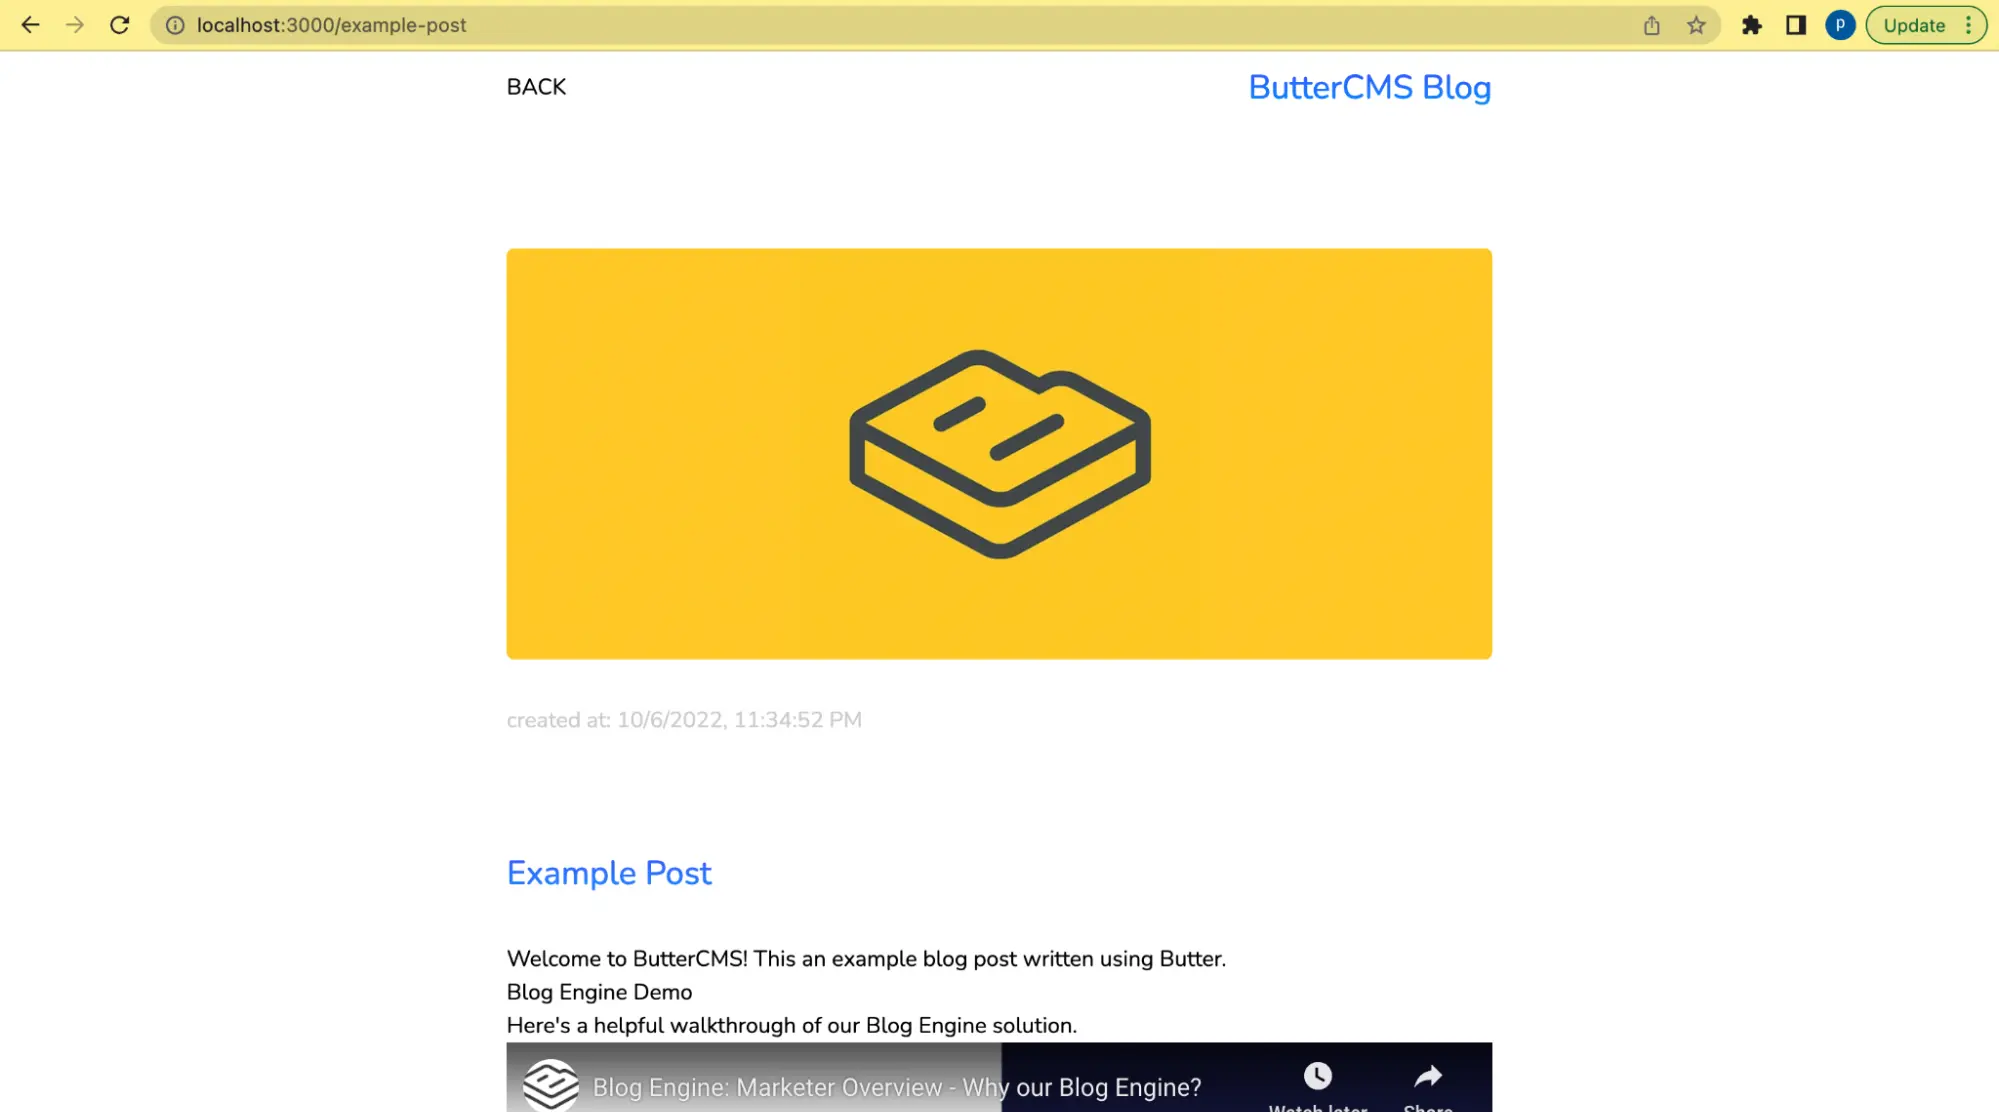
The output of the page to view a single blog post (/pages/[id].vue)
From the output above, you can see the blog post fetched also tallies on the ButterCMS dashboard.
Closing thoughts
In this tutorial, we learned how to use Nuxt to create a blog application and use ButterCMS to manage our blog content. To display our content in the application, we additionally fetched content from the CMS through the ButterCMS content API. To further explore more features available on ButterCMS, you can visit here.
Code Resources
- A sample of the blog application: https://github.com/Gitarackur/ButterCMS-Blog

