
Dynamic page layouts in ButterCMS are built using three key concepts:
This architecture allows:
| Concept | Description |
|---|---|
| Components | Reusable content blocks with their own schema (Hero, Services, Testimonials, etc.) |
| Component Picker | A special field that lets editors add, remove, and reorder Components on a page |
| Page Types | Templates that define which Components are available for a particular type of page |
- Developers and Designers to ensure consistency through predefined component styles and templates
- Marketers to build unique pages without developer intervention
What you’ll build
A dynamic landing page system that includes:- Reusable Components (Hero, Features, Testimonials, CTA, etc.)
- Drag-and-drop page building
- Component Library management
- Dynamic frontend rendering
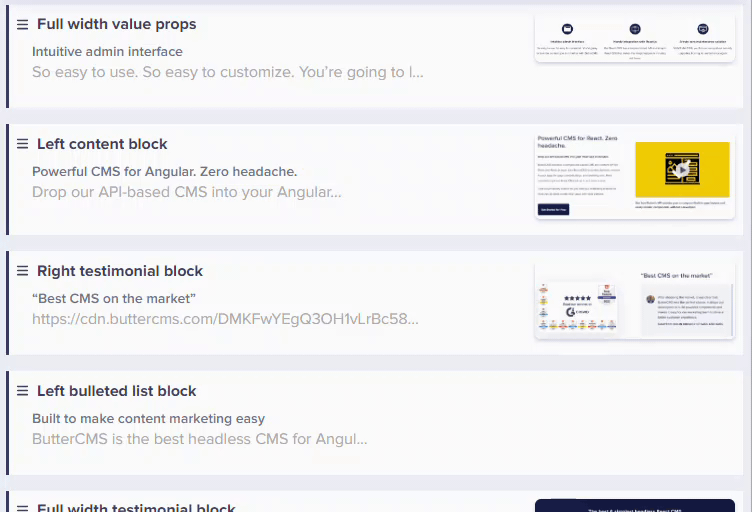
Setting up a landing page with Components in the ButterCMS dashboard
Let’s create a landing page with these six sections:- Navigation
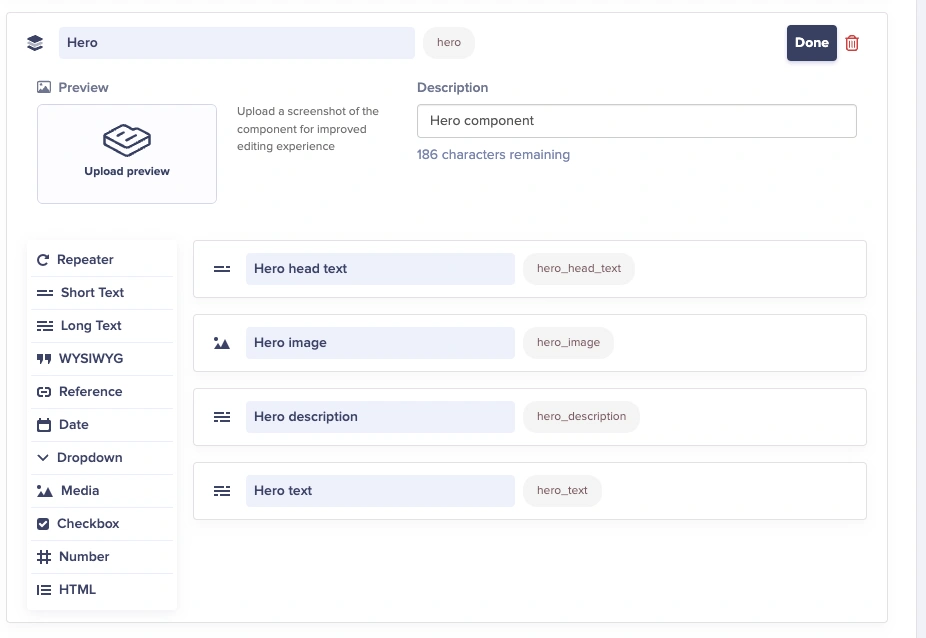
- Hero
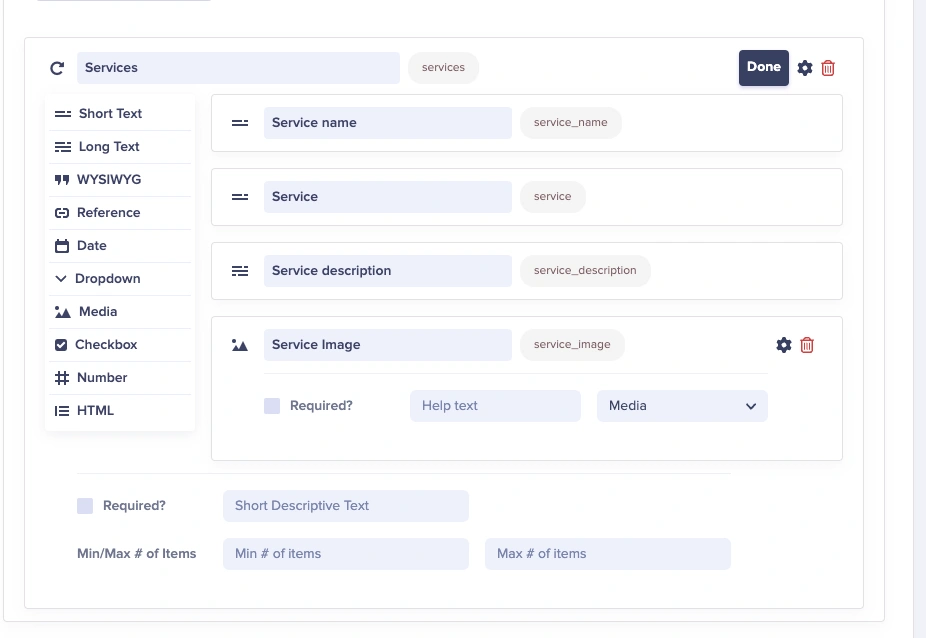
- Services
- Main Service
- Testimonials
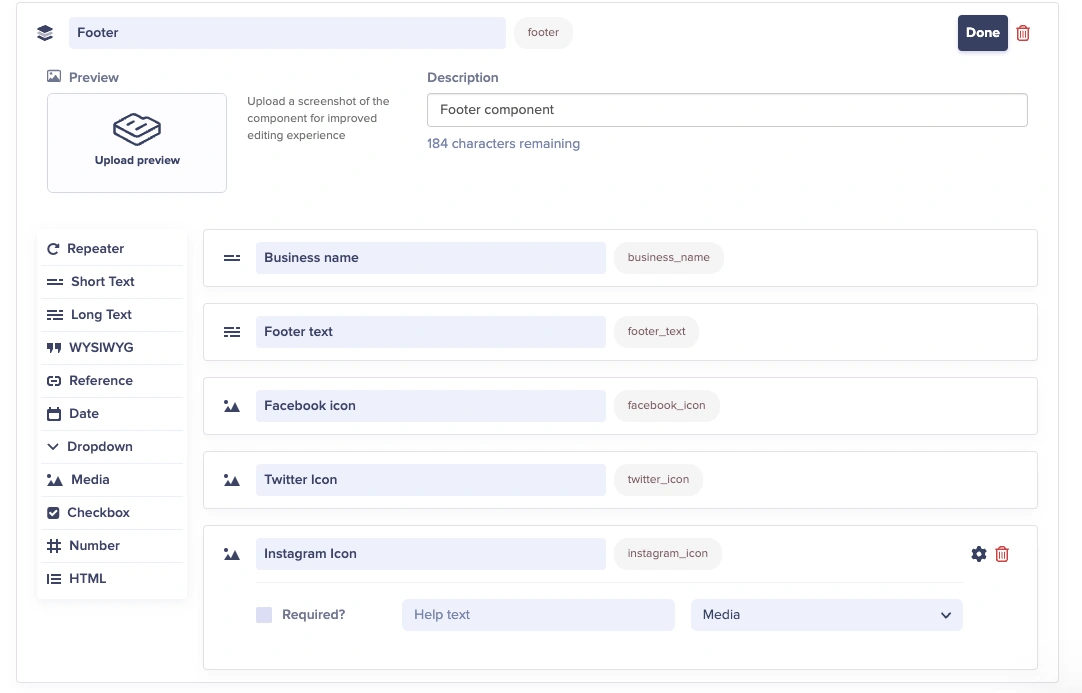
- Footer
Step 1: Add a Component Picker to your page
Click on Component Picker in the left menu when configuring your Page and
give it a name.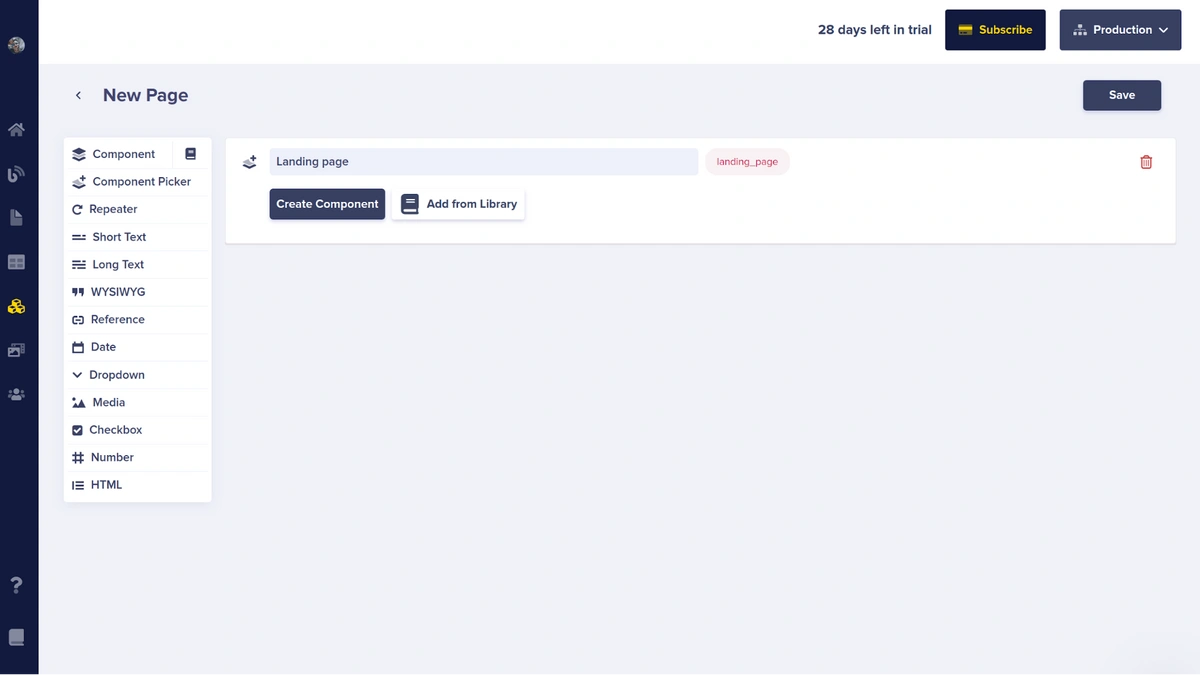
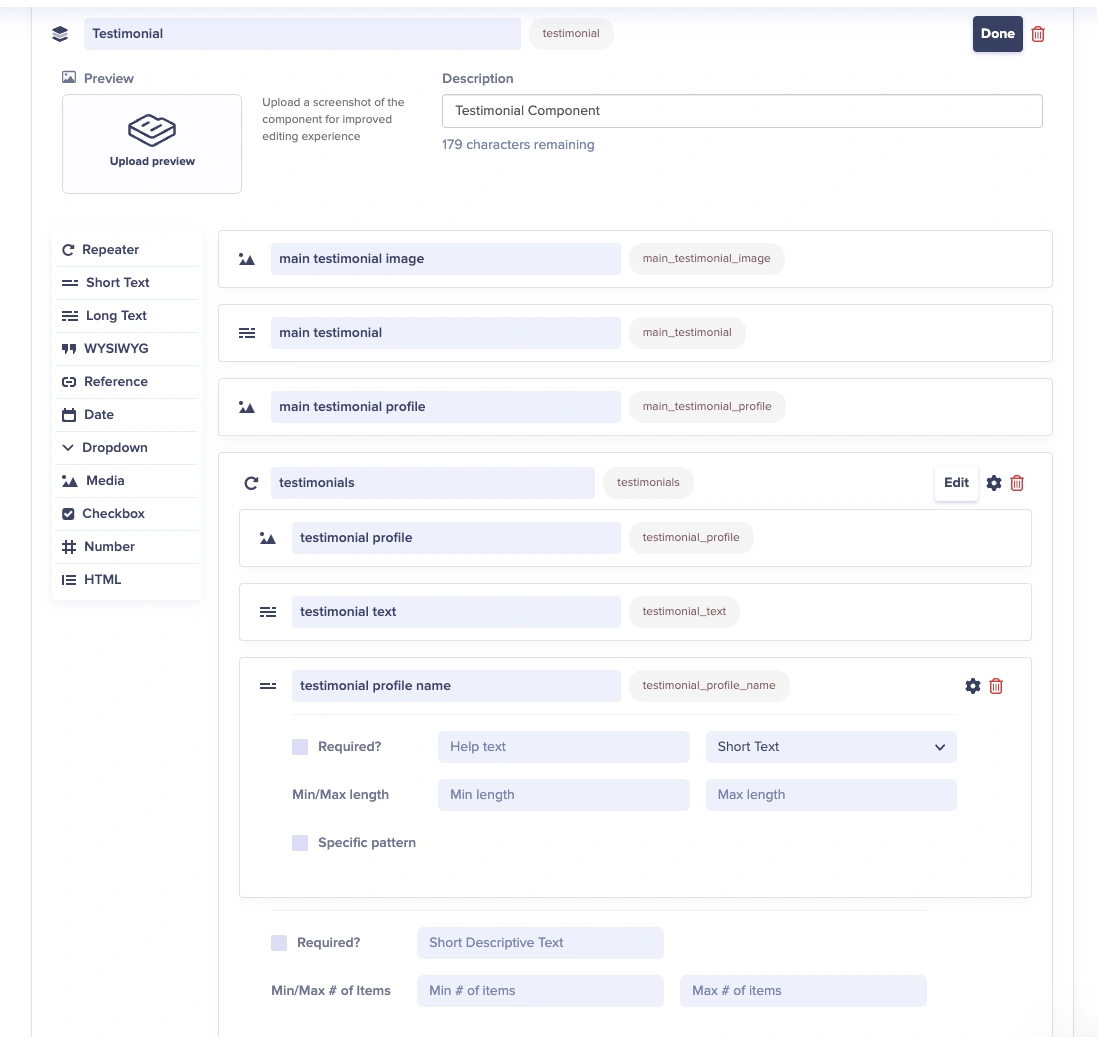
Step 2: Create your Components
For each of the following components below, click the Create Component button, give the new
Component its own name, and then add the vraious field types you need in the Component.When you are finished adding fields to the Component, click Done.When you’ve added all of the fields to your Page, click Save.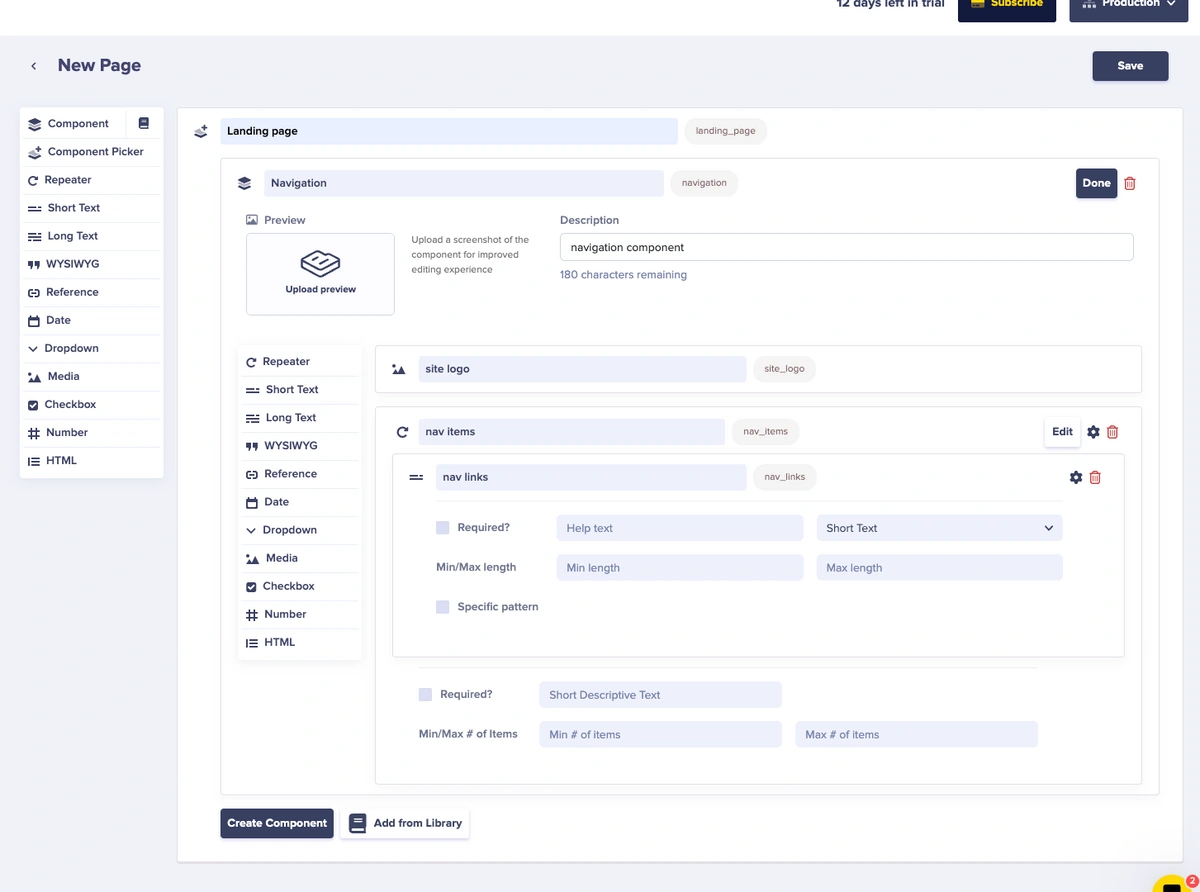
Components to add
- Hero
- Services
- Testimonials
| Field Type | Field Name |
|---|---|
| Media | site logo |
| Repeater | nav items |
| → Short text | nav link |
This is a simple, single-level menu in which data would have to be manually added
with each instance of the Page. In real-life applications, you’d likely use a
Reference field to a Menu collection
somewhere outside of the Component Picker.
Step 3: Create your page and add data
After saving your schema, create a new instance of your Page (if it’s a Page Type)
or just edit your Page (for a Single Page).Now, click the Component Picker button under to the Landing Page component.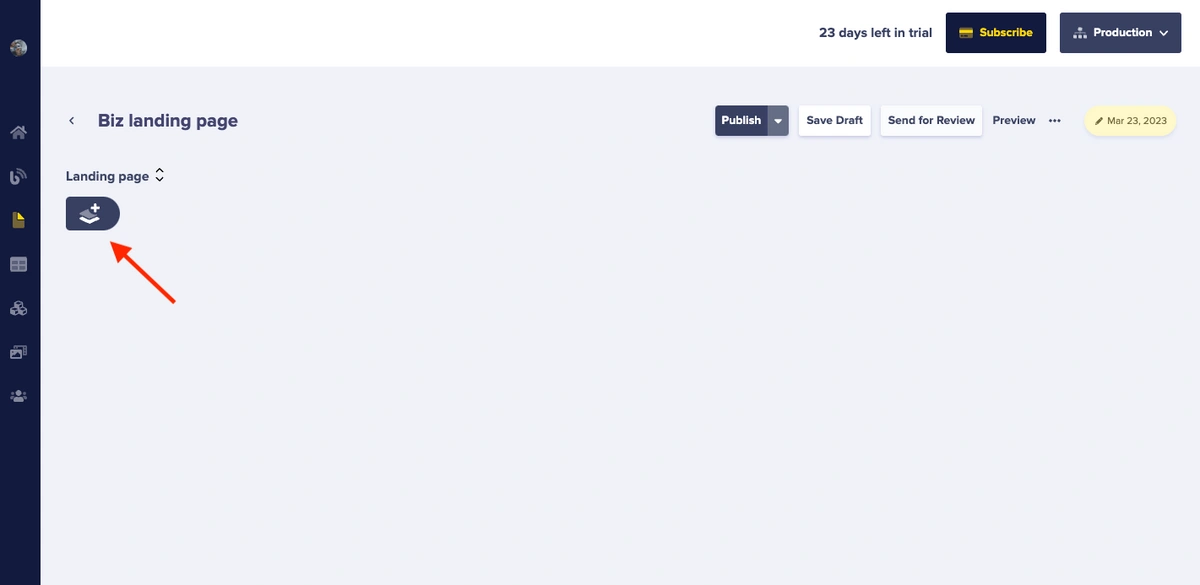 Select the components you want to add and fill in the content for each component.
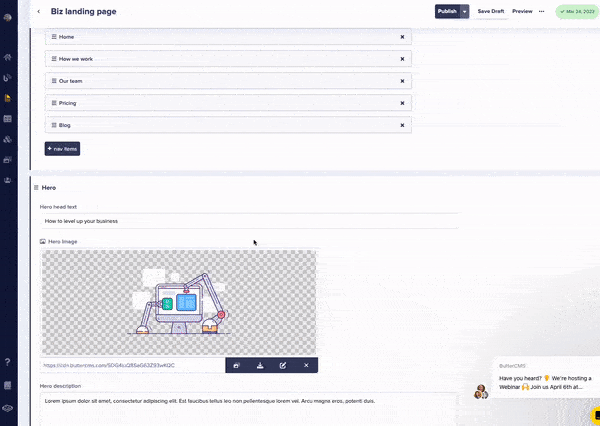
Select the components you want to add and fill in the content for each component.Working with the Component Picker
In order to better see your content, you can expand or collapse the entire picker by clicking on the Collapse/Expand toggle, which looks like , or you can expand or collapse a single component by clicking on the Component name.To re-order Components, simply drag & drop.Component Picker API response structure
The API returns Components in the order they appear on the page. Note thetype key, which indicates the kind of
Component in the Picker.
Render your page (React/Next.js example)
First, create a component renderer that maps ButterCMS components to React components:Final result
You now have a beautiful, fully dynamic, rendered landing page: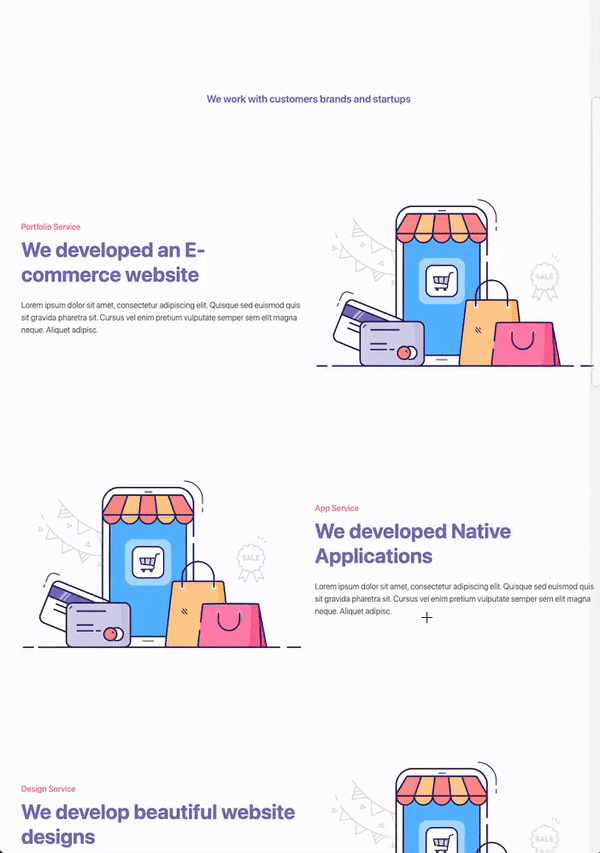
Best practices
Adding default values to fields
Set predefined default values for fields to maintain consistency: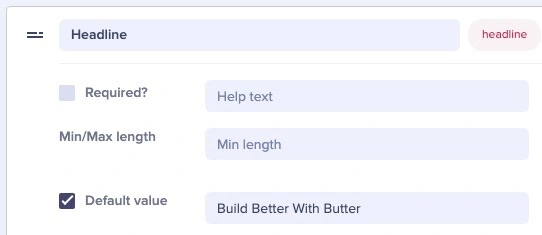 Benefits of default values:
- Streamline Content Creation: Fields are pre-populated with commonly used values
- Consistency: Ensure uniformity across your landing pages
- Efficiency: Save time by reducing manual data entry
- Error Reduction: Minimize typos and mistakes
Content design principles
- Keep components focused: Avoid Components that try to do multiple unrelated things; each Component should do one thing well.
- Use sensible defaults: Pre-fill common values to speed up content creation
- Limit required fields: Only require what’s absolutely necessary
- Document field purposes: Add descriptions for content editors via help text
- Document your components: Create a style guide for editors
- Limit choices: Too many Components can be overwhelming
- Use clear naming: Component names should be self-explanatory
Developer tips
- Handle missing Components: Always check if Component type exists
- Add error boundaries: Prevent one bad Component from breaking the page
- Test on all devices: Ensure responsive design works
Performance tips
- Lazy load components: Load below-the-fold components on scroll
- Optimize images: Use ButterCMS CDN transformations
- Cache API responses: Reduce API calls with caching